


Lightweight Backpacking Step 1: Weigh Everything!
Lightweight Backpacking Step 1: Weigh Everything!
- An Introduction to Lightweight Backpacking
- Lightweight Backpacking Step 1: Weigh Everything!
- Lightweight Backpacking Step 2: The Big Three
- Lightweight Backpacking Step 3: Multi-Function Gear
If you read my previous article, an Introduction to Lightweight Backpacking, you’ll remember that I only touched on the basic principles of lightweight backpacking such as how to get started, weighing gear, taking less, multi-use gear and some of the benefits of reducing your pack weight. In the following series of posts I’d like to focus on each of the core principles in more detail. Let’s start with weighing your gear.
In order to know how much weight or gear you need to eliminate, you first have to understand what you currently have and how much you carry on a regular trip. One of the most common mistakes that people make with a gear list is that they forget to maintain it, refer to it and adjust it. Having a detailed list of your gear is great, but keeping track of what you use and don’t use will provide you with valuable insight into areas where you can reduce or eliminate weight.
Another common mistake is not breaking your gear down into their individual components, for example don’t just weigh your first aid kit, weigh all of the pieces individually.
Weigh Everything!
It’s possible that you may be able to get started with this using scales that you already have. But eventually you will want to have a digital scale that can weigh up to 8lbs in pound, ounce, and gram increments. They are not very expensive, usually under $20, and can be used for all sorts of things other than just weighing your backpacking gear.
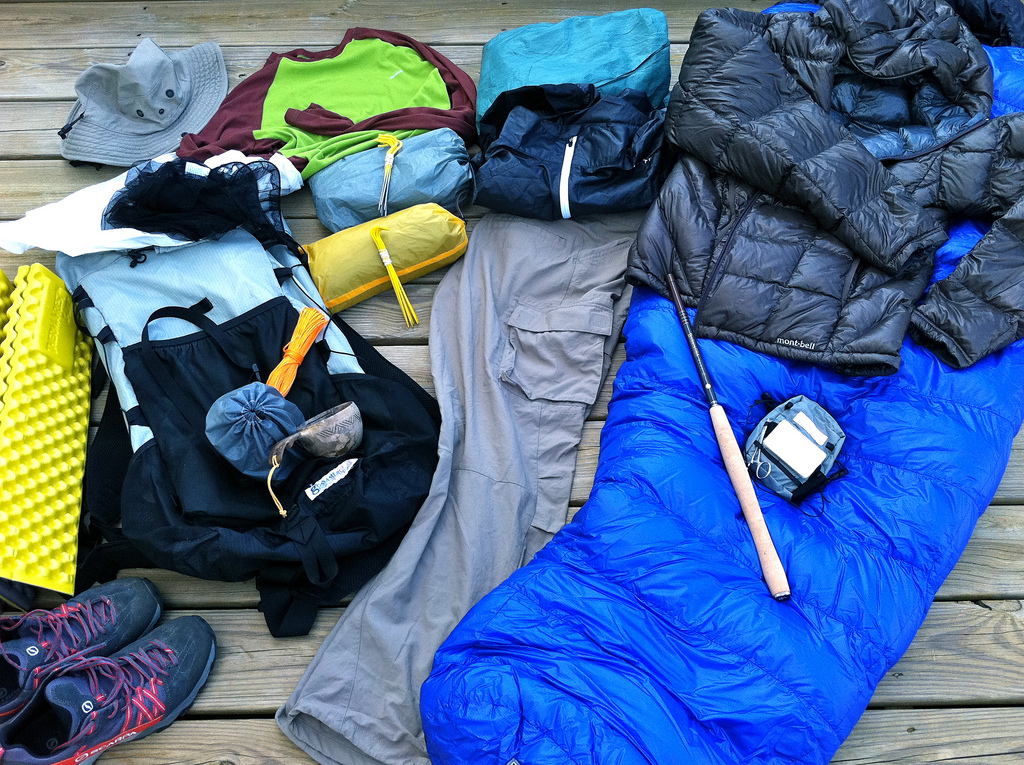
Assemble all the gear that you typically take or might take on a trip. You are going to weigh every piece of gear, and write down the weight, an accurate description of each piece and a note so that you’ll know exactly what it is and whether it needs any attention the next time you refer to your gear list. Make sure that you weigh all the individual components of your gear. A great example of this is your first aid kit. Don’t just weigh the whole kits and write down 9oz, weigh all of the pieces so that when it comes time to eliminate, you can be very granular in your approach. Your tent or shelter is another good example, separate out the tent poles, ground sheet, tent body, and the fly sheet. Be sure to break everything down into its component parts.
Using the Gear List
Now that you are ready to accurately weigh all of your gear, it’s time to start filling out a gear list. You can download a sample (blank) gear list template here, that I created for my own use. It was made using Microsoft Excel and will let you take advantage of the pre-formatted gear categories and automatic formulas (sections in yellow) that will sum up the weight of each section. If you do not have Excel check out OpenOffice.org or any of the other Microsoft-compatible solutions that are readily available and free. If you want to just print out a blank gear list and do it manually, here is a PDF version.
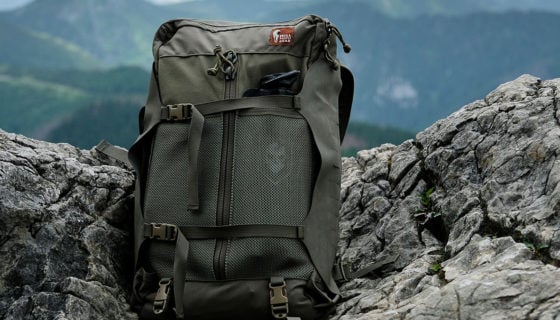
Editor-in-Chief’s Note: Brian’s template was instrumental for both Mike and myself when we undertook climbing 14’ers with the GORUCK Ascent!
In addition to using a gear list to track the weight of your gear and help you identify areas for improvement, it can be used as a checklist tool to help you gather, inspect and pack all of your gear before a trip. There’s nothing worse than getting a few miles into a hike and realizing that you left a critical piece of gear at home on the kitchen table. Your gear list can will you to avoid that from happening. The three check box columns on the left of the spreadsheet have been designed to walk you through the steps you need to perform as you start this process.
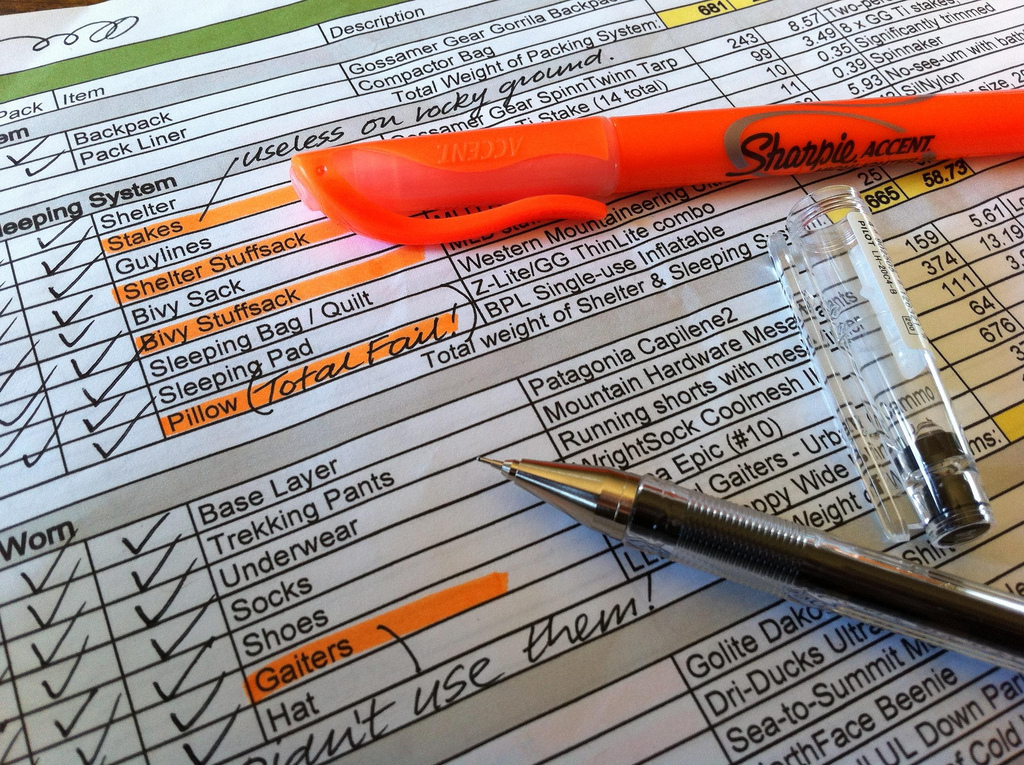
Using the template provided, check off each box as you find, inspect and pack each item of gear. As you get ready to weigh each individual piece of gear, first inspect it to make sure that it is functioning and that it doesn’t require any maintenance or resupply items. If it does be sure to make a note of that on your gear list to remind you.
Add a meaningful description for each item as you complete the gear list. Weigh your item of gear making sure that whether you use ounces or grams that you are consistent throughout your entire list. Use the notes section for maintenance issues or reminders.
Continue to weigh all of your gear and complete the list as much as possible. The template lists out most of the common pieces of gear that would be taken on a backpacking trip, but if you do not see a placeholder for a particular piece of gear you can add a row if using the electronic version, or simply use the blank line at the bottom of each section. Make sure that where possible you list the right items of gear that belong to each section. This will be especially important as you start to summarize the weight of each section in order to calculate your base (dry) weight and weight of consumables.
Weight Summaries
Once you have completed filling out the gear list, it’s time to start doing some calculations. If you are using the Excel version the weight summaries at the bottom of the gear list will have been automatically calculated for you. If you are using a printed version you will need to add up the weight for each of the list sections and then write them in the summaries section at the bottom of the form.
Your Base (Dry) Weight
Underneath the weight totals for the individual sections of the gear list you’ll see a summary labelled “BASE (DRY) WEIGHT OF PACKED GEAR”. Base weight definitions can sometimes vary from one gear list to another, but as a general rule of thumb your base (dry) weight is the total weight of your pack excluding items worn while trekking (such as clothing and footwear) and consumables (such as food, water and stove fuel). The gear list template provided calculates your base (dry) weight using this calculation and also includes any containers used to carry your consumables, assuming they are listed in the cooking section on the list so make sure you don’t miss them off.
Your Total (dry) Weight is the combination of your base weight plus all of the items worn while trekking (clothes and shoes). If you then add the weight of your consumables (food, water and fuel) you will end up with your total weight of all gear and supplies. This is not the same as the FSO or “From Skin Out” weight. See below for more information on how and when to use the FSO method.
The final calculated summary on the gear list template subtracts the weight of the items worn while trekking to end up with your maximum pack weight at the beginning of your trek.
From Skin Out (FSO) Method
The gear list template provided should guide you through all of the necessary steps to accurately determine your base weight, total dry weight and total maximum pack weight. But if for some reason you are unable to use that, there is an alternative method that you can use called the From Skin Out or FSO method. The difference between base weight and your FSO weight is that the FSO includes all of your gear, clothing AND fuel, but not your food or water. Or put another way, it is everything that you are carrying excluding food and water. Both methods are commonly used and are a matter of preference, but you need to understand the definitions of both in order to be able to compare your results with those of other backpackers if that is something you intent or want to do.
Analyze
After you understand how much all of your gear weighs you can begin the process of finding ways to reduce your base weight or maximum pack weight and work towards your lightweight goal. If you are familiar with spreadsheet software, you’ll find that using it is extremely useful to help sort and organize your gear list. It can be extremely useful to be able to sort your list sub-categories in descending order of weight. In this way your gear list not only shows you how much total weight you are carrying on a trip, but you can also see how much each of the items of gear in a given category weighs in relationship to the total for that category.
Update and Assess
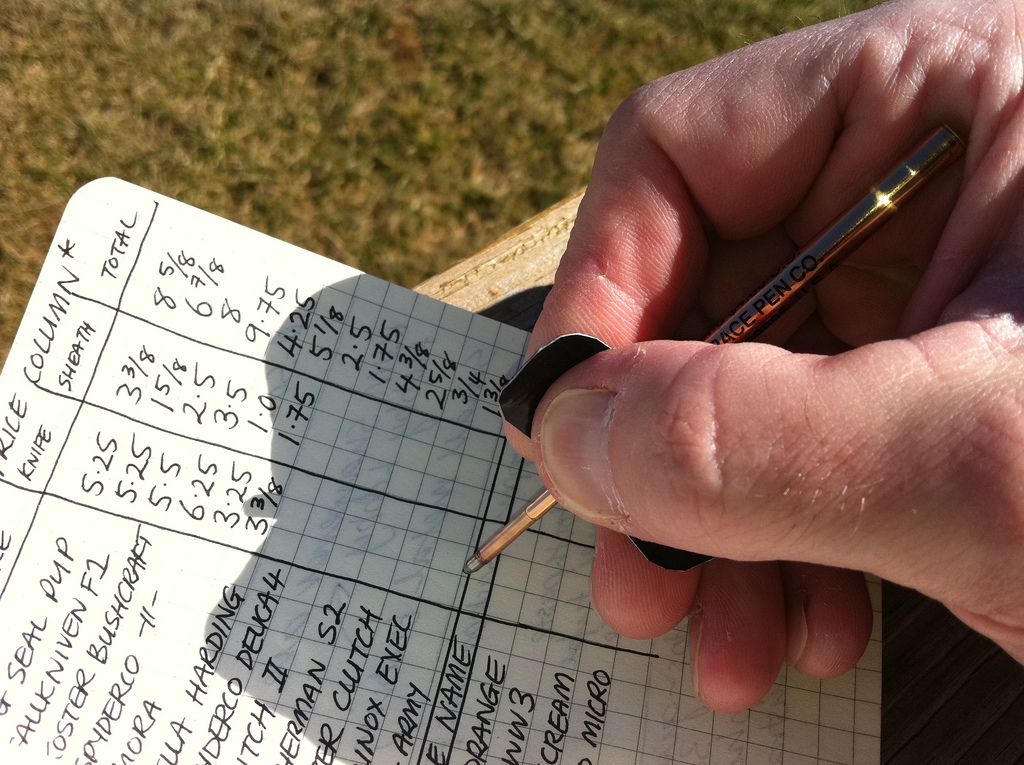
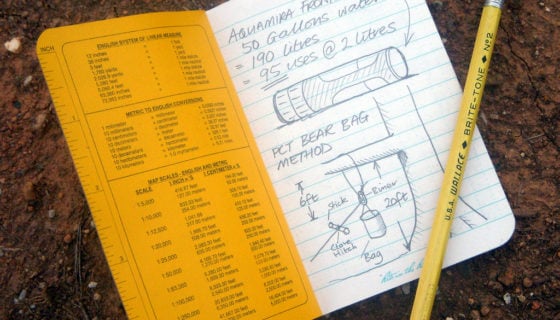
Now that you know how much gear and exactly what items you are carrying, it’s time to start keeping track of what works, what doesn’t work and what doesn’t even get used on the trail. There’s only so much elimination and weight reduction that can be done at home, so at some point you are going to have to validate this by getting outside and using your gear. Keep accurate notes using your notepad so that you don’t have to rely on memory to recall what it was that didn’t work and you thought could get left behind. Getting into the habit of good note taking will help you in the long run.
After each backpacking or hiking trip, use your notes to assess your gear list and make determinations on what you can adjust for next time. You may need more of one thing but less of another. Practice, practice, practice!
Conclusion
A gear list can be a powerful tool for helping you understand, manage, and reduce your overall pack weight. Your gear list needs to be constantly updated and tweaked as you adjust the items you carry and make notes along the trail. It serves as the reference point to where you are and where you want to get to with regards to pack weight. careful observation and experimentation both on and off the trail are key. Reducing your pack weight won’t happen over night, but your gear list can help you track your progress and keep you on the right track.
Editor-in-Chief’s Note: Brian is an avid lightweight backpacker and author of the popular Brian’s Backpacking Blog. Originally from Southampton, England, Brian has lived in the US for over 14 years, finally settling in North Carolina. His love of the outdoors started at a very early age, almost as far back as he can remember. Now he spends as much time backpacking as his work schedule and family life will allow. Be sure to check out his blog for other great backpacking tips & tricks and gear reviews.

Discussion