Maintain Your Cutting Edge with these DIY Knife Sharpening Techniques
There’s enough information out there about sharpening knives to fill an encyclopedia and in fact many books have been written on the topic.
Many of us that sit down to sharpen our cutting tools end up with a dull edge, or only occasionally achieve a nice sharp edge. While some of us can get a sharp edge consistently, we find that it doesn’t last long.
I was such an individual at one time and this article is aimed at laying a foundation for getting a consistent edge that will last.
Sticks & Stones
With so many options available for sharpening a blade, it is important to look at the 1tools used to accomplish the task, and what purpose they best serve. Soft stones, like Arkansas stones, are good for putting an initial edge on, but tend to be coarse. An edge from one of these alone usually will not last.
Diamond stones come in many grits, but will remove material fast and the diamond dust will wear off after many uses. I will usually only use these if I need to do extensive repairs to the edge of a blade. Diamond sticks are great for sharpening serrations and are handy to pack for use in the field, although they have the same drawbacks as diamond stones.
My preferred stone is a Japanese water stone, with two different grits. Mine has 300 grit on one side and 800 grit on the other. I will mainly use the 800 grit, unless I have heavily dulled my knife. They are kept in water, and during use will develop a slush of water and stone material that helps to polish the edge as you sharpen.
Technique
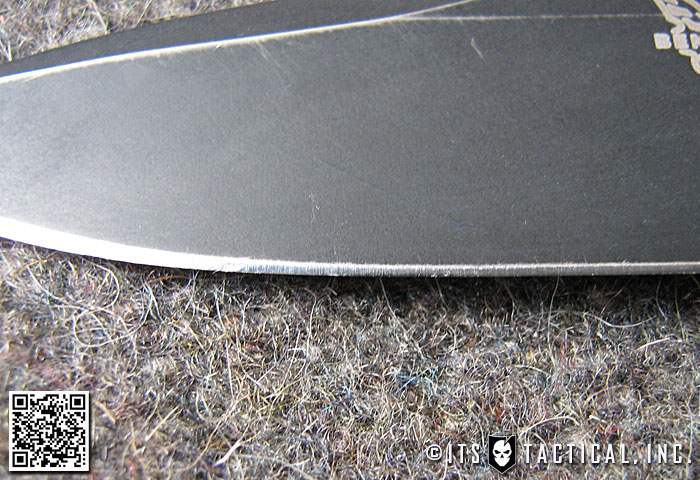
Once you have selected a stone, work with one side of the blade, pushing the edge across the stone with the cutting edge first. Do this until you feel a small burr develop on the opposite side of the cutting edge. This lets you know that you have removed enough material to cut a new edge. Flip the blade over and repeat the motion until a burr has been developed on this side, then move on to a finer grit to polish off the burr.
Different stones and blade materials will affect how quickly the burr will develop, so just keep feeling for the burr after every couple of strokes. A tip to ensure you are using the correct angle is to use a marker on the edge being ground. If the marker is only removed near the edge your angle is too steep, and if there is still marker near the edge it is too shallow.
You want the entire mark to be ground off and you can repeat this method to ensure a consistent angle until you get a feel for the grind of the blade.
Stropping
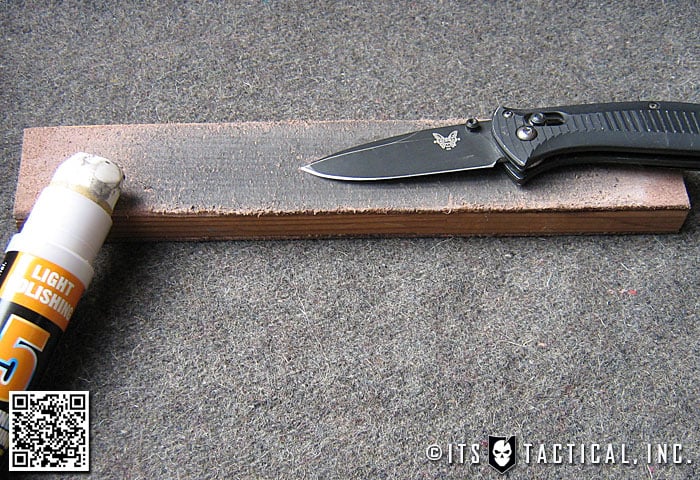
Stropping a blade for short periods will remove any wire edge that stones may leave behind. Stropping for longer periods will leave your blade polished, razor sharp, and will hold an edge considerably longer. I have seen a number of materials used to strop a blade, from cardboard to leather. In a pinch you can even use denim or canvas, though for safety reasons preferably not when on your body.
Leather strops can be expensive, but with a simple DIY project you can make your own for much less. Use contact cement to attach a leather belt (not the fake pressed type leather) to a block of wood, rough side out on one side and finished side out on the other. The strop may be charged with a light coat of polishing compound (stick type, not paste or liquid).
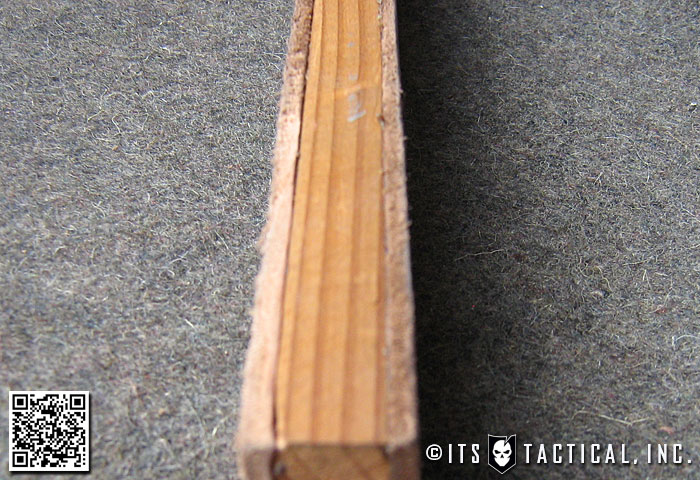
Using the strop is easy: just drag the blade across the leather away from the cutting edge (opposite of how you would use a stone) at the same angle as if you were sharpening. Most of the strop work will be on the rough side. Only use the smooth side to clean up the edge with just a couple of final passes.
If you find that you have a sharp edge that dulls out quickly, it’s because there’s a wire edge that feels sharp but folds over after a couple of uses. More stropping will remove this wire and leave you with a clean sharp edge.
Final Thoughts
Deciding whether to strop a blade to a polished razor edge depends on how you will use it. Stones leave micro serrations that will make slicing tasks easier, like cutting through rope. Stropping for long periods will polish these micro serrations away, and will make push cuts easier, like carving a spear point or shaving.
My preference for my EDC, survival, and hunting knives is to strop them to a polished razor finish, because I never know how I will need to use them. A polished edge may take a little more effort for slicing jobs, but the edge will usually last longer no matter what. You will find it more difficult to make push cuts with a blade that isn’t polished and they will tend to lose their edge faster.
I like to stay on top of keeping my tools sharp, so they won’t take as long to sharpen. By doing this you can usually get away with using a higher grit stone the first time. With a little practice you will be able to put a consistent sharp edge on your cutting tools and get the most out of them.
Editor-in-Chief’s Note: Please join us in welcoming Adam Ziegler as a contributor on ITS Tactical. Adam is a Navy Veteran and avid outdoorsman. He spends his time enjoying hunting, hiking, fishing, camping and shooting.



Discussion