


 Next up on our Knot of the Week climbing mini-series is learning how to coil a rope for storage or carry. This method is very quick, convenient and will prolong the life of your rope over other storage methods.
While we use the term coiling, the real definition of this method is called flaking. Flaking allows the rope to be gathered in the natural way it lies and doesn’t add any unnecessary twists to the rope. Twists can kink over time reducing the life of the rope fibers, as well as lead to knotting when undoing the rope.
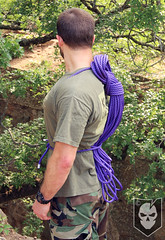
Carrying a rope in this configuration will allow a climber to move with the least amount of weight possible to reach their destination. A place where a few of us go top-roping requires a steep free-climb to get the rope set up.
Carrying the rope like this helps maintain a good center of gravity. Trying to free-climb with a backpack full of rope adds unnecessary risk to an already dangerous task.
Rope Coil » Misc.
(Strength: 2/Security: 2/Stability: 2/Difficulty: 2)
Please refer to our Knot of the Week introduction post for a description of what these ratings mean.
Make sure to leave at least six feet of rope on the working end to make the turns and have enough to tie around your body.
Uses:
- Carrying a rope while climbing
- Storing a rope naturally
Instructions:
- Find the center of the rope
- Lay the bight of the center across your left hand hanging down
- Flake the rope forwards and backwards trying to reach the same low point each time
- When you get to the last six feet or so, wrap a few turns around the upper part of the flakes
- Pull the working end through the loop you’ve made with the flakes
- *At this point you can tie off the working end for storage or continue for carry*
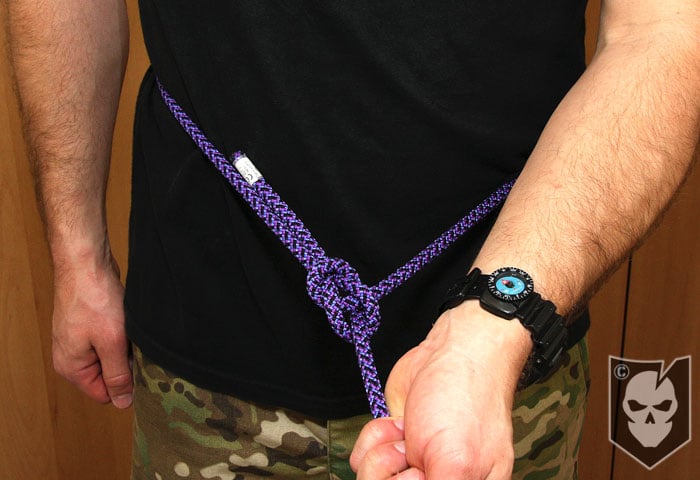
- Separate the working ends across the base of your neck
- Pull the working ends to the small of your back and cross them
- Bring the working ends to your waist and tie off with a square knot
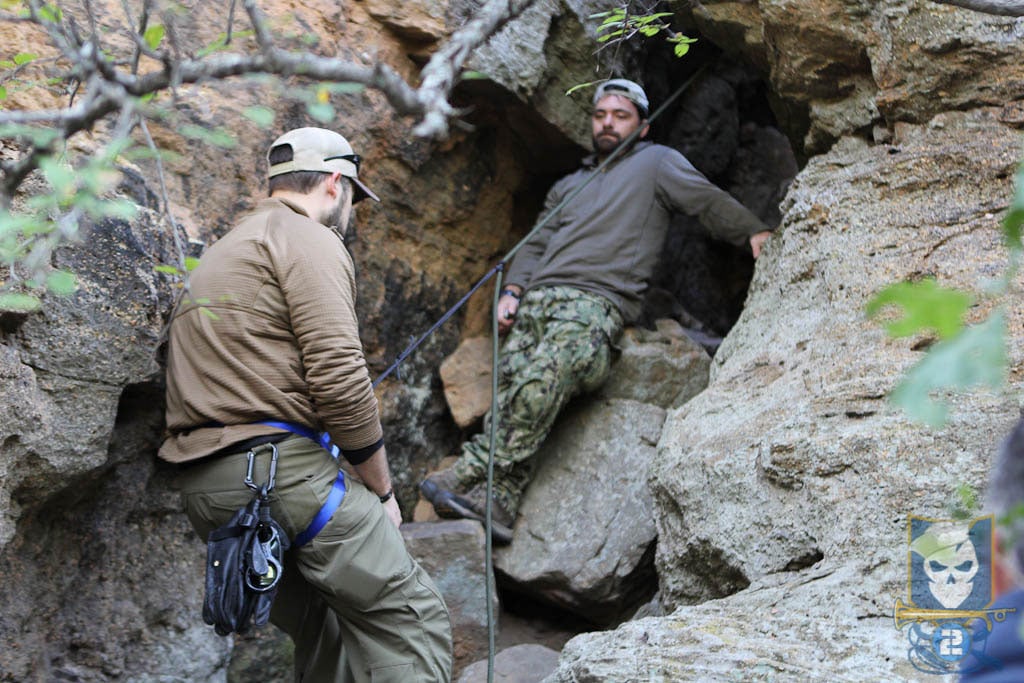
- Go climb!
View the gallery below and follow along with the steps above!
[flickrset id=”72157618740763563″ thumbnail=”square” overlay=”true” size=”medium”]
Check back next week as we continue our Knot of the Week mini-series with the Prusik Knot!
Discussion