


Knot of the Week: Crown Knot
Knot of the Week: Crown Knot
 We continue our look into decorative knots this week with another popular pattern called the Crown Knot.
You’ve probably seen the Crown Knot in keychains and other interesting projects.
Today we’re going to show you how to tie a four-strand Crown Knot, and why it’s a great way to carry paracord.
It isn’t used solely for decorative work however, as it can also be used as a stopper knot to keep a rope from pulling through a hole, and the three-strand Crown knot can form the basis of a back splice.
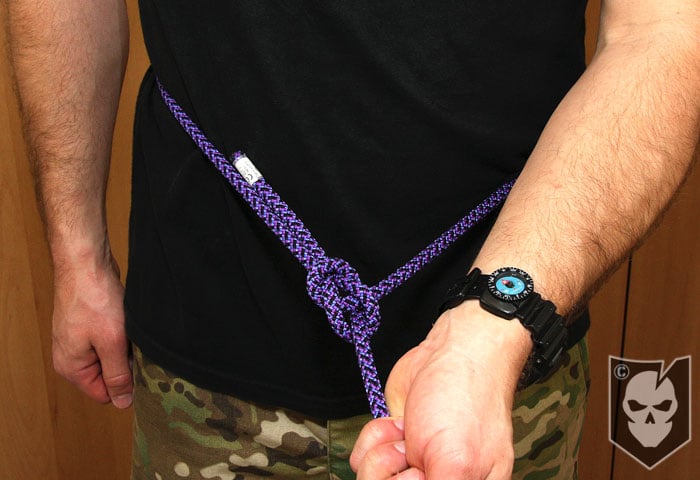
Using paracord to make a keychain, bracelet or something else you carry daily, will ensure that you always have some readily available in an emergency.
If you remember back to our article on the Mini Survival Kit, we recommended that in addition to the kit, you also carry some paracord with you.
Crown Knot » Decorative / Stopper
(Strength: 5/Secure: 4/Stability: 5/Difficulty: 4)
Please refer to our Knot of the Week introduction post for a description of what these ratings mean.
The Crown Knot pattern works by returning the working strands back upon themselves.
Uses:
- Stopper knot
- Starting a back splice
- Decorative knot work
- Carrying paracord for emergency purposes
Tying Instructions:
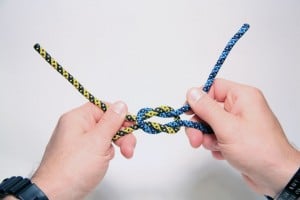
We tied this four-strand Crown Knot using a 26″ black length of paracord and a 26″ desert camo length of paracord. We’ve used two different color strands of paracord to simply show the pattern more clearly.
- Find the middle of both strands of paracord and halve them
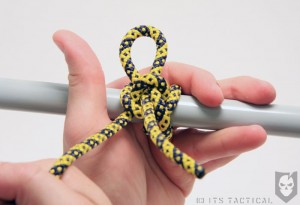
- Create an “X” with the two strands of paracord
- Take the top most strand and make one turn around the bottom strand
- Take the right side bottom strand and bring it over the first loop created by the turn, and over the second
- Take the left side bottom strand and bring it over the second loop and under the first
- *Please follow along with the photos or the instructions could get awkward*
- Tighten each working end individually
- Flip the knot you’ve just created over (this side will become your “working side”)
- Orient this side so that you have the desert camo paracord coming from the top and bottom and the black from the right and left
- *Follow the pattern below*
- Right side over, Top down, Left over, Bottom up and tuck under right – tighten
- Now you’ll reverse the order of the right and left sides
- Left side over, Top down, Right over, Bottom up and tuck under left – tighten
- Continue to alternate these two patterns until you reach a desirable length
- Tighten each working end one last time
- Cut off the ends of the paracord one at a time, leaving about 1/16 of an inch
- Burn the ends, and provide pressure while cooling to fuse the melted paracord into the surrounding paracord
- A keychain can be threaded through the top section of the Crown Knot for display on a keychain
View the Flickr gallery or YouTube video below and follow along with the steps above!
[flickrset id=”72157621940228013″ thumbnail=”square” overlay=”true” size=”medium”]

Discussion