


Turn Your Trash Into Treasure with These DIY Cardboard Range Targets
Turn Your Trash Into Treasure with These DIY Cardboard Range Targets
Recent changes in culture and technology have made it more convenient and cheaper than ever to order goods and have them delivered directly to your home. However, any paradigm shift brings compromises. We spend more money than we should accumulating things we might not really need; our homes and recycling bins fill up with more packing material. In addition, the air quality suffers from the fuel burned by delivery trucks making more stops to nearly every building.
If you’re like me, you try to reduce your waste as much as possible by turning trash into treasure. In this article, I’ll show you how to reuse the cardboard from large boxes to make IDPA/IPSC-style cardboard targets. While these targets aren’t typically expensive ($0.25-$.75 each), they’re bulky, which results in shipping costs that offset the value and price-per-target. There’s definitely an argument to be made that your free time is worth more than the price of these targets and that’s completely valid and fair. However, I believe there are other benefits, some of which are difficult to put a price on, that may convince you that it’s still worth your time.
- ITS has written before about how large boxes from high-ticket items (such as televisions) can make you a target for burglars.
- Spare boxes are the perfect material for this project, as they’re almost identical to the material in IDPA/IPSC-style cardboard targets!
- Every firearm owner will benefit from training and having a pile of targets available will increase your opportunity to do so.
- You could use some exercise, fresh air and sunshine. Get outside and work with your hands.
Tools Needed
- Pencil
- Razor/Box Cutter (I prefer the adjustable kind w/snap blades)
- Target Template
- Cardboard (Thick enough to handle but not so thick that staples won’t go through it.)
- Gloves (optional but recommended)
Start by flattening out your cardboard material. Cut along one or two seams to open it up into one or two large pieces. This helps to maximize the material, getting as many targets as possible from the box.
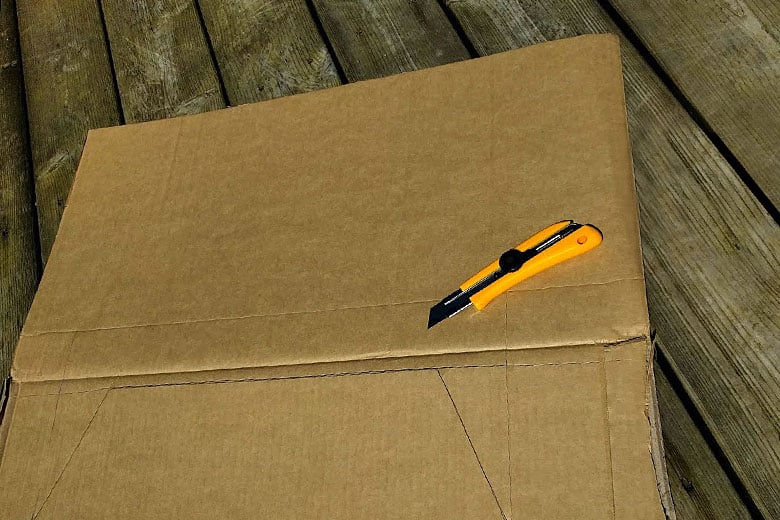
Next, use an existing target as a template to trace the outline onto your material. I find that a pencil works better on cardboard than a pen or a sharpie. Remember, your trace marks and cuts don’t have to be perfect, as you’re going to shoot it full of holes later on!
Please Note: If you don’t have a target to use as a template, that’s ok. You can use a ruler and straight edge to draw and cut the first one by hand. Click here to see the official IPSC Target Dimension for reference.
Once you’ve got the template traced on all of your cardboard, it’s time to start cutting. As with any project, it’s best to use the right tool for the job. Cardboard can dull an edge quickly, so don’t use your carry knife for this project, use a box cutter. Speaking of box cutters and razor blades, these are often the most dangerous tools in the shop.
If you slip while cutting towards yourself, you can end up with a nasty wound, blood all over your targets and a trip to the hospital (which will totally ruin the cost/benefit ratio). Exercise caution! Be mindful of your cutting direction, wear gloves, have a first-aid kit nearby and your mother on speed-dial.
I also recommend making these cuts on a surface that you don’t care about. If you slice into your carpet, hardwood floors, or tiles your significant other won’t be thrilled.
Since we’re working with large pieces of cardboard, they can be unwieldy to spin around and make each cut. Start by making long straight cuts, just through the first side of cardboard, with the intent of breaking the large pieces down into smaller pieces. Save the detail cuts and trimming for the end.
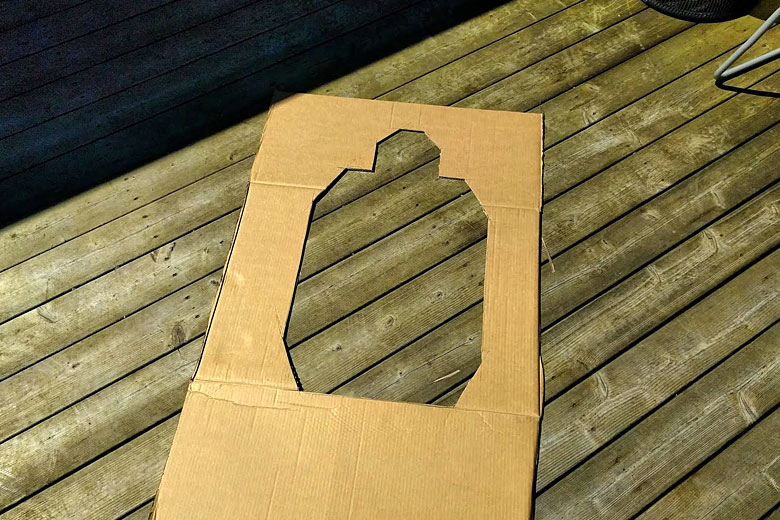
This process will also avoid the creation of a target silhouette, which might tip-off dumpster diving criminals that there are guns in your home.
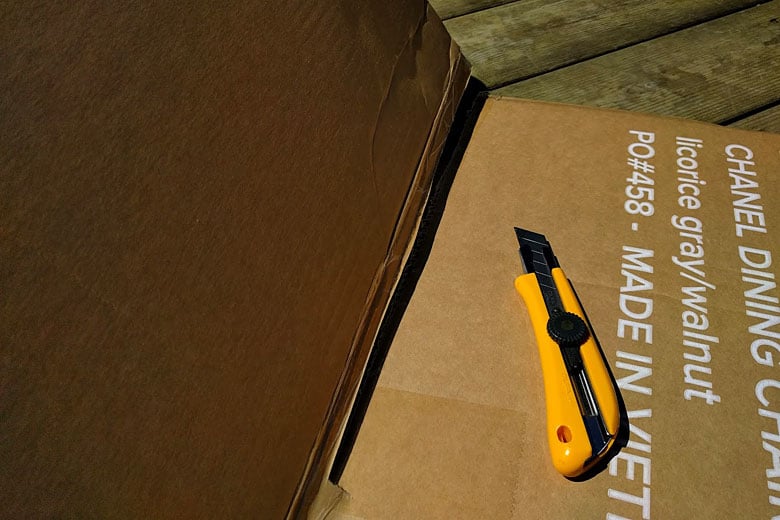
After you’ve cut the first side of the cardboard, flip it over and bend the material along the cut. This will make it easy for you to slide the razor along the back side of the cardboard and it’ll come apart easily.
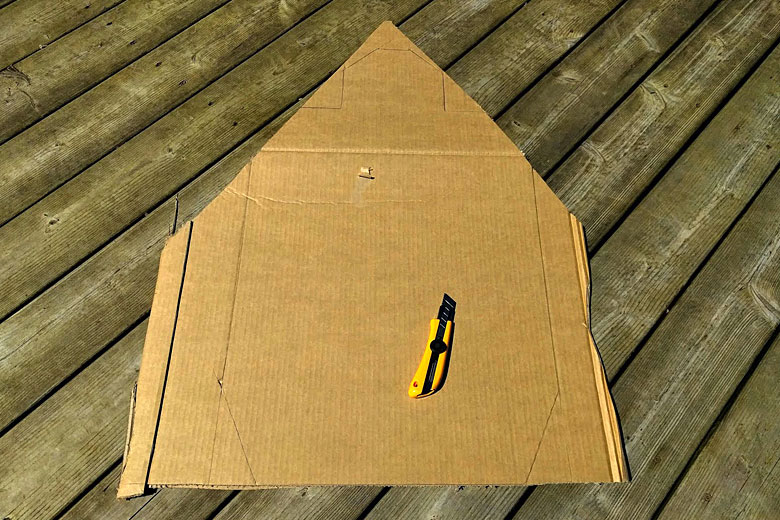
Continue breaking the material down in this manner until you’re left with a finished target. Put it onto a pile and move on to the next piece.
Once you’re finished, you’ll be left with a pile of targets and minimal scrap cardboard that should easily fit into your recycling bin (or additional project). Now you can draw some score lines onto it or put on sticker targets. Be sure to keep your best target to use as a template in the future!
Editor-in-Chief’s Note: Please welcome Eric Higgins as a contributor on ITS. Eric lives in the Pacific Northwest, where he hacks on digital and physical devices. He enjoys shooting precision rifles, making a mess of his kitchen and spending time in the wilderness with his dog.


Discussion