


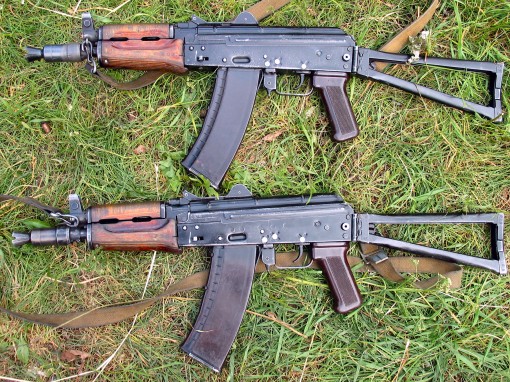
DIY AKS-74U Krink Build – Part 2: Completing the Tula Parts Kit Demilling
DIY AKS-74U Krink Build – Part 2: Completing the Tula Parts Kit Demilling
- DIY AKS-74U Krink Build – Part 1: Parts, Tools and Disassembling the Parts Kit
- DIY AKS-74U Krink Build – Part 2: Completing the Tula Parts Kit Demilling
- AK Krink Build Part 3: Trigger Guard Riveting and Front Trunion Drilling
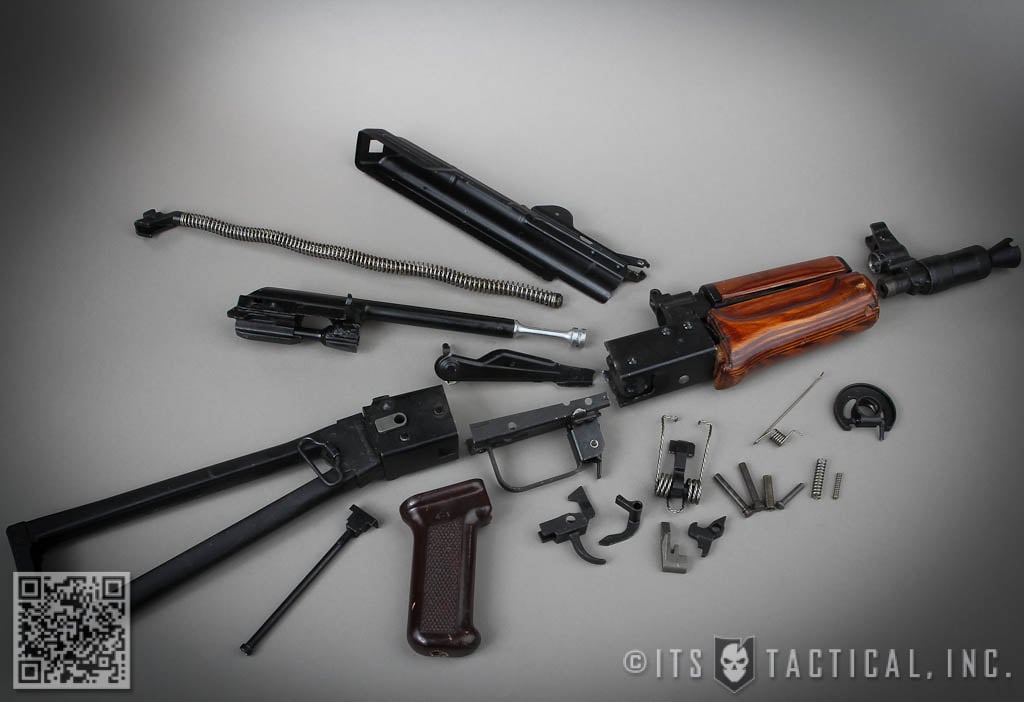
Continuing our DIY AKS-74U Krink Build today, we’ll be completing the disassembly and demilling on our Tula Krink Parts Kit. Before we go any further, I’d like to discuss a question I received about this build. I was asked if the processes we’re going over would translate to any DIY AK Build. For the most part, the answer is yes.
Many AKs are imported into the US in a demilled parts kit and the process for completing the demilling is roughly the same. You still need finish disassembling the parts kit you receive before you can start putting it back together again. You may be able to source a fully demilled parts kit or even individual parts, but you really need to be sure that the parts were originally part of the same gun. That’s truly the only way you can safely ensure that the AK you’re building will assemble correctly.
When I say that you need to make sure the parts were from the same gun, I mean the integral parts like the trunions and any proprietary parts. To the best of my knowledge, I couldn’t just use any old front-sight/gas-block from an AK74 for this Krink build, as it wouldn’t contain the integral functionality of the Krink FS/GB to attach the correct booster.
Barrel Pin Removal
To remove the Barrel Pin from the Front Trunion, you’ll need your 12-Ton Press, the AK Builder Barrel Press Kit and the small u-shaped block from the AK Builder Riveting Jig to help stabilize the trunion as the pin is pressed out.
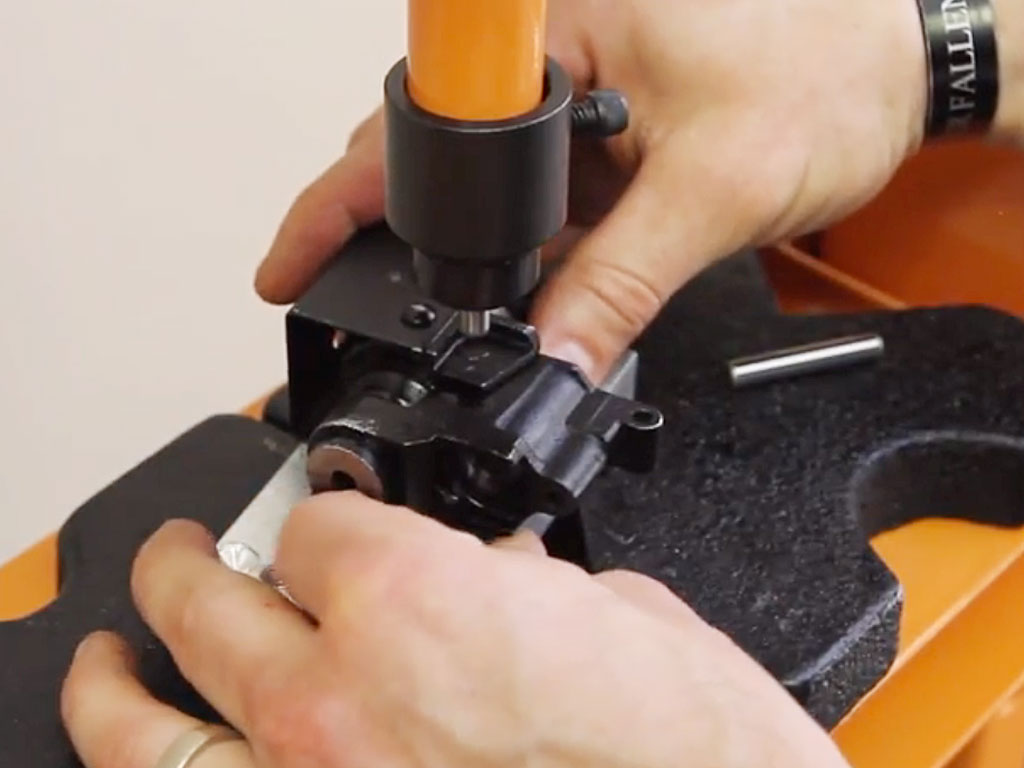
After you’ve positioned the trunion correctly on the aluminum plate, ensure the press is in-line on the pin and get started with the smaller Barrel Press Kit pin. You’ll then switch to the longer pin after it starts to move. You’re going to hear a loud pop at this stage as the pin is removed, due to the tremendous pressure it takes to drive out the pin. Press as straight as possible and remember to hang onto your barrel pin, because you’ll need it again during assembly.
Front Trunion Barrel Stub
Using the Barrel Press Kit again, set up the two included bars over the V notch configuration on your 12-Ton Press blocks to give yourself a larger opening to work with. The Front Trunion is supported on either side by the bars as the barrel stub is pressed out.
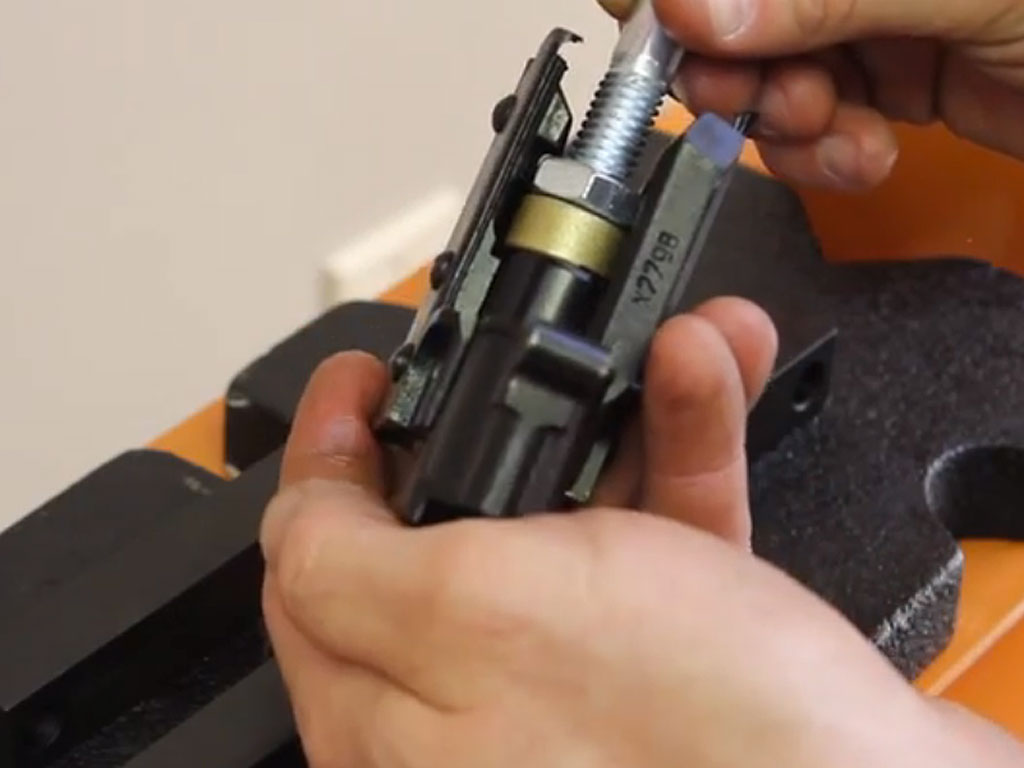
You’ll then insert the included bolt with the brass nut on the end and align the step on the nut with the extractor notch on the barrel. Once it’s lined up a few presses on the shop press will free the Barrel Stub from the trunion. Once it’s removed, we’ll still need to separate it from the Rear Sight Tower, which we’ll tackle in a bit.
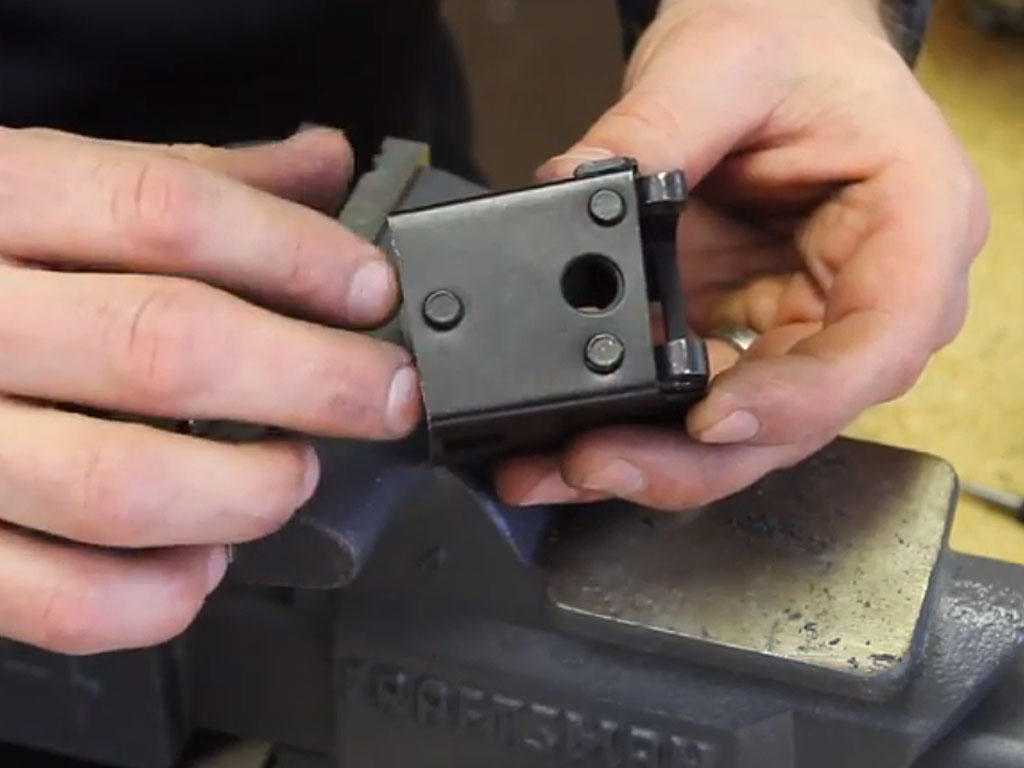
Front Trunion Skin
The first step in removing the remaining demilled receiver from the front trunion is to grind down the rivet heads flat on each side. This will better enable us to reach the remaining rivet still left holding the skin on with an angle grinder. A cut along the bottom of the latch side on the demilled receiver is made with the angle grinder, so that we can save a portion of the demilled receiver as a template.
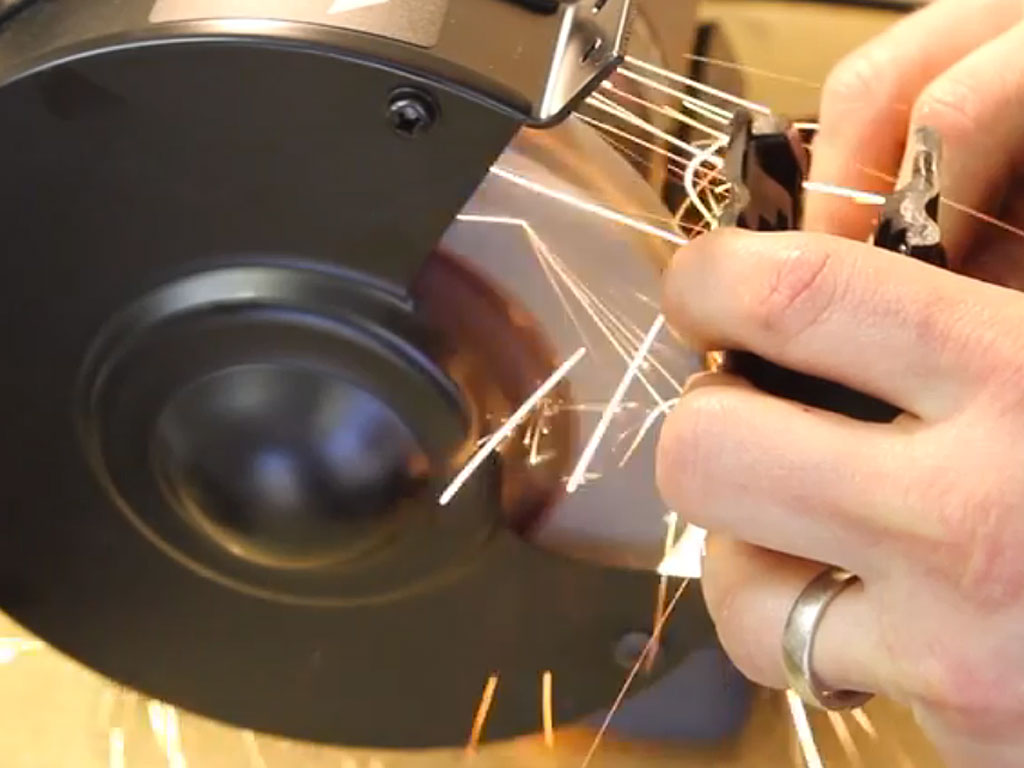
This will be used to mark the location of the six rivet holes that aren’t already pre-drilled in our 74U Receiver. The cut is also important so that when the skin separates we have that template ready to go.
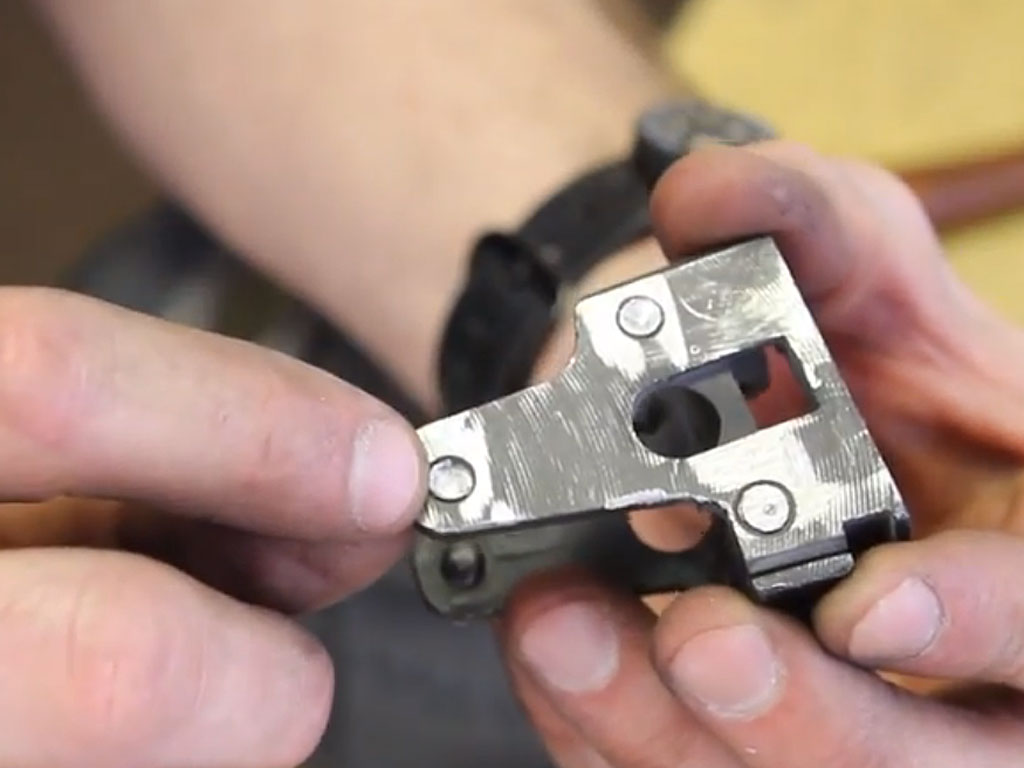
After the rivets are sufficiently ground down, stick the receiver in the vise and finish separating the rivets from the Front Trunion by using a screwdriver and a hammer to pry them loose. Once the skin is removed, go back and knock out the remaining rivet pieces with a punch and hammer. I used a combination of an AR Taper Pin Punch and a ground-down 3/32″ Punch.

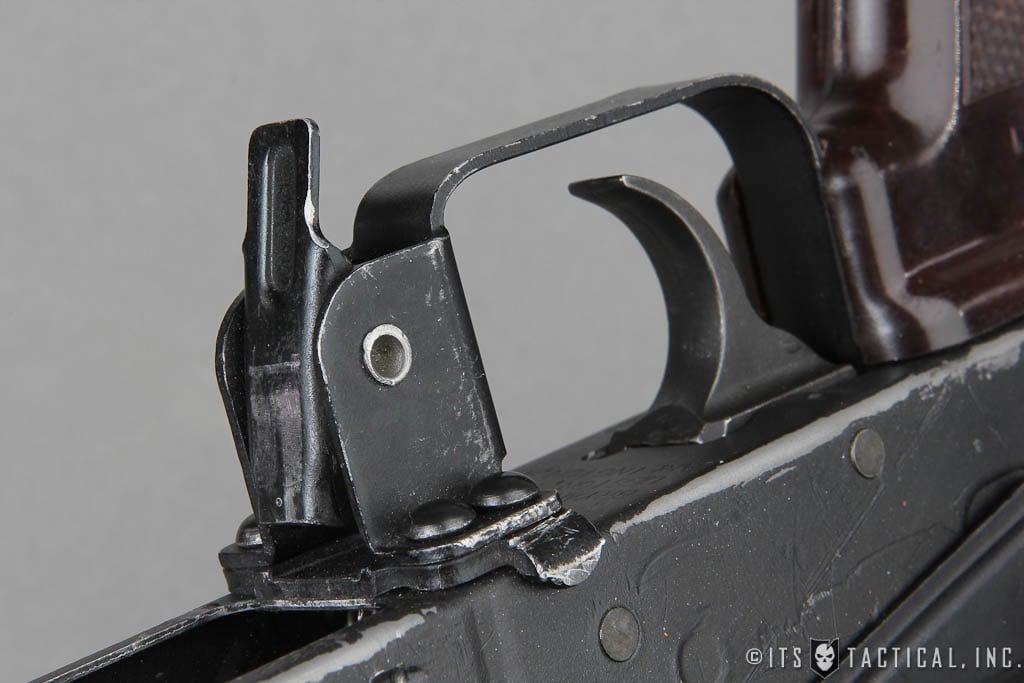
Rear Trunion Skin
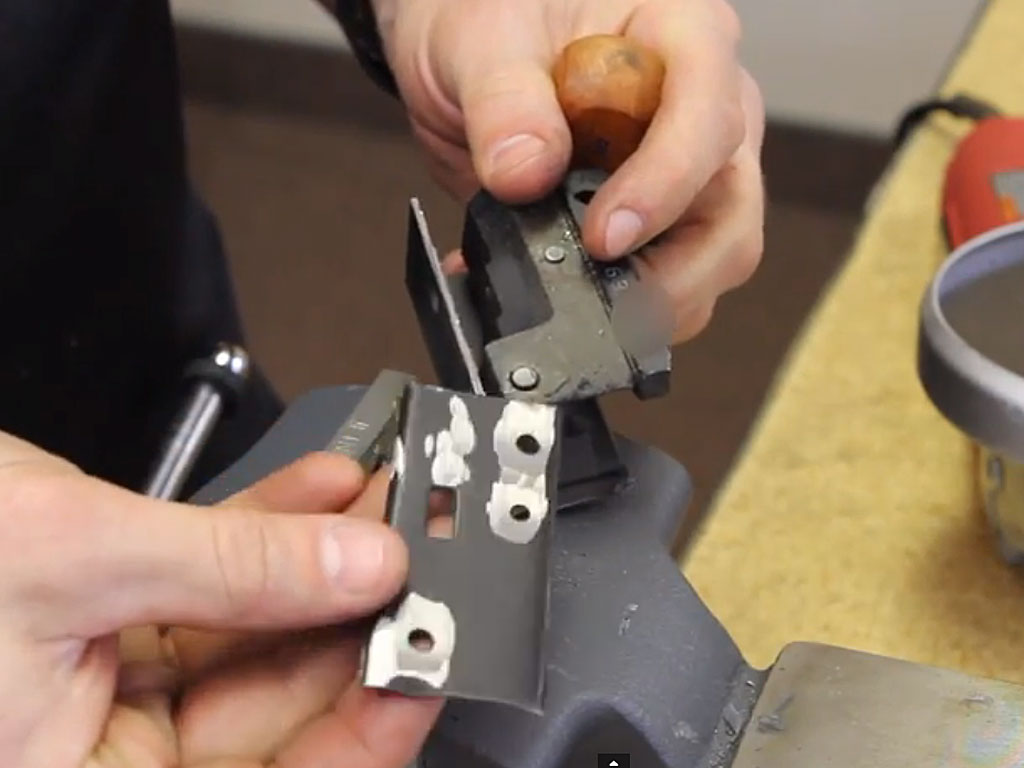
Again on the Rear Trunion, we’ll grind down the rivet heads on the bench grinder and then move onto the angle grinder to finish them off. Pay particular attention that you don’t damage the hinge when grinding. We’ll also score a line on the bottom side of the receiver skin so that it filets off when separated from the Rear Trunion.
After the skin is removed, you’ll need to flatten out the leftover rivets on the bench grinder and then center punch them to prep for drilling them out on the drill press. Since the two rear rivets are actually one long rivet, I started to drill it out with a #21 bit and then chased it most of the way down with a #15 drill bit. The other four rivets were just slightly drilled into so that they could be punched out. Always be sure to measure for yourself though so you don’t drill a larger hole into your trunion than was there before.
Numbered drill bits are challenging to find and this information and table on Wikipedia might help you out. Cobalt drill bits are recommended as well, due to their strength.
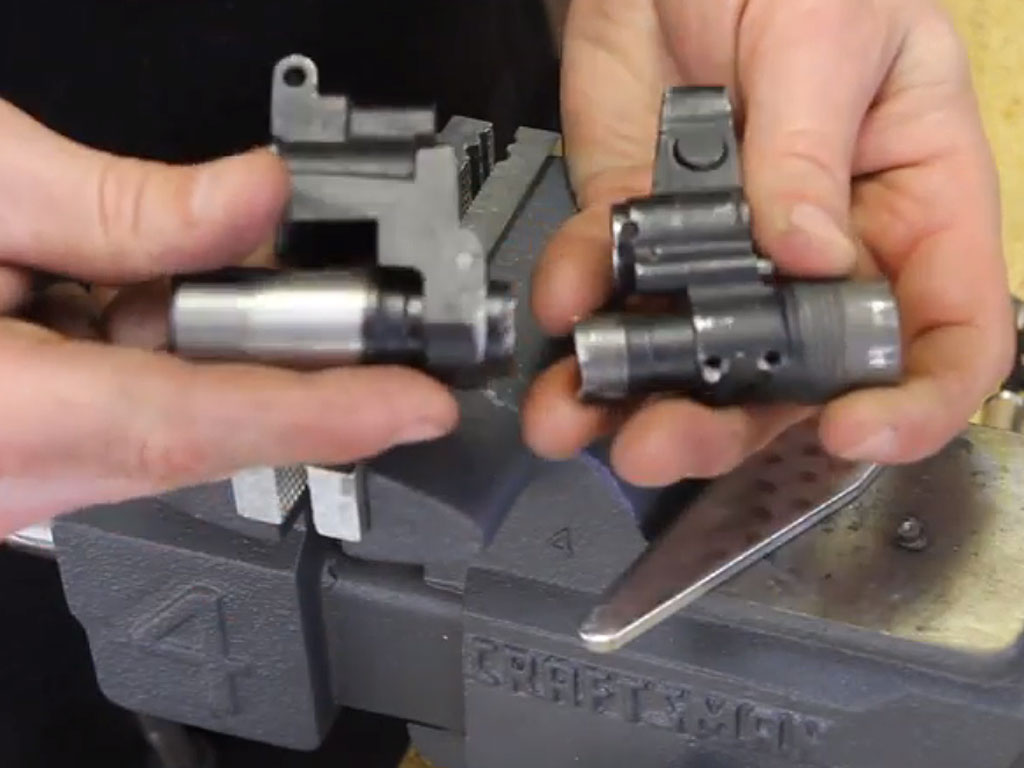
Final Steps
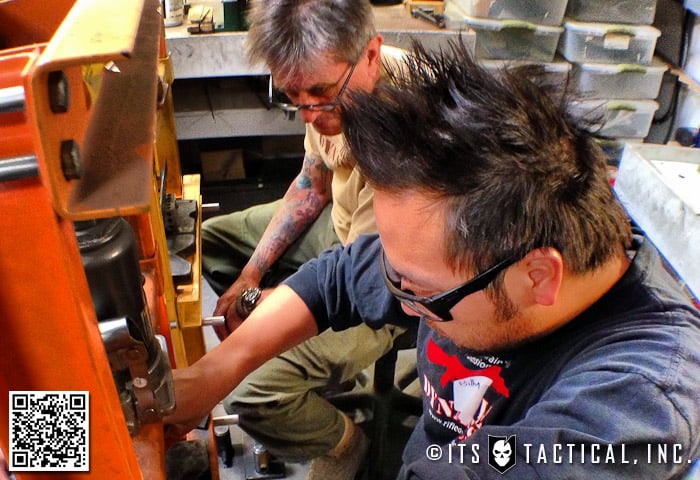
The final three steps in the demilling process are quite complicated and void of any pre-made jigs or tools to help you out. These steps are removing the pin from the Rear Sight Tower (which may seem easy in theory,) pressing out the remaining barrel stub from the Rear Sight Tower and pressing the barrel stub out of the Front Sight/Gas Block.
Rather than get into specifics in the article, it’s best you follow along here with the video. I’ll go into exactly how we modified things and jigged everything up to get these final steps accomplished.
I highly recommend that you complete the whole demilling process before starting on the assembly, because the way you’ve removed the various parts will often give you a clue on how they’ll go back together. Take good notes and remember to properly label and store the parts you’re removing. Keeping things together is important, as when I reached this point, my workbench was cluttered and it would have been really easy to lose a small pin.
Next up in our DIY AKS-74U Krink Build, we’ll start riveting together the receiver!
Discussion