

May is Stop the Bleed Month and aims to raise awareness on the importance of bleeding control. One of the most valuable tools you can keep on-hand to control bleeding is a reliable tourniquet.
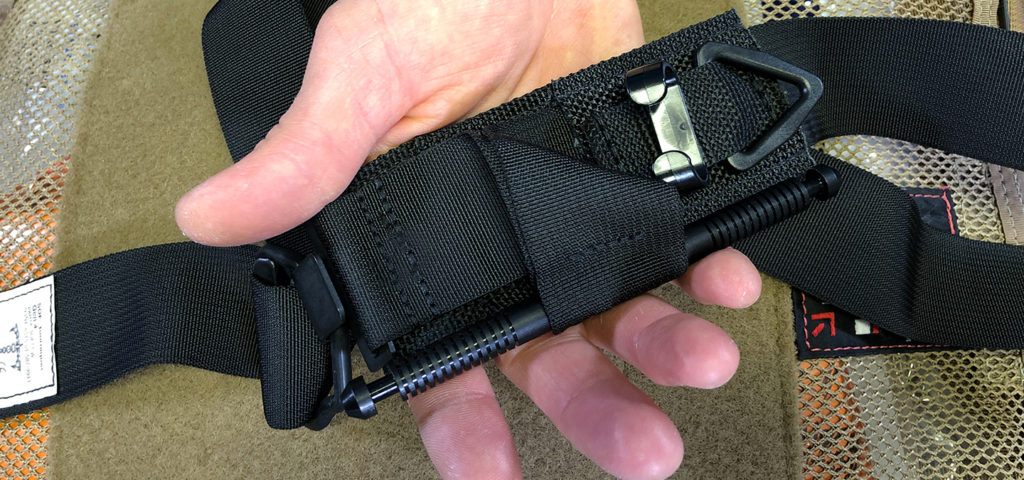
To apply a tourniquet, orient it so that the direction of pull is toward the mid-line of the body. Place the tourniquet as high as possible on the injured limb, but never place it on a joint. Grab the natural loop of the tourniquet and pull toward the center line. By not grabbing the tail of the tourniquet first, you’ll prevent it from spinning and control it much better during one-handed application.
Next, pull the tail of the tourniquet to remove as much slack as possible. If there’s still slack left, grab and move the base of the tourniquet and remove the remaining slack. Now turn the windlass of the tourniquet until the bleeding stops. Anchor the windlass by locking the end into the retention clip or d-ring. Lastly, remember to note the time that the tourniquet was applied so that higher echelon care can take note.
Practice is important and so is having your tourniquet ready to use. Consider checking out our patent-pending TourniQuick® Pouch and remember, seconds count when you’re bleeding out.