We’d like to introduce our first Knot of the Week mini-series, climbing knots. We’ll be reviewing some of the most common and useful knots used in climbing and mountaineering for the next few weeks.
Today we start with the Tape Knot. The Tape Knot is a quick and simple knot which only slightly differs from the traditional overhand knot or water knot. A Tape Knot is tied with tubular webbing, which is sometimes referred to as tape. Tubular webbing is used in climbing to make slings, runners and anchors due to its strength, surface area and ability to lie flat.
We’ll be using the Tape Knot in our demonstration to not only show how to tie it, but also how to join opposite ends of webbing together to make a sling, runner or anchor.
Tape Knot » Bend
(Strength: 2/Security: 3/Stability: 2/Difficulty: 2)
Please refer to our Knot of the Week introduction post for a description of what these ratings mean.
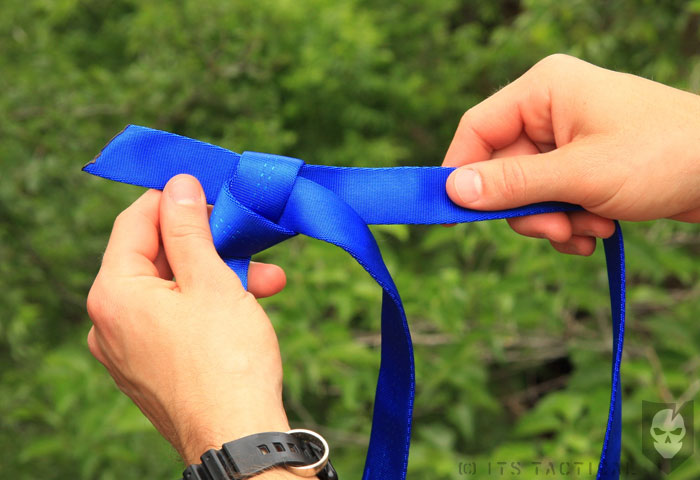
Make sure the initial Tape Knot is tied loosely so the opposite end of the webbing can be threaded through easily.
Uses:
- Making a sling, runner or anchor
- Join two ropes
- A knot less likely to get caught when getting pulled over rocks
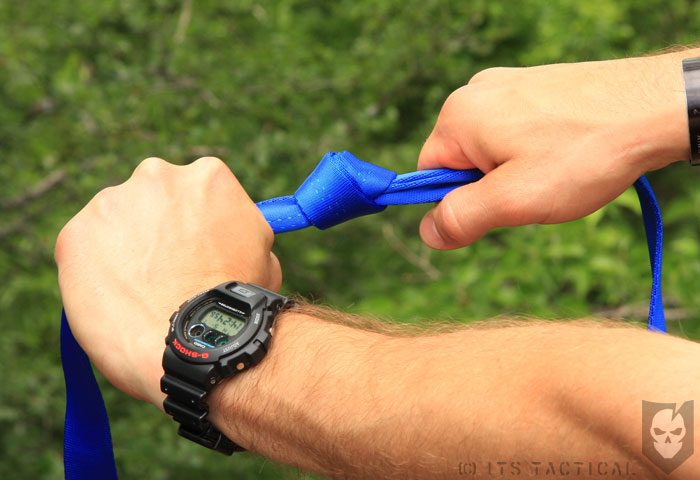
Instructions:
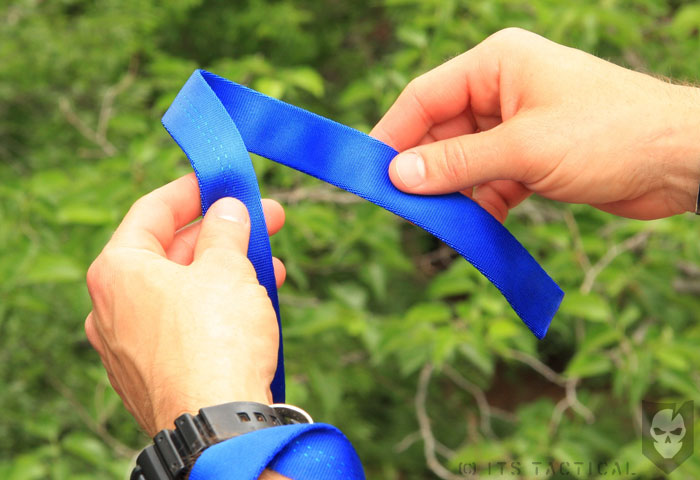
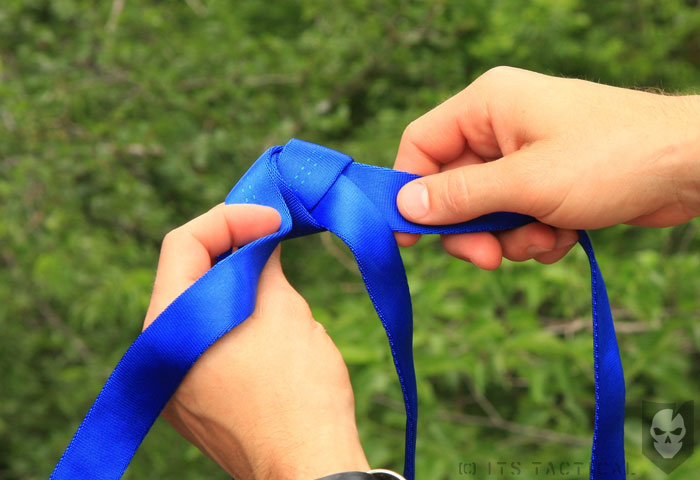
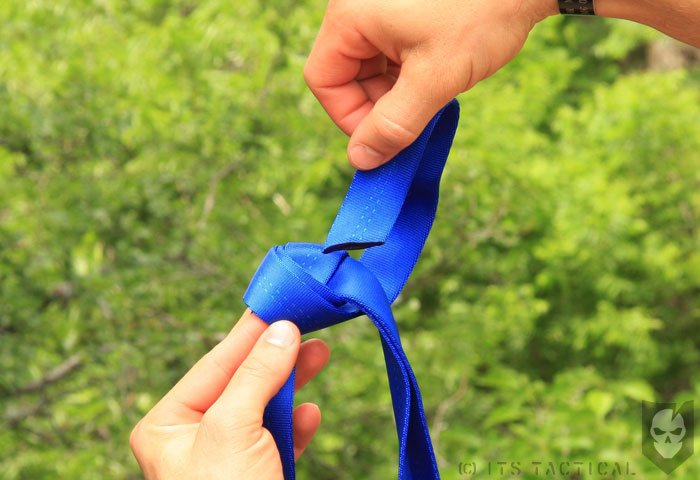
- Start with a simple overhand knot in the tubular webbing
- Ensure you leave at least an 8 inch tail on the working end
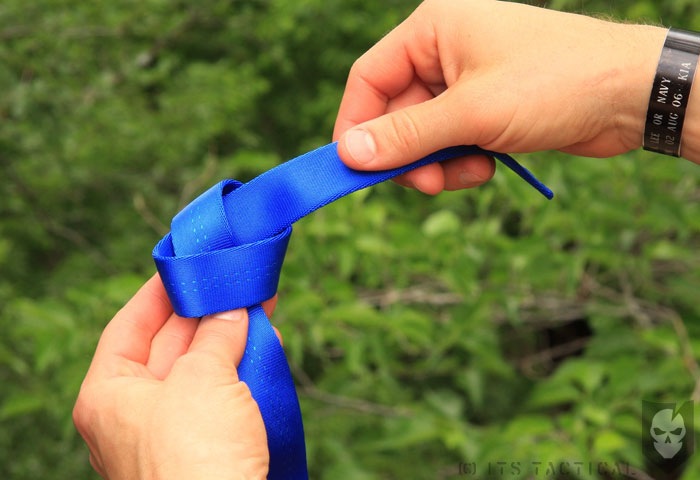
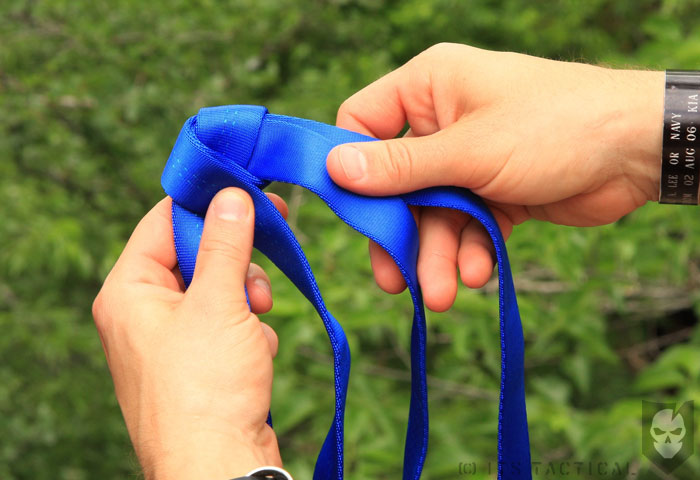
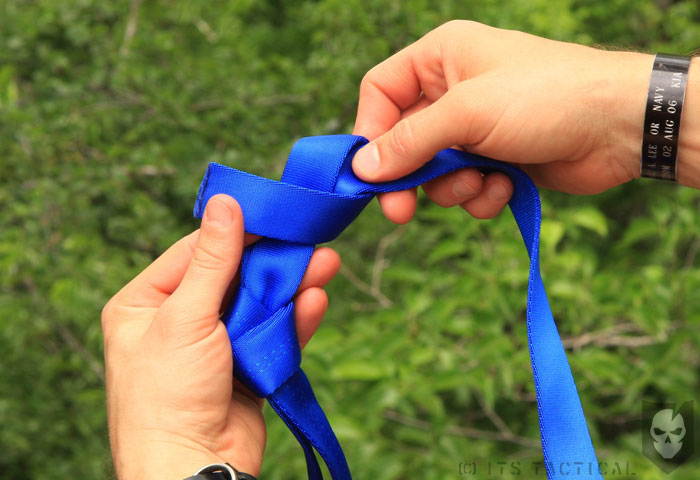
- Thread what was the standing end behind the working end
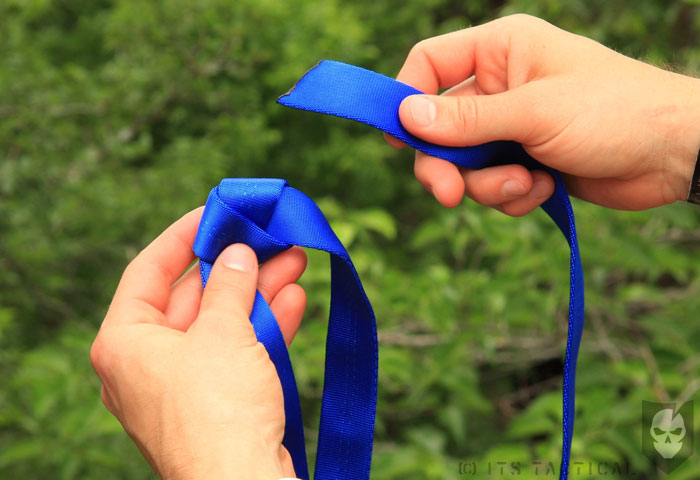
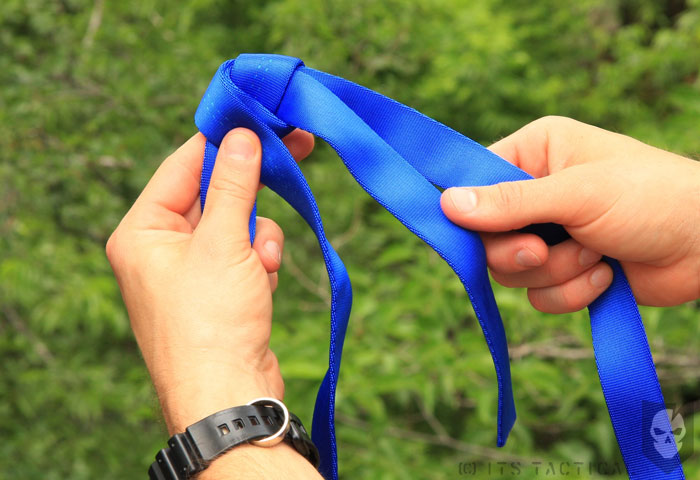
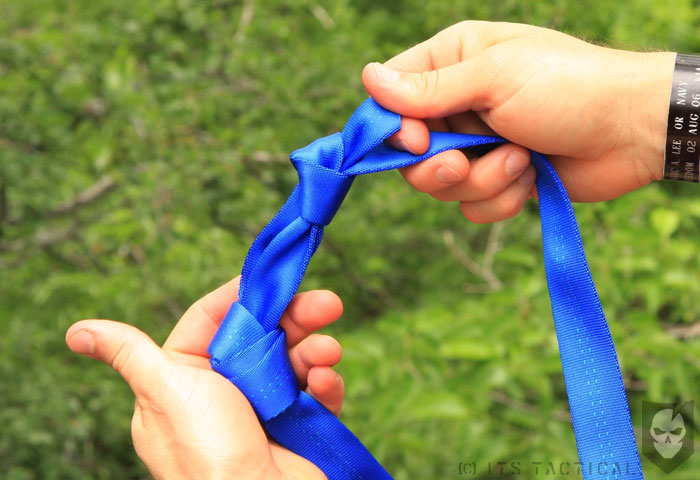
- Continue to trace the original knot ensuring the webbing is flat
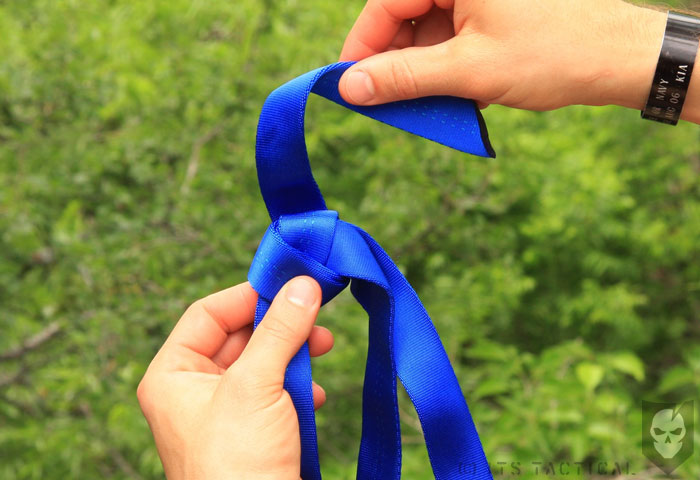
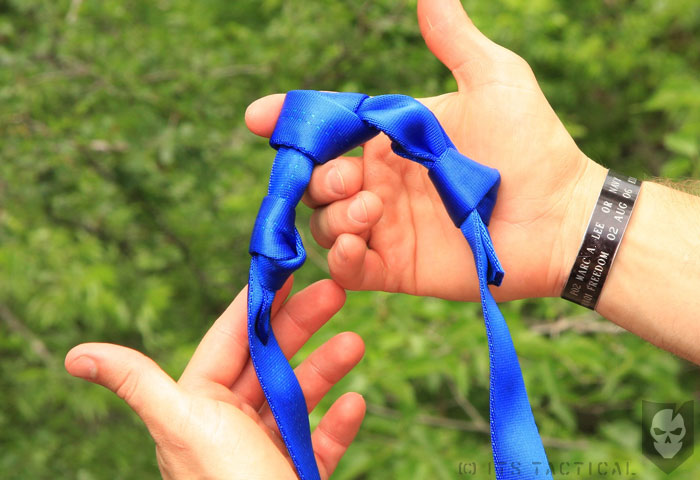
- Ensure you wind up with equal tails at least 8 inches in length
- Backup the knot with an overhand knot on each side of the tape knot
View the gallery below and follow along with the steps above!


Check back next week as we continue our Knot of the Week mini-series with the Figure Eight Knot