

Situations that would involve having to ascend back up a rope you’ve just rappelled down, would most likely be in caving, or spelunking, depending on your training level.
Ascenders function much like friction knots, or prusiks, by providing a grip on the rope. With a mechanical ascender, the grip is set with a cam, allowing it to only move in the intended direction of travel (up).
Using mechanical ascenders makes the chore of prusiking faster, safer and more secure. There’s nothing wrong with using prusiks to ascend a rope in a pinch, but if you can afford to carry ascenders, you’ll wonder how you lived without them.
There’s much more to ascending than simply owning ascenders, and in this part of our series, we’ll look at the equipment required to properly and safely ascend.
Ascenders (Mechanical)
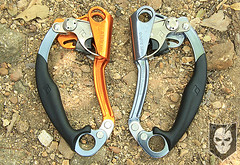

For starters the nForce uses a unique four-bar pivot system that places your entire body weight on the cam for excellent grip, even on muddy and icy ropes.
The teeth on the nForce cam are straight as opposed to the angled teeth on the Petzl’s, which we feel decreases rope wear due to the cam levering pressure to the teeth like a clamp.
Another huge benefit of the nForce Ascenders are the 360 carabiner attachment points which allow you to rotate a large locking gate carabiner completely through.
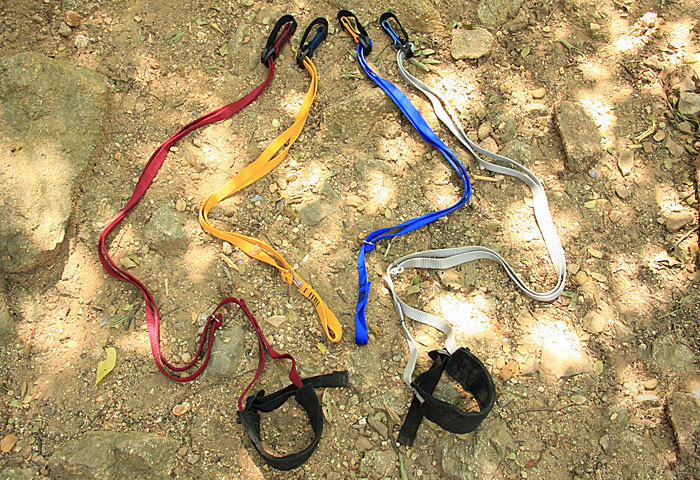
Metolius Easy Daisies and Easy Aiders
We’re huge fans of the Metolius Easy Daisy and Easy Aider, and just like mechanical ascenders, they make ascending faster, safer and more secure.
Easy Daisies are used as the attachment points from your climbing harness to the ascenders. They girth hitch into the harness loop, and attach to the ascenders with carabiners.
The daisies allow you to sit back in your harness and act as backup in case one of your ascenders becomes detached.
What makes the Easy Daisies great is that they’re adjustable on the fly, as opposed to a regular fixed-length sling being used.
A pair (right and left) of Easy Aiders are used to connect the ascenders to your feet. They have an adjustable buckle on each foot strap ensuring your foot never comes out.
While using two Easy Aiders is not necessary in ascending, it will help make your ascent faster and more efficient by allowing full use of both your legs. This is especially great for ascending long pitches where using one leg can be tiring.
Like the Easy Daisies, the Easy Aiders are adjustable on the fly allowing you to find the optimal length needed.
Climbing Harness
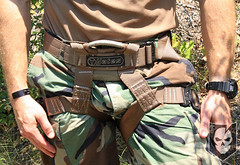
It’s also important that the harness is built well and has a belay loop that features double thickness webbing that has multiple bar tacks. The harness we’re using is a Yates Tactical Rappel Belt with cobra buckles on the leg straps which makes taking the harness on and off very easy.
Carabiners
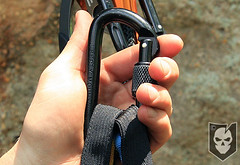
Only carabiners with locking gates should be used in this setup, and we highly recommend manually locking gates for this application.
On manually locking carabiners remember to screw the locking mechanism down, so you don’t screw up!
Essentially what that means is that you want your locking gate to be carried into the locked position with gravity. If it becomes loose, it’s better to not have gravity trying to loosen it further.
When we put together this demonstration we used non-locking carabiners for the top lock-in of each ascender and while ascending, the carabiners locked together as the bottom ascender met up with the top.
It wasn’t a huge problem, but one that took some time to fix. While we’ve run this setup before without having this problem, learn from our mistake, and only use locking carabiners.
Ascending Lessons Learned:
- Ascenders don’t make good descenders, it’s better to rappel down a rope rather than try to descend using ascenders
- “Easy Daisies and Easy Aiders” can be a tongue twister!
- Use all locking carabiners
Here’s a quick video of the ascending equipment we’ve highlighted in this article
Stay tuned next week as we continue our “Learn How to Ascend” series with the ascending setup!
This information is provided solely as reference to supplement proper ascending training from an experienced guide, not replace it. Ascending is one of the most dangerous things you can do in climbing because you have to rely on your equipment and anchors 100%.