Our Knot of the Week series continues this week with a new twist. We’ve decided to shoot video to accompany the Sheepshank this week which is embedded below.
This is just a trial, so let us know what you think in the comments. If this is something that’s well received, we’ll continue to add video to each new Knot of the Week.
The Sheepshank is a worthwhile knot to add to your inventory. If you’re ever working around ropes this knot could potentiality mean the difference between having a useless rope and one that will carry you through.
There seems to be a lot of controversy over the Sheepshank, and whether it will hold under load. Using cheap nylon rope, we’d certainly advise against using the Sheepshank, as it WILL slip. We’ve personally tested the Sheepshank with good climbing rope (Bluewater Static Assaultline, 11mm) and it’s held approx. 200 lbs. under load with no slipping.
The Sheepshank shouldn’t be used in a situation where dynamic rope is being used, only static. You shouldn’t add the additional shock of a long fall to an already damaged rope, no matter what knot is tied. We recommend using the knot only if there are no other alternatives just to play it safe.
Sheepshank » Lashings
(Strength: 3/Security: 3/Stability: 3/Difficulty: 3)
Please refer to our Knot of the Week introduction post for a description of what these ratings mean.
Uses:
- Shortening a rope
- Bypassing a damaged area of rope
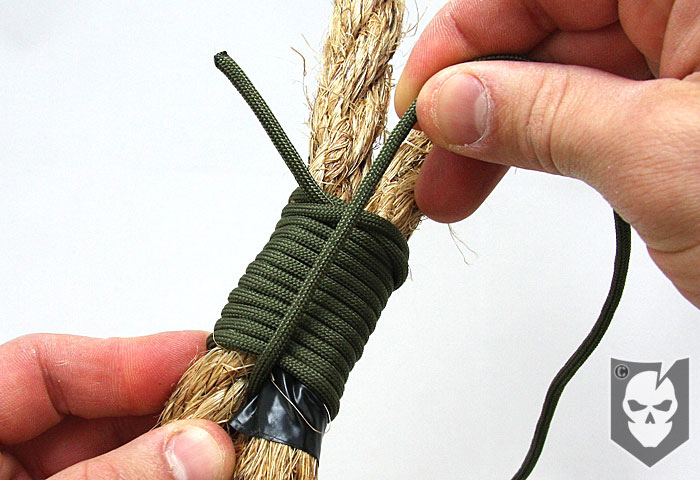
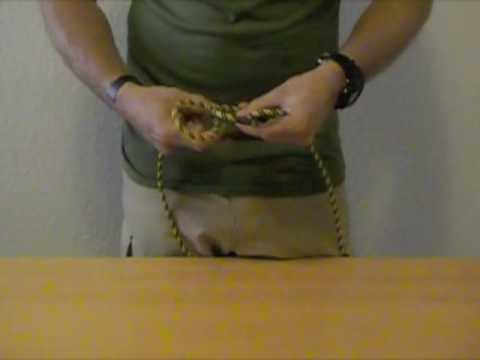
When tying the Sheepshank using these instructions, ensure that on each loop being made the working end is passing behind the standing part.
Tying Instructions:
- Begin by making twist in the rope to create a loop
- Make a similar sized second loop
- *If this knot is being used to bypass damage make sure the damage (area with riggers tape in the photo) winds up on the top of the middle loop*
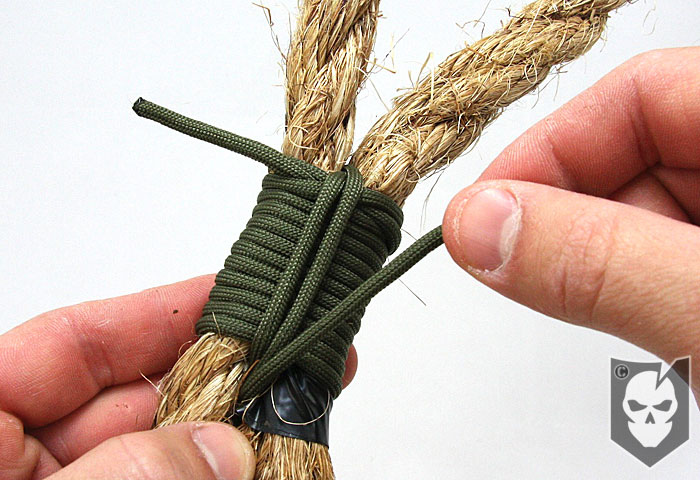
- Continue with a third loop
- Take your index finger and thumb of your left hand and grab the middle loop through the bottom of the left loop
- Take your index finger and thumb of your right hand and grab the middle loop through the top of the right loop
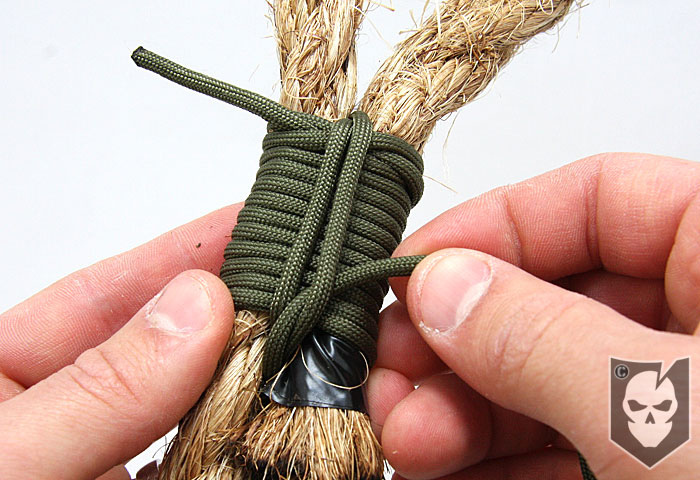
- Pull the middle loop through the outer loops
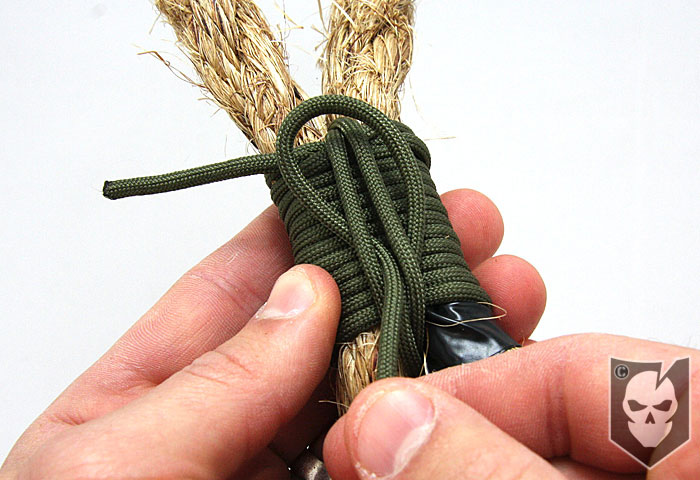
- Pull on the two ends of the rope to tighten the knot
View the gallery below and follow along with the steps above!
Check back next week as we continue our Knot of the Week series with the Clove Hitch