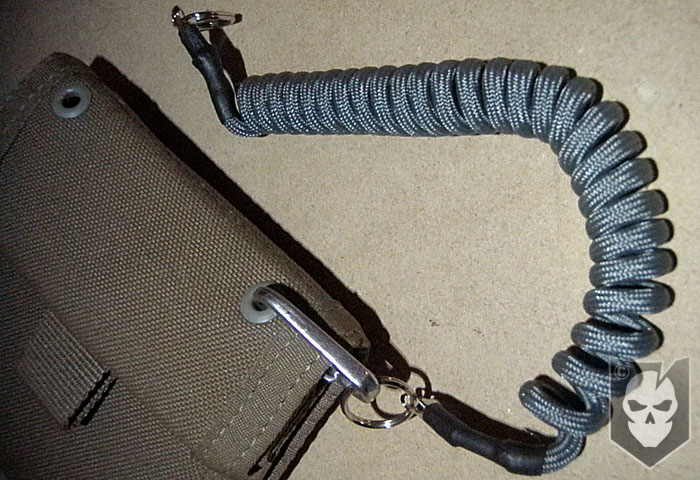

After a winter slumber the Knot of the Week is back in full force! Today with the help of contributing author Justin Spindler, we’re going to take you though the steps to create your own Coiled Paracord Lanyard.
You may have seen these before from places like TAD and wished you would have gotten in on one while you could have. Now you can learn how to build your own out of a few simple materials.
Coiled Paracord Lanyard » Misc.


You might ask why go through the trouble of sheathing the coil in 550? It certainly looks much cooler than a pink plastic key coil and does add some strength to the coil itself.
(Strength: n/a/Secure: n/a/Stability: n/a/Difficulty: 3)
Please refer to our Knot of the Week introduction post for a description of what these ratings mean.
Materials and Tools needed
- Expandable key coil (you’ll need the type with metal crimps at each end)
- Paracord
- Two small split rings (two larger split rings come with most key coils)
- Heat shrink tubing (3/16″ is a perfect size for this project)
- McGizmo steel clips or any other small clips
- Scissors
- Heat gun or hairdryer
- Lighter
- Any type of pliers, I used a Multitool
Instructions
- Take the key coil and remove any split rings or clips that may be attached to it.
- With the pliers bend the flat portion of one the metal crimps (one end only) so that the paracord will easily slide over it.
- Stretch the coil out to get an idea of it’s length when expanded.
- Cut a length of paracord approximately 12-18 inches longer than the expanded coil
- Remove all but one strand from the paracord’s inner core.
- Tie one end of the remaining strand to something stable like a chair, desk or table.
- Tie the other end to the bent metal crimp on the key coil.
- Now stretch the coil out and affix the other end to something stable as well. I recommend something like a heavy chair as you can slide it back further if you find that you need to stretch the coil longer.
- *With the coil expanded you should now be able to work the 550 cord sheath over the the key coil without too much trouble*
- Once you have worked the paracord sheath completely over the key coil relieve the tension on it.
- *This process tends to deform the coil a little, so the faster you can relieve the tension on the coil the better*
- Trim any frayed ends on the paracord sheath and melt them down with a lighter, just be careful not to melt the plastic key coil.
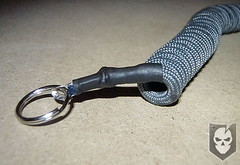
- To finish off the ends, slide the heat shrink tubing over the metal crimps and the ends of the paracord
- Heat with a hairdryer or heat gun until they shrink up tightly.
- Attach your split rings and metal clips and you’re done!
Editor-in-Chief’s Note: A big thank you to Justin for providing the instructions and photos for this Knot of the Week, I’ve added a YouTube video below going through the process as well. Justin and I both came to the same conclusions separately for how to best create the Paracord Coil Lanyard, but as he mentioned be sure to add your thoughts and suggestions for making it better!
Video and Photos

[flickrset id=”72157626120648659″ thumbnail=”square” overlay=”true” size=”large”]