
For this week’s Knot of the Week, we’ll be looking at a very important knot called the One Handed Bowline.
What separates this knot from a traditional Bowline is the ability to truly tie this knot one handed, and around your body in an emergency.
Say for instance you were hanging by a tree limb for dear life as raging rapids were attempting to sweep you downstream. Without letting go of the tree branch, you could grab a rope that was thrown to you, tie the One Handed Bowline, and be pulled to safety.
This use of the One Handed Bowline is more for water rescues, as attempting to pull someone up the side of a mountain with a line under their armpits could potentially asphyxiate them before they reach the top.
If you need to hang suspended from a rescue line, simply tie the One Handed Bowline and step onto it with you foot and hang on to the line. Be careful with the application of this knot in emergency situations.
One Handed Bowline » Loops
(Strength: 2/Secure: 2/Stability: 4/Difficulty: 4)
Please refer to our Knot of the Week introduction post for a description of what these ratings mean.Uses:
- Tying in an emergency or rescue situation
- Tying on the waist to drag an object
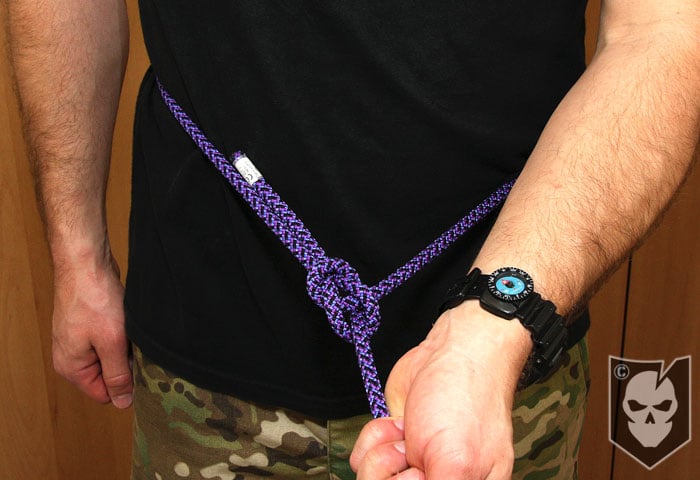
Tying Instructions:
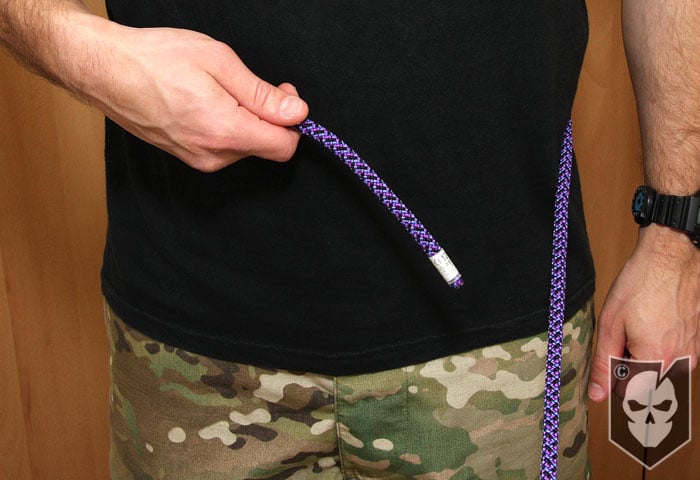
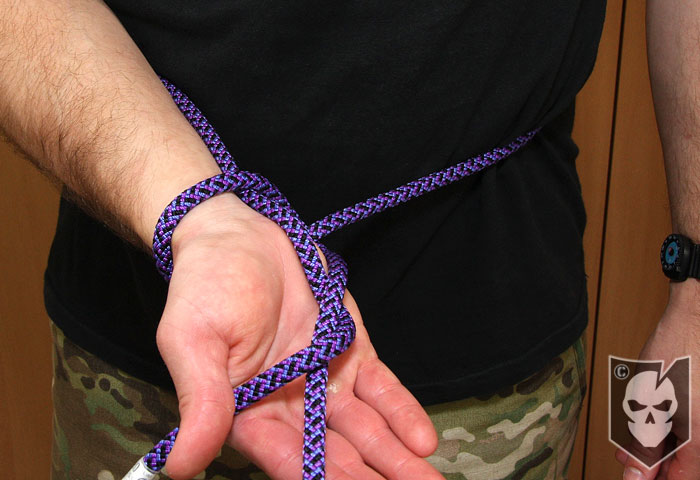
- Wrap the line around your waist so that the working end is on the opposite side of the standing part
- Ensure you have at least six inches of line past where you’re gripping the working end
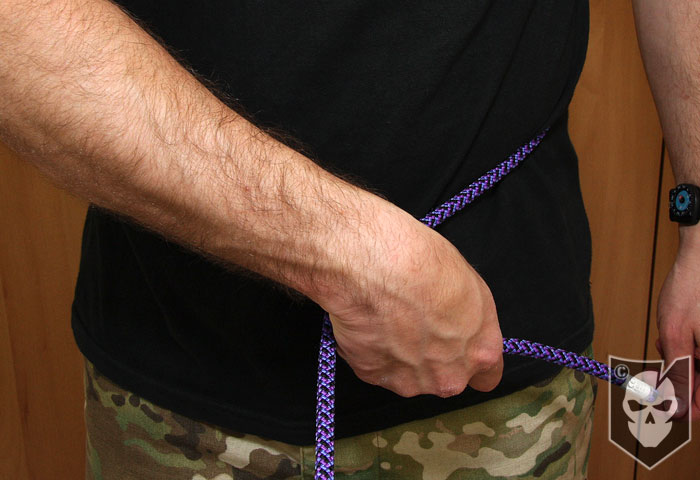
- Without ever releasing the line from your hand, bring the working end over the standing part
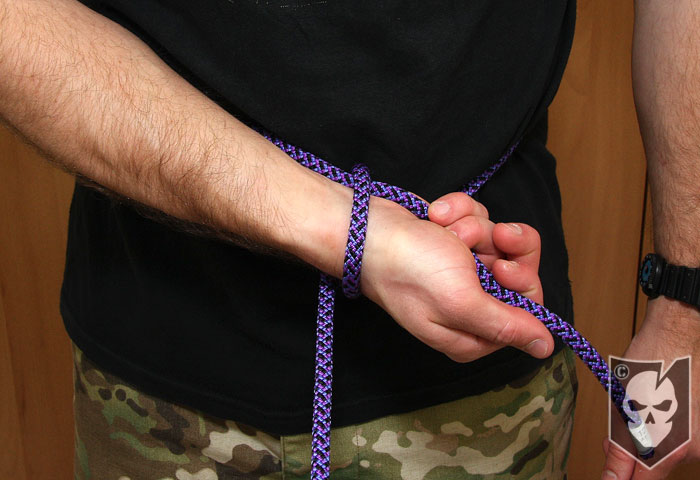
- Now around the standing part and back into your chest, creating a loop on your wrist
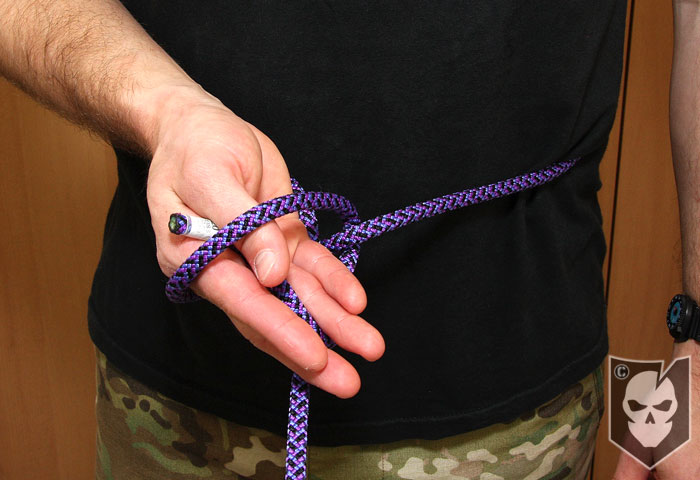
- Pass the line around the standing part and to yourself
- You should now have made a wrap around the standing part and be holding the working end
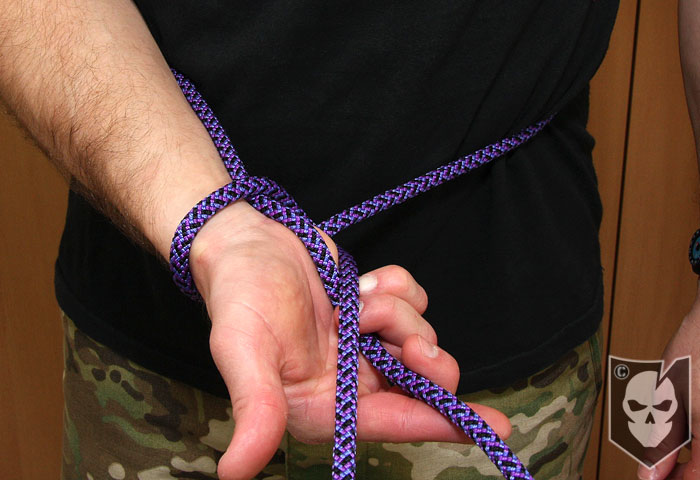
- Continuing to grab the working end, pull your hand towards you and out through the loop on your wrist
- *If there is too much tension on the rope, this movement will be impossible*
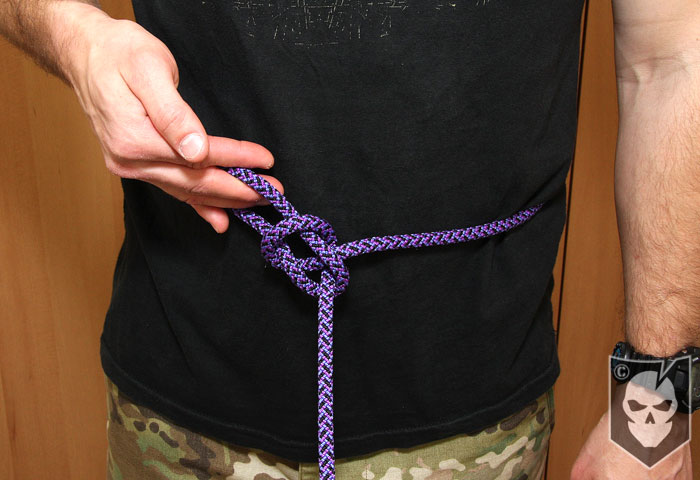
- Once through the rope, pull to tighten up the bowline
- You can also back up this knot after it’s tied by simply adding an overhand knot with the working end.
View the gallery or YouTube video below and follow along with the steps above, be sure to let us know in the comments if you have any questions!