


Knot of the Week: Solomon Bar
Knot of the Week: Solomon Bar
 We continue our look into decorative knots this week with a popular pattern called the Solomon Bar.
You’ve probably seen the Solomon Bar in paracord bracelets, keychains and other interesting projects, and today we’re going to show you how to tie it, and why it’s a great way to carry paracord.
The Solomon Bar pattern resembles repeating square knots and is sometimes referred to as square knotting or a cobra stitch.
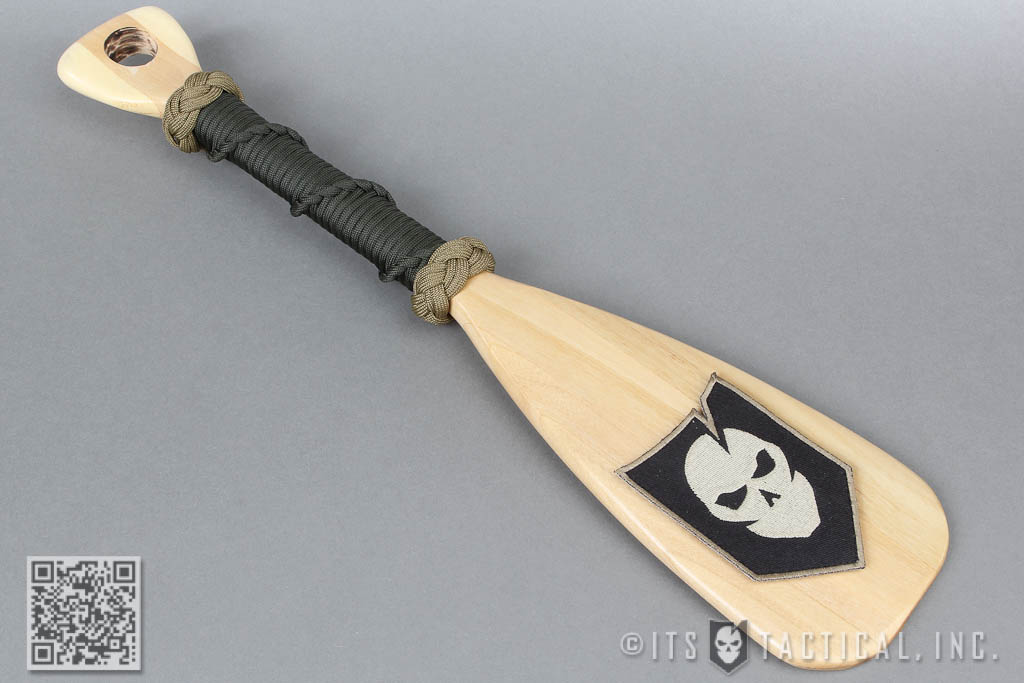
Using paracord to make a keychain, bracelet or something else you carry daily, will ensure that you always have some readily available in an emergency.
If you remember back to our article on the Mini Survival Kit, we recommended that in addition to the kit, you also carry some paracord with you.
Solomon Bar » Decorative
(Strength: 4/Secure: 4/Stability: 3/Difficulty: 4)
Please refer to our Knot of the Week introduction post for a description of what these ratings mean.
Uses:
- Decorative knot work
- Carrying paracord for emergency purposes
Tying Instructions:
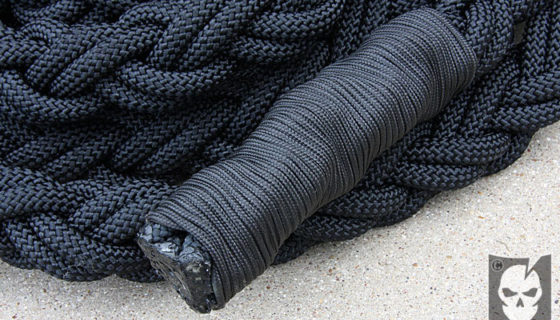
We tied this solomon bar keychain using a 28″ tan length of paracord and a 28″ black length of paracord. The black foundation cord is gutted (inner strands removed) in our demonstration. This was simply to make the keychain thinner.
When creating this keychain, the gutted foundation cord can be shortened to 10″ to save paracord.
- Find the middle of the foundation cord (black) and halve it
- Find the middle of the working cord (tan) and halve it
- Place the middle of the working cord across the halved foundation cord
- *The overhand knot can get tricky so pay particular attention to the direction it’s facing or your Solomon Bar will come out wrong*
- Make a counter-clockwise turn around the foundation cord ensuring that the working end is on top of the standing part after the turn
- Thread the working end down around the back of the foundation cord and up through the loop you just created (stay to the right of the foundation cord)
- Tighten up the overhand knot you’ve just created
- Bring the left side over the front of the foundation cord
- Let the right side hang down in front of the left side
- Run the right side behind the foundation cord and through the loop created
- Repeat steps 8 – 10 by bringing the right side over the front now
- Continue alternating between starting from the left or the right until you have the length desired
- For a clean look before cutting and burning the ends, take the left side and tuck it back through the last loop it made
- Cut off the ends of the tan paracord leaving about 1/16 of an inch
- Burn the ends and provide pressure while cooling to fuse the melted paracord into the surrounding paracord
- Repeat this for the black foundation cord
- Put it on your keychain and prepare to answer questions on where you got it !
After the keychain is made and ends trimmed, the amount of woven paracord contained in the solomon bar will be around two feet in length. The overall length of the keychain is about 2.5″.
View the gallery or YouTube video below and follow along with the steps above!
[flickrset id=”72157621771212465″ thumbnail=”square” overlay=”true” size=”medium”]
Discussion