


Knot of the Week: How to Tie an Etrier and Create a Field Expedient Ladder
Knot of the Week: How to Tie an Etrier and Create a Field Expedient Ladder
In this week’s Knot of the Week we’ll teach you how to tie the Frost Knot and form a length of tubular webbing into an Etrier, which is a French word meaning stirrup. In climbing, an Etrier is often referred to as an aider or a climbing ladder.
While hard to pronounce, the Etrier is an easy to tie and very effective way of creating a ladder to reach heights when climbing or in an emergency situation.
With a little practice, you can trust in your skills and know that you too will be able to simply carry some tubular webbing into the field and create a field expedient climbing ladder if needed.
Etrier » Loops
What you’ll need to tie you own Etrier is simply a 20 ft. length of 1″ tubular webbing, which you can get from most outdoor shops like REI. You’ll also need paracord for the step we’ll show on whipping each rung of your Etrier for added support.
There are many commercially available Etriers out there, but can be much more expensive than making one yourself. The purpose of this KOTW isn’t to replace a commercial version for climbing, but to show the utility and ease of creating a ladder out of seemingly nothing.
While the original purpose of an Etrier is for big wall climbing, it really doesn’t have to be used for rock climbing at all, hence the reason we’re referring to it as field expedient ladder. In rock climbing you wouldn’t want a long ladder, but in an emergency situation you might.
(Strength: 5/Secure: 5/Stability: 5/Difficulty: 1)
Please refer to our Knot of the Week introduction post for a description of what these ratings mean.
Uses:
- Big Wall Climbing, Aider
- Field Expedient Ladder
- Join two Loops of Tubular Webbing (much like the Tape Knot)
Tying Instructions:
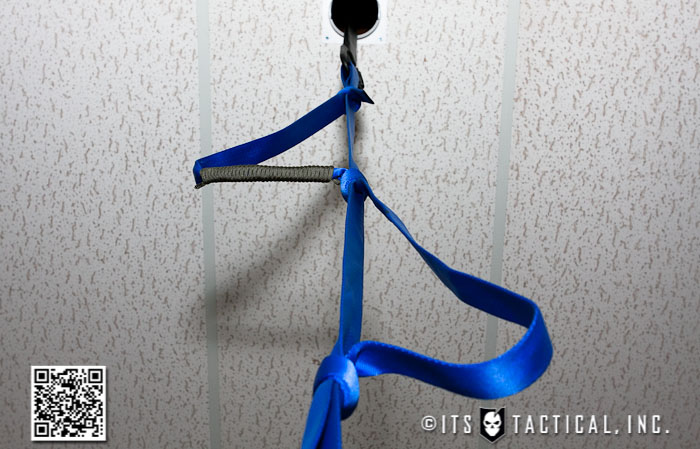
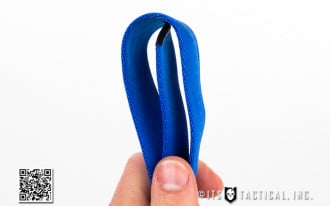
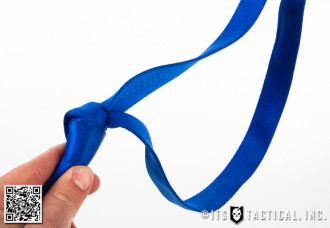
- The first step in creating an Etrier is to tie a Frost Knot so you’ll have a loop at the top for a tie-in/clip-in point.
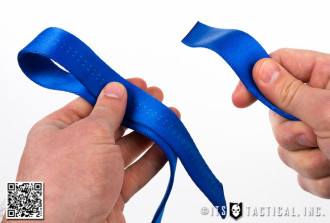
- Find the mid point of your tubular webbing, then trace back to the ends.
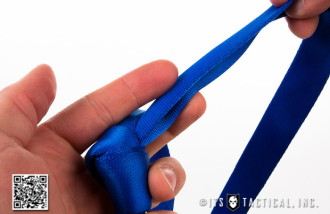
- Form a bight in one end and slip the other end into the bight, like a sandwich.
- Tie an overhand knot using all three parts, creating a loop.
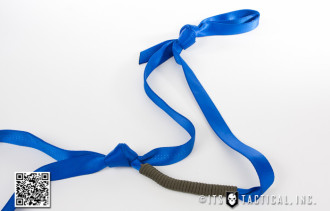
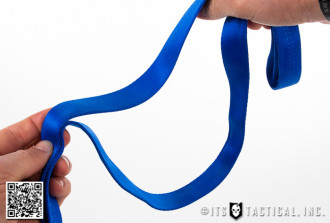
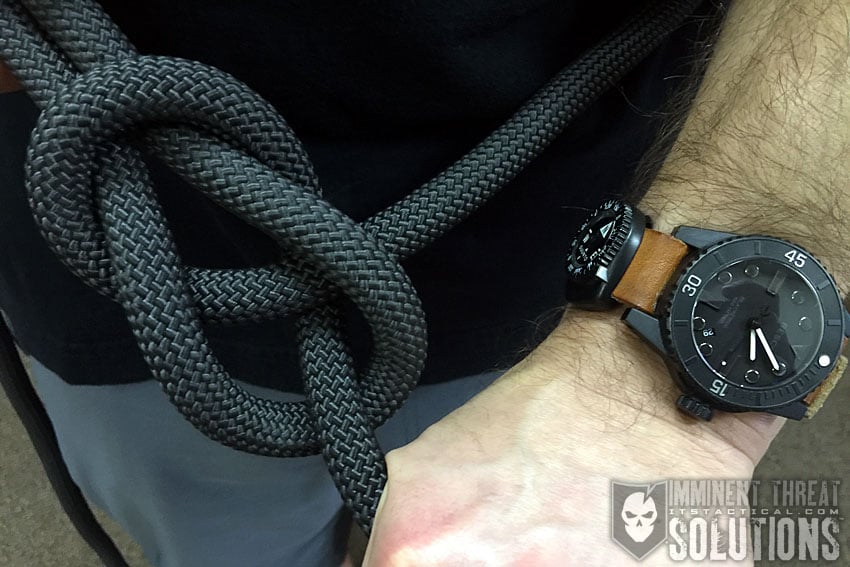
- From here you’ll simply tie a series of overhand knots to form the rungs or steps of the ladder.
- You also might want to offset the steps, as we show, or simply tie them all to one side (see video for details)
- To pull each step, simply pull one strand of webbing longer than the other and tie an overhand knot.
- A general guide for the length of each rung is to make them about 1-1.5 ft. in height.
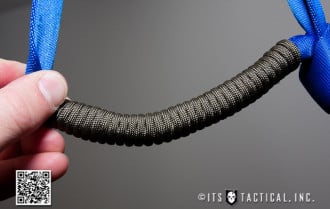
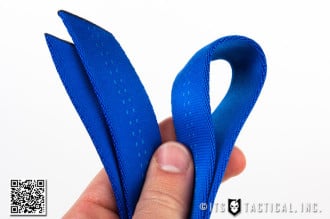
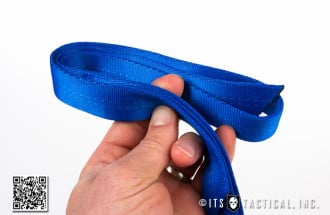
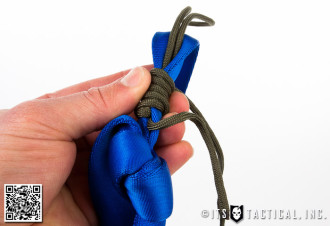
- To further support the steps, you can whip each rung.
- Double the webbing by folding it over to create a channel to whip into (see video for details and this article on whipping).
- Note that after climbing this Etrier, it may be difficult to untie the tubular webbing.
Photos and Video


Discussion