


How to Tie Knots Like a Navy SEAL: Part 4

Photo U.S. Navy (Released)
This week’s “Knot of the Week” continues with the fourth of five knots taught to Navy SEAL candidates at BUD/s for their Underwater Knot Tying Test.
The Clove Hitch is an especially important knot taught at BUD/s, which also has it’s purpose rooted in demolition.
A Clove Hitch is the preferred knot to fasten det cord (detonation cord) to underwater obstacles, linking them together in a chain for demolition.
During WWII the NCDU’s (Naval Combat Demolition Unit), the predecessor to UDT’s (Underwater Demolition Teams) and eventually Navy SEALs, cleared the beaches for the Normandy invasion.
You can bet that Clove Hitches were used during Normandy, just like they’re still used today. Anyone interested in a great article about the background of Navy SEALs, visit this link.
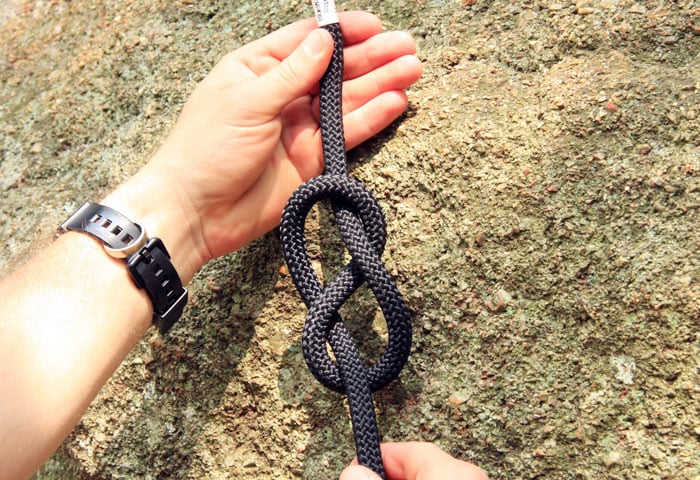
Clove Hitch » Hitches
(Strength: 4/Security: 2/Stability: 4/Difficulty: 3)
Please refer to our Knot of the Week introduction post for a description of what these ratings mean.
Uses:
- Linking obstacles together with det cord for demolition
- Securing a rope to a post
- Temporary tie in to an anchor point
- A brake or check of an unwieldy object
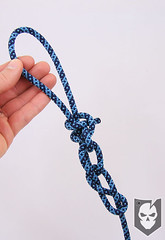
Tying Instructions:
- Begin by wrapping the line around the post
- Cross the working end on top of the standing part
- Continue passing the line around the post working in the opposite direction of the first wrap
- Feed the working end under the standing part of the second wrap
- Clean up the knot by squeezing the two loops of the clove hitch together
- Tighten up the knot by pulling on the working end and the standing end
- *Ensure that there is a least a few inches left in the working end after tying*
An alternative method of tying the Clove Hitch is tying it on the bight, which means that it’s tied without having either working end available.
(This additional method is also shown in the video, but not the photos)
- Form two back-to-back, or opposing loops, on the bight
(Similar to the Sheepshank) - Stack the right loop on top of the left loop
- Place the stacked loops over a post or into a carabiner
- Tighten up the knot by pulling the two ends
View the gallery below and follow along with the steps above!
[flickrset id=”72157621705452410″ thumbnail=”square” overlay=”true” size=”medium”]

Discussion