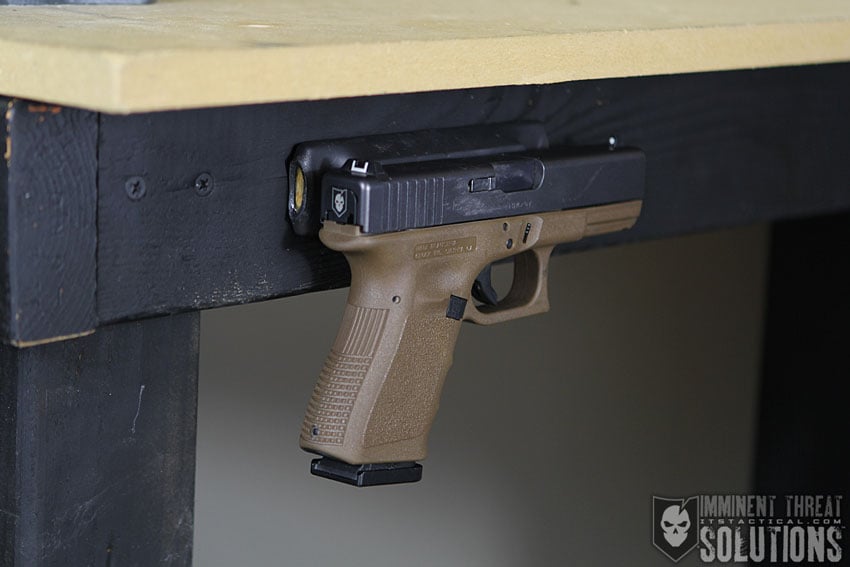

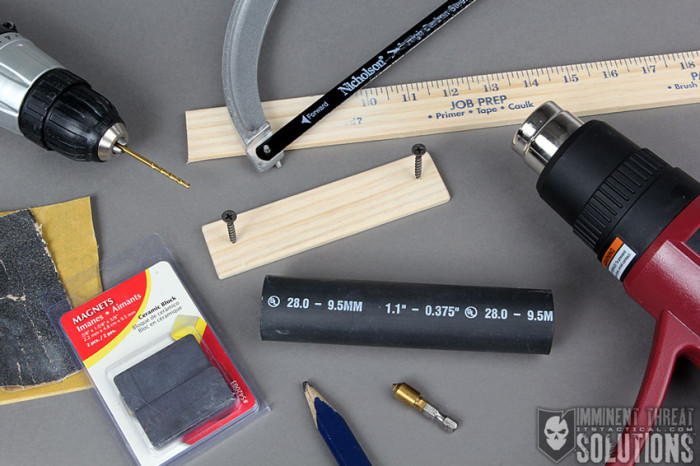
Recently, a Reddit user created a simple DIY tutorial to make an inexpensive gun magnet mount using a few easily obtainable parts. In the process of building our own, we decided to make a few upgrades on the materials and wanted to share our results. The materials required for this DIY project ran us around $12, provided that you have a few common materials and pieces of equipment laying around.
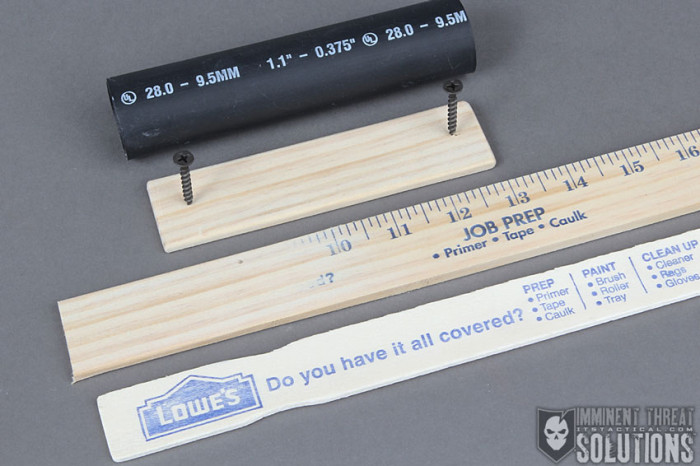
Before we get into the construction process, here’s the upgrades we made in detail. In the original DIY, a free paint stir stick was used as the base to screw down the mount. Based on how thin these are and how prone they are to warping, we chose to purchase a wooden yardstick from Lowe’s for less than a dollar to use as the base.

Also, the heat shrink tubing used in the original DIY was relatively thin and we found some thicker 1.1″ heat shrink tubing at a local O’Reilly Auto Parts store. A tip here is that you’ll need to ask for it at the counter, as most places don’t carry heat shrink tubing any larger than 1/2″ and this goes for Lowe’s too. There is some heat shrink tubing in 1″ diameter on Amazon, but it’s the thinner tubing. As you’ll read later in the article, the thinner tubing might be a better choice depending on what you’ll be mounting.
Materials and Tools
- Wooden Ruler, Yardstick or Paint Stir Stick (free)
- Power Drill
- 1/8″ Drill Bit
- Screwdriver
- Countersink (Optional)
- Wood Screws
- Saw
- Sandpaper (80 and 220 grit)
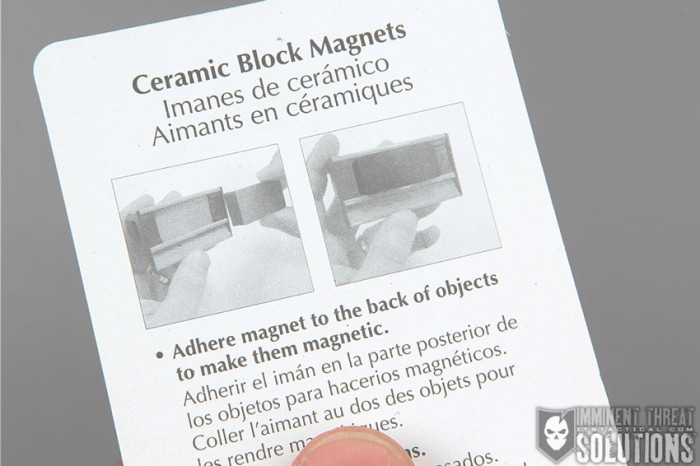
- Ceramic Block Magnets (2)
- Heat Gun
- Super Glue
- Heat Shrink Tubing – 1″ wide x 6″ long

Process
Step One:
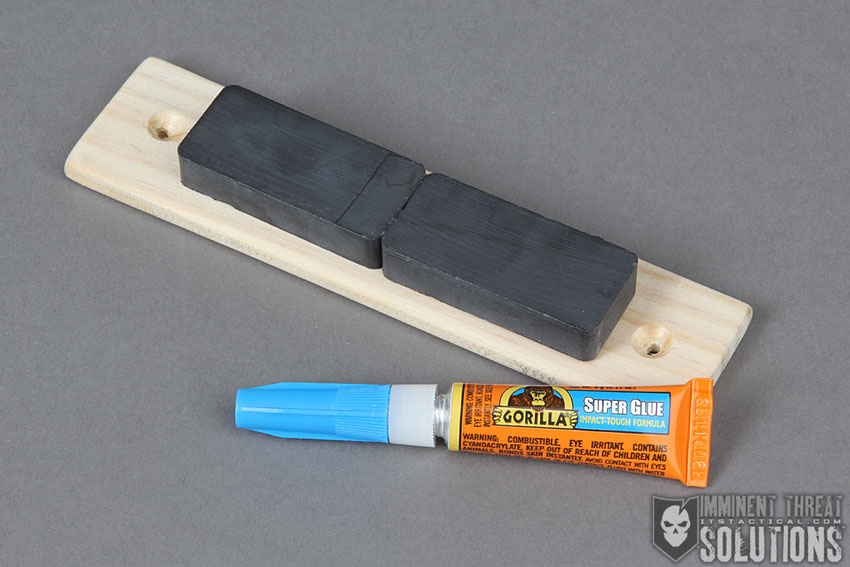
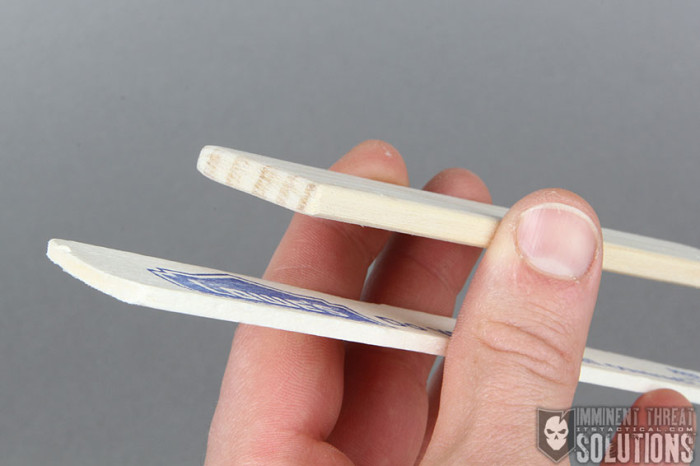
If you’re using a yard stick, an optional first step is to sand down the numbers before rounding the sharp edges. Rounding the edges is just to ensure your base doesn’t break through the heat shrink tubing. Cut your yardstick piece to 5.5″ long and test the placement of the magnets.

Step Two:
Once your magnets are in position, centered top to bottom and left to right, glue them down with super glue. This is just to ensure they don’t shift around on the base while you’re putting them into the heat shrink tubing sleeve. Drill your mounting holes around 1/2 inch from each side with the 1/8″ drill bit and countersink the holes if you want to. While most projects look cleaner with a countersink, the purpose here is to do as much as possible to keep the heat shrink tubing from tearing when screwing the mount down.
Step Three:
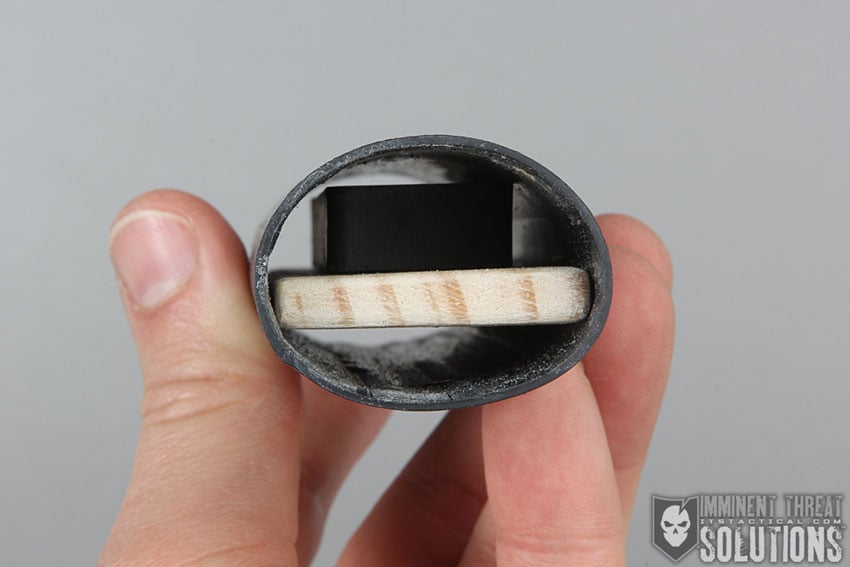
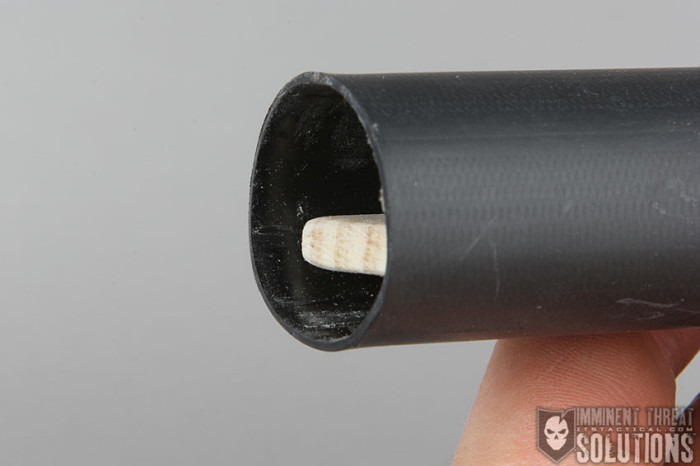
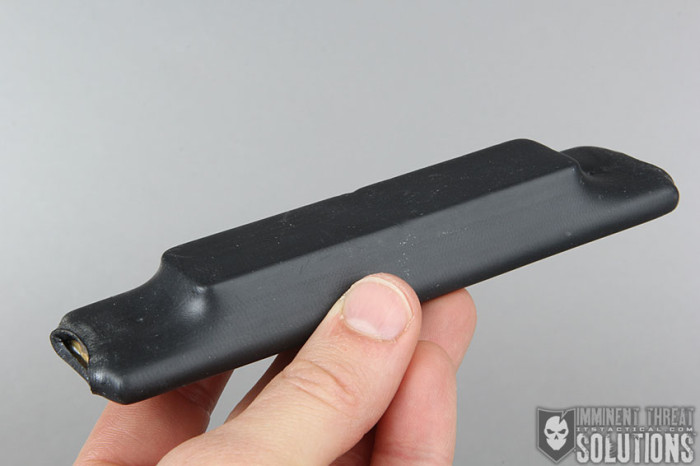
Slide the mounted magnet block into the heat shrink tubing, ensuring there’s an even amount of clearance on each side. Start the heat gun and sweep over the tubing evenly to shrink it up. A tip here is that we tried to pull the ends over the wooden board with pliers as it became pliable and while it did seem to help, it didn’t completely cover the ends as we hoped it would. Check out the video below for more details about this.

Step Four:
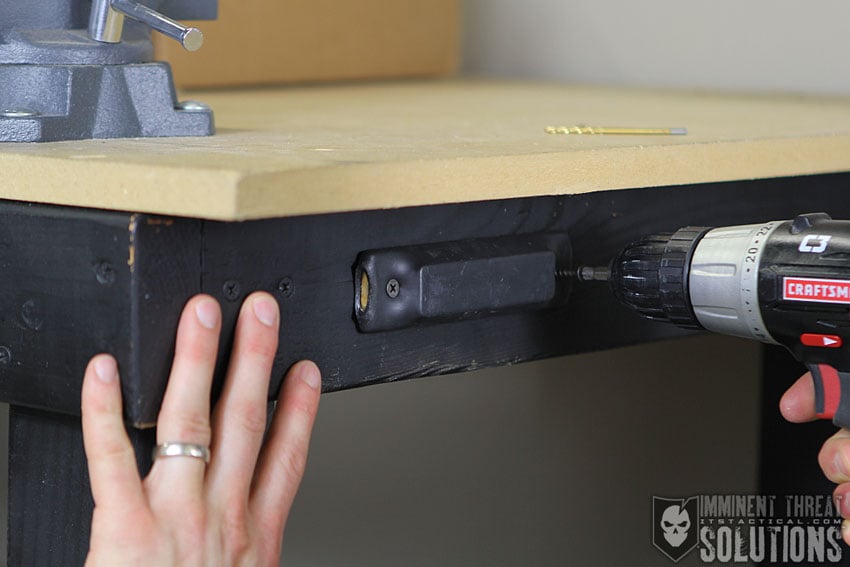
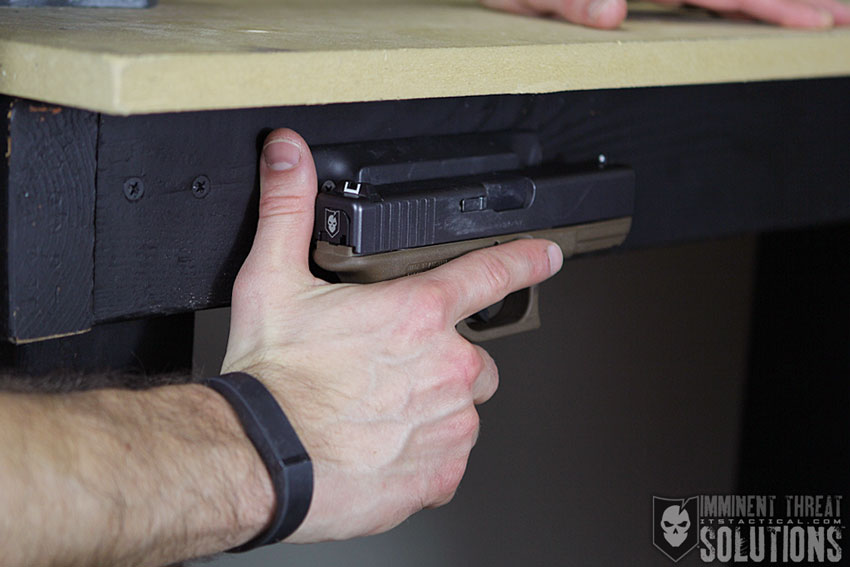
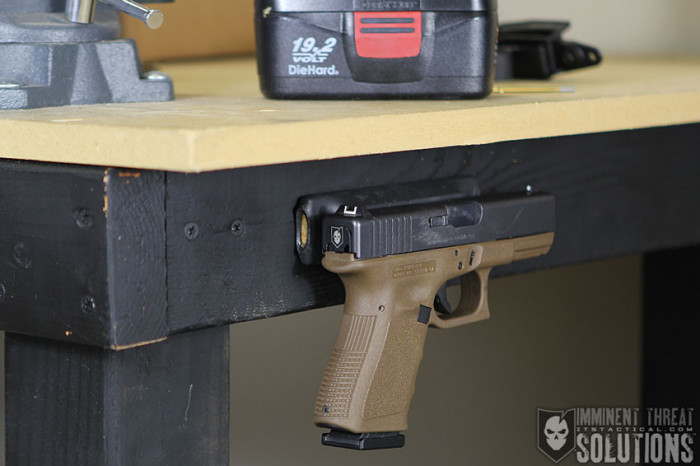
With the thicker heat shrink tubing it took some probing to find the screw holes that were drilled. Insert your screws through the heat shrink tubing so that the tip of each screw is just barely protruding, this will help you mark your mounting location. Once the mounting location is marked, use the 1/8″ drill bit again to make pilot holes for the screws. Screw down your new Magnetic Gun Mount while being careful not to over tighten the screws and rip through the heat shrink tubing. Enjoy!

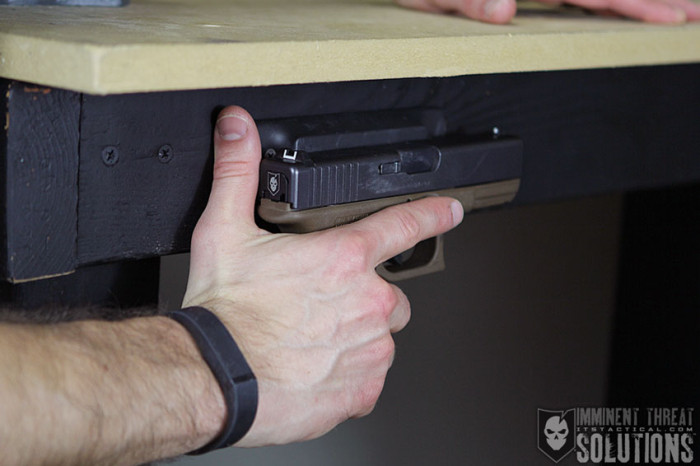
Video and Photo Gallery


Editor-in-Chief’s Note: We’d like to thank reddit user patrat21589 for sharing this idea.