
- Survival Techniques: Learning to Observe, Adapt and Overcome
- Survival Techniques: Building a Shelter to Live Through the Night
- Survival Techniques: Tips and Tricks to Constantly Improve Your Situation
While there are some elements of survival that we can live without longer than others, the Rule of Threes is especially important to remember in any survival situation. You can live for about three weeks without food and three days without water, but shelter is the one thing that’s often a deal breaker. Getting out of harsh conditions quickly will dramatically improve your situation and may even save your life.
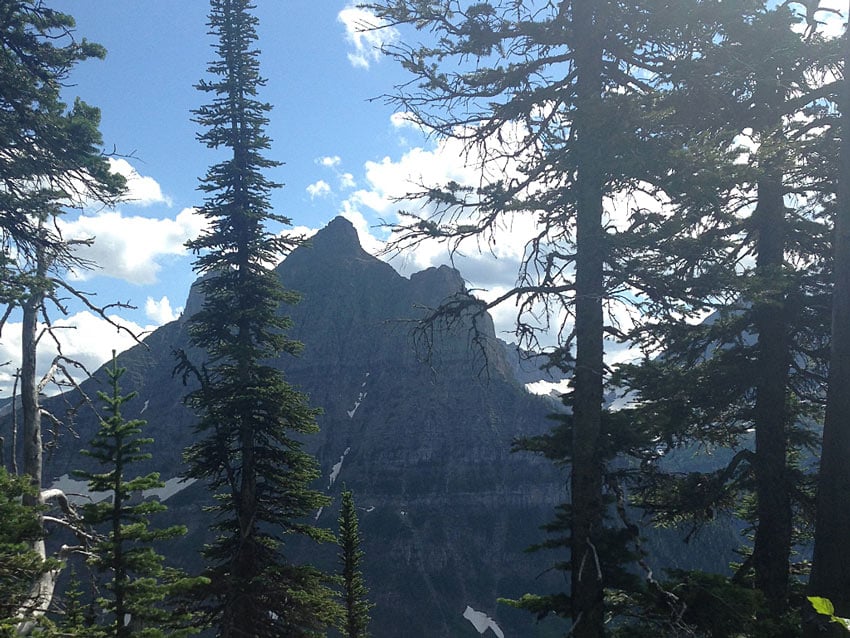
There are ways of creating shelter that range from quick methods of simply finding a natural barrier from the elements, to building a shelter that will last as long as it may take to get rescued. Knowing which to use and when is huge, but so is knowing how to find or make versions of either. Last week I went into the wilds of Montana with a Special Forces buddy of mine for three days to build, test and suffer through the night in shelters designed for warmth.
Factors of Location Selection
Situation: You’ve recently become stranded or immobilized. It’s in your best interest to stay in your last known location and await rescue. The following elements should be considered when selecting a site.
- Proximity to water
- Landmarks or an open field to mark location
- Natural wind and rain barriers
- Game trails or noticeable signs of small game
Shelter: Pine Bough Lean-to
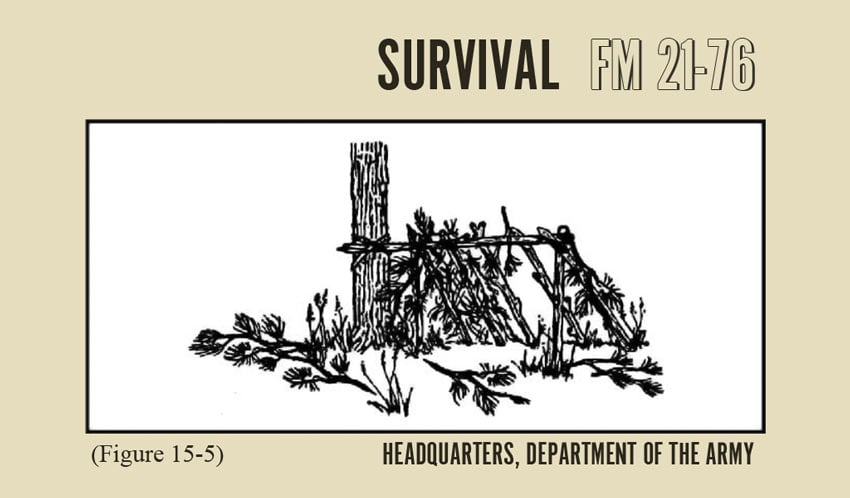

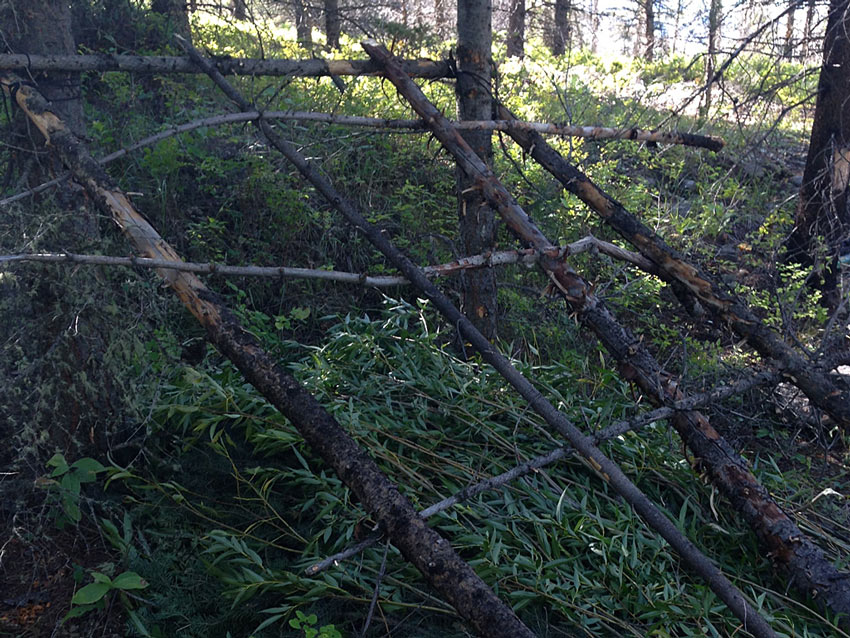
Frame
Cordage isn’t a necessity but it sure makes life easier. Without it, I would’ve been forced to use horizontal branches to take the weight of the cross bar along with a log on the opposite side as an opposing force for stabilization. Instead we were able to use two tension knots to center the weight onto the standing tree.
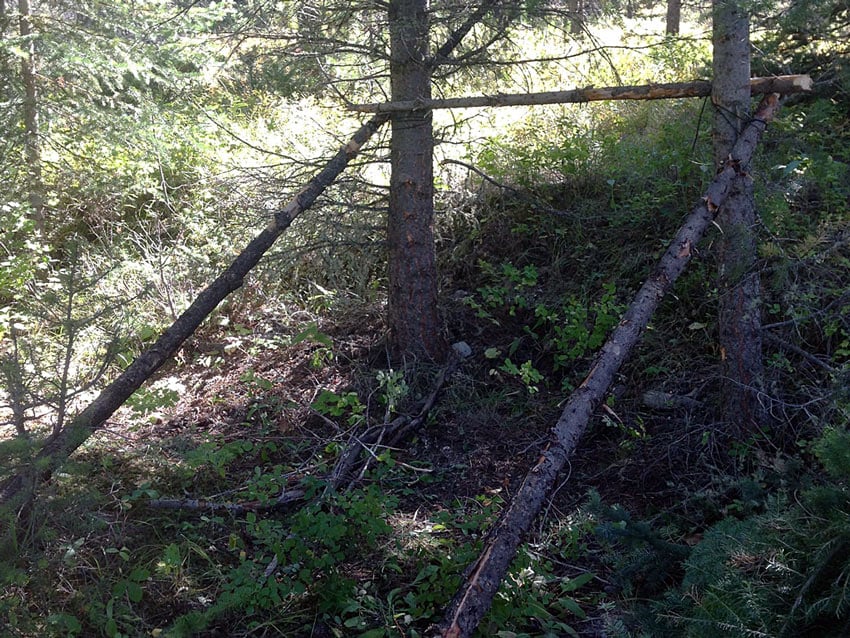

Pay special attention to keeping the space between the frame only as large as it needs to be. This will save on building materials required and also retain as much heat as possible throughout the night.
Bed
When you begin your floor, make sure to start with something large. This will create the most space between you and the cold ground, which will prevent the heat loss effects of Conduction.
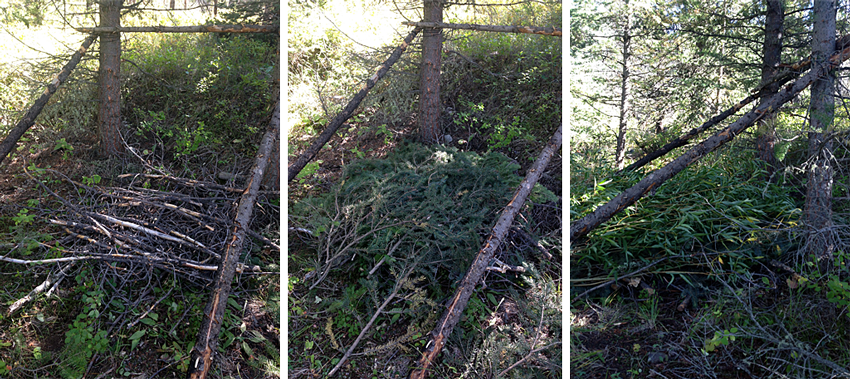

Next, lay down your pine boughs in a natural progression from thick to thin. The idea is to eventually create a bed that’s high off the ground but still comfortable. Lay down the pine so that the natural flex in the limb bends upward. This actually helps to create a mattress effect and will also keep you from getting poked in the back during the night.
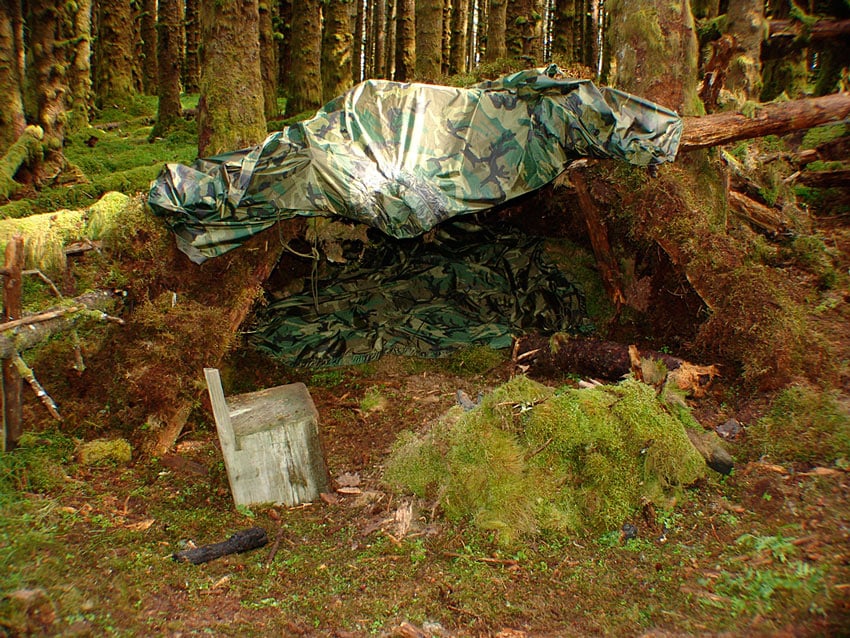
Now find something that’s even finer then the pine boughs. Further North, I would’ve been able to use moss for this like the photo below, which would have been optimal. Unfortunately this was not an option so I chose to use willow branches instead.
After laying down the willows, I set a layer of pine. Finally, I placed another layer of willows above the pine. This layering effect will create the most insulation and space. Think of the pine as the brick and the willow (or moss) as the mortar. I was fortunate to have a wool blanket that I placed on the very top of the makeshift bed.
Roof and Walls
In this picture you can see how we threaded smaller limbs under and over the larger logs much like MOLLE on kit. This will hold the cross beams in place.
Next weave willows through the logs. This is insulation and will also allow heavier material to be placed on top.
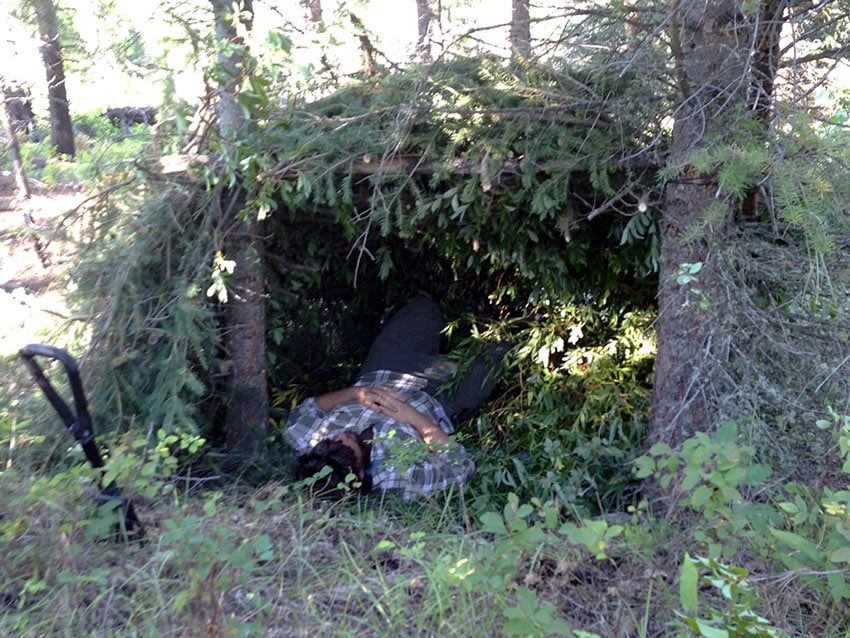
Place pine boughs on top with the cut portion high. Placing them like this will make your structure more waterproof as rainwater will flow down the boughs like a gutter. It’s best to repeat with another layer of willow and then end with more pine. Before you call it quits on the roof, go inside the shelter to identify holes. Sunlight will enter at the weakest points.
Repeat this process for the walls. It probably won’t be necessary to thread cross bars because the walls should be closer to vertical then the roof was. On one side of our shelter, we left a door and plugged the hold with our ruck sacks. Having access to our equipment throughout the night as well as multiple egress points gave me comfort, as we were pretty deep into bear country.
Fire Pit
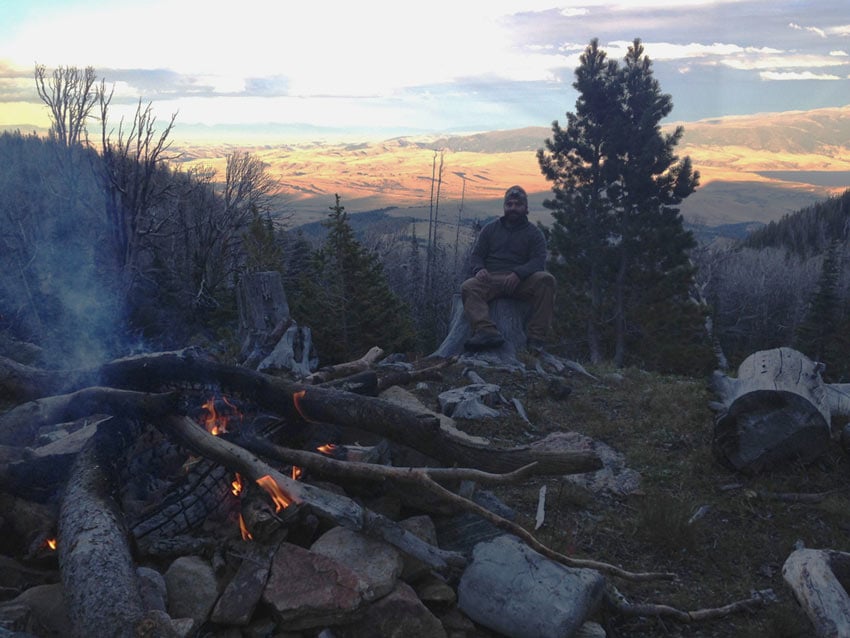
Being able to keep a fire going throughout the night is big. In this case, we were able to build the shelter with a small hill directly behind it. This micro terrain serves as a reflector in that the heat will only escape in one direction, towards the shelter. It’s also close enough to service without leaving the shelter or disturbing the others in your party.
Safety Points
- Be sure to primarily use living materials in your shelter whenever possible. This will help prevent the accidental spread of a fire.
- Keep the fire small; a little fire goes a long way here. You don’t want to risk wind blowing flames into your shelter, talk about a bad day!
- Keep fuel for the fire in groups of three. From small tinder and kindling to larger branches meant to burn longer. This organization will pay dividends when you wake up freezing at 4 a.m.
Coal Bed
Situation: You’ve waited for rescue until your rations become dangerously low. Changing location and moving towards civilization is now your best chance at survival.
The Large Pine-Bough Lean-to we created took almost 4 hours to construct. We had the benefit of using larger logs from beetle kill as well, which cut down time. There’s no way to live that well while on the move (without modern equipment), so your tactics must adapt. One way to stay alive in cold climates while moving is to use a coal bed.
First, start your fire well before dark. This will buy you time to continually gather firewood before sun down. It takes a lot of wood to generate the amount of coals you’ll need for the bed.
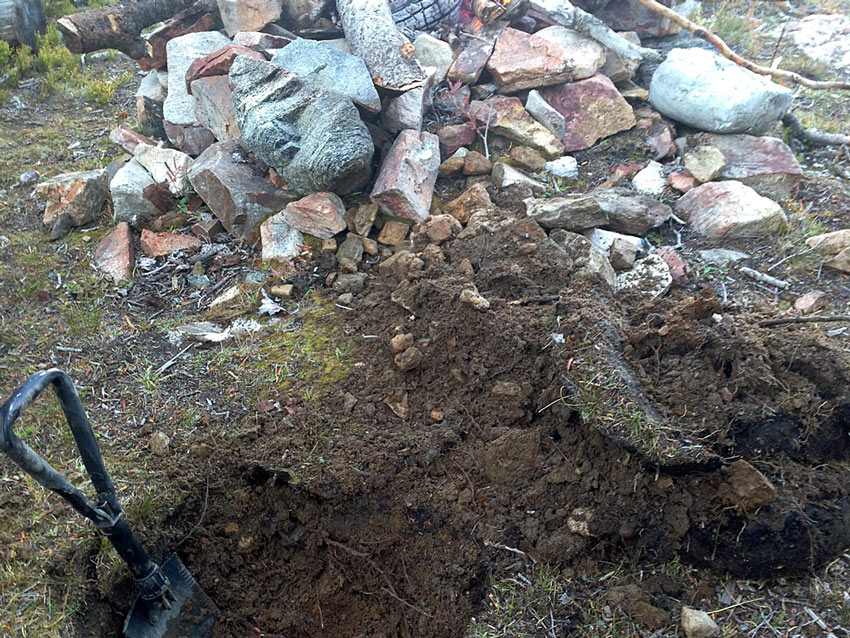
Second, dig a hole in the ground about 8 inches deep. This is where having an E-Tool will dramatically improve your situation. Improvise if needed of course.
When the fire dies down and the amount of coal seems sufficient, move the embers to the hole. Ideally, you’ll fill up 4 of the 8 inches with coal. Then cover the coal with 4 inches of loose dirt.
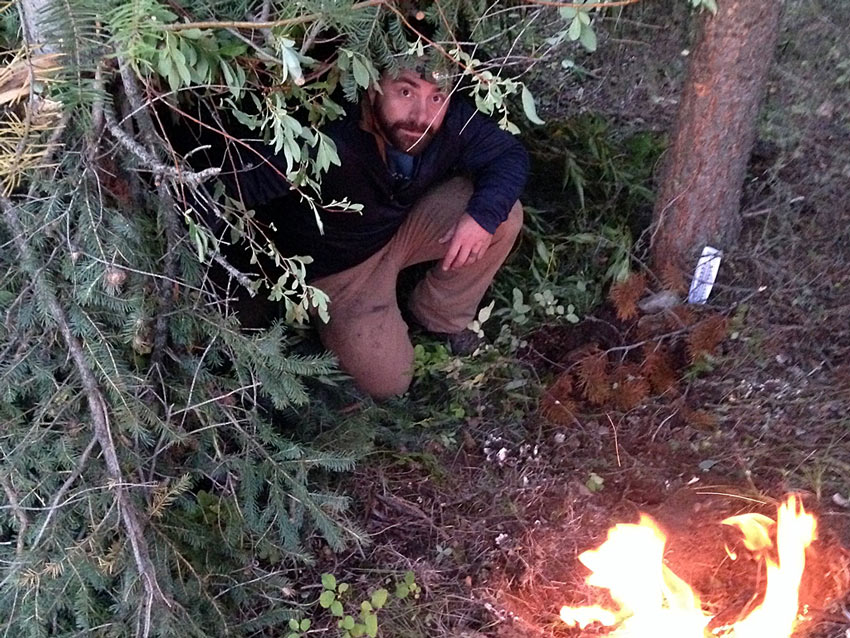
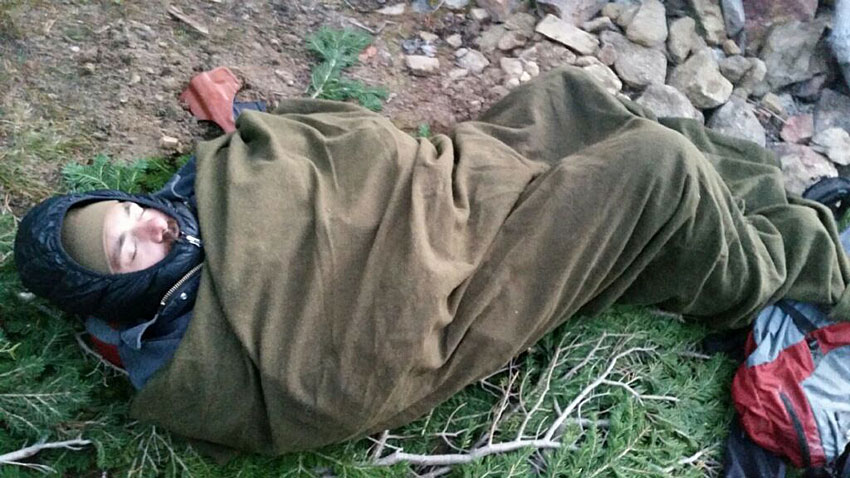
This is where I made a critical mistake. I used the E-Tool to cut the ground like sod. Then I covered the coals with the sod flakes. I believe that the moisture in the grass and the density of the dirt kept the heat from reaching the surface. The coals did however, keep the ground from getting cold which did the trick. The thermometer showed 28 degrees just before the sun rose so the test was in ideal conditions. It did more then keep me alive, I was actually able to get a few hours of sleep. But to answer your question: Yes, I was every bit as miserable as I looked in this photo.

A special thanks to my friend Ray for coming out and testing his skills with me. Ray is training for a major overland expedition raising awareness for veterans as part of Heroes and Horses. Traveling solo across the spine of the Rocky Mountains with his horse and a string of mules, Ray will ride over 1,000 rugged miles from Colorado to Montana.
Editor-in-Chief’s Note: Nick recently left the Navy after serving for 10 years as a Navy SEAL with multiple deployments, having been awarded the Bronze Star for operations in austere environments. Nick’s been with us since the beginning here at ITS on our Advisory Board.