


Quick Release Paracord Bracelet for Emergency Deployment
Quick Release Paracord Bracelet for Emergency Deployment
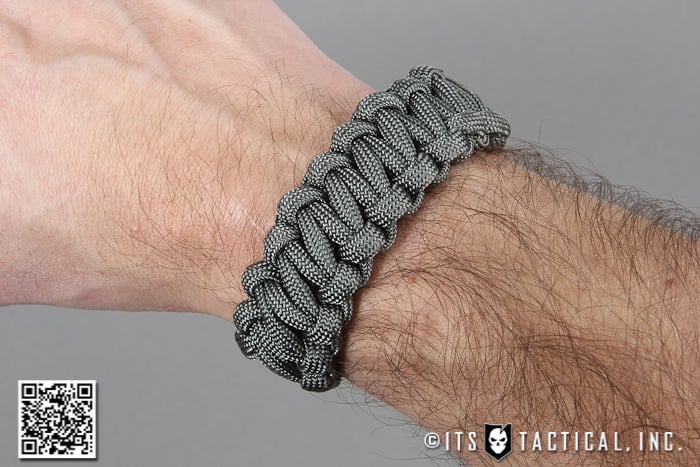
How many of you have either purchased or made your own Paracord Bracelet and ever had to unravel it to actually use the paracord? If so, you’ve probably realized how much of a pain it is to untie each part of the Solomon Bar Knot that’s used to tie these bracelets.
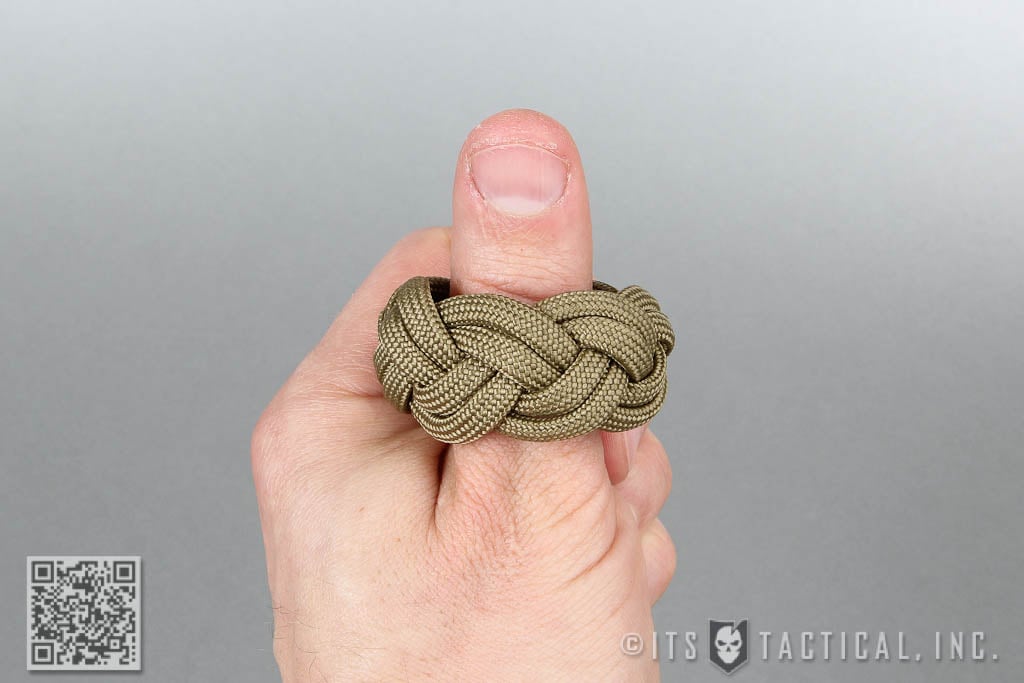
Today on our latest Knot of the Week, we’ll show you how to use a Chain Sinnet knot concept to tie a Paracord Bracelet that will allow you to quickly pull apart your bracelet for immediate access to your continuous 10 feet of paracord for emergency use.
This method will take a bit longer to tie than a normal Solomon Bar Paracord Bracelet, but if quick access is what you need out of your bracelet’s paracord, then this is the answer.
ITS now offers Mil-Spec Type III Paracord in our store!
Paracord Bracelet » Decorative
(Strength: 4/Secure: 4/Stability: 3/Difficulty: 4)
**Ratings shown are for Solomon Bar Knot, not the Quick Release Paracord Bracelet**
Please refer to our Knot of the Week introduction post for a description of what these ratings mean.
Uses:
- Decorative Bracelet
- Carrying Paracord for Immediate Access in Emergencies
Tying Instructions:
Pay particular attention to the beginning steps of this instruction in the video, photos and description below. If the beginning doesn’t get started correctly, it won’t tie right as you progress through.
This method of tying was first discovered by a Dan, a reader who sent in this YouTube video of a Chain Sinnet Square Knot tied by Andy Smith. In Andy’s video he actually ties this so that the buckles fall off as the bracelet is pulled apart. We’ve chosen to tie this as shown below so that the buckle is retained as the paracord is unraveled.
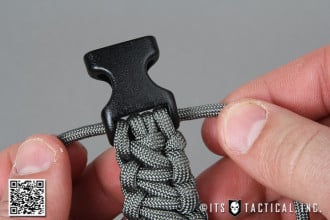
Note: The buckle we show is a National Molding Weinerlock buckle. These contoured buckles are definitely nice to have when you’re wearing your bracelet all day. You also don’t have to use a buckle and this can be ended in this configuration shown on our Twisted Solomon Bar Paracord Bracelet.
ITS now offers Mil-Spec Type III Paracord in our store!
- Find the middle of a 10-12 ft. section of Paracord and halve it
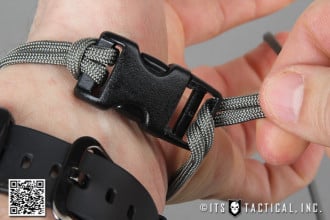
- Take the middle and girth hitch it into the female portion of the buckle
- Thread the two working ends through the bottom bar of the male portion of the buckle
- Now place what you’ve created around your wrist and tighten the working ends until you have the desired size
- *You’ll want it snug, but not tight, as the pattern we’ll be creating will add some girth to the bracelet
- Once the size is determined, you’re ready to start the pattern.
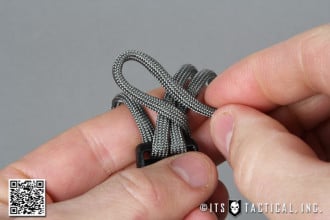
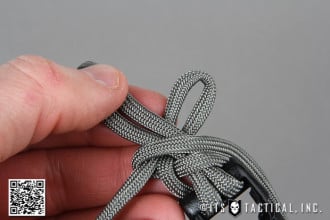
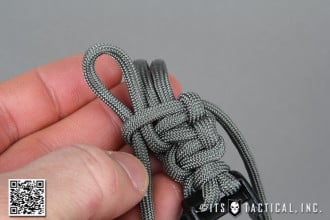
- Take the right side working end and create a bight (loop) and bring it over the standing center part
- Take the left side working end, create a bight and loop it through the loop you just made with the right side working end
- Ensure the new bight passes through your initial bight from the top, not the bottom
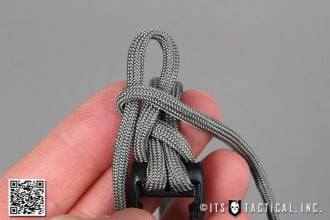
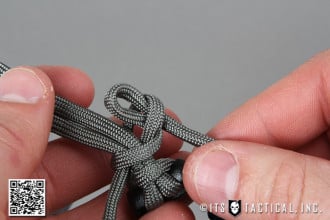
- Pull on the standing right hand strand to tighten the loop that’s now holding your second bight
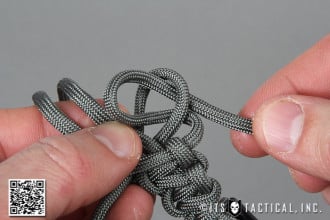
- Take this secondary left side working end bight and take it under the standing center part
- Repeating the same type of work you just did, you’re now going to create a new bight with the standing right side line
- This bight now passes through the bottom, rather than the top as you just did with the last side
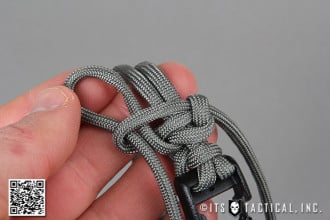
- Now you’re just repeating those steps, alternating from the right side going over the standing part and the left side going around the back of the standing part
- Remember to tighten and push the “knots” down as you go
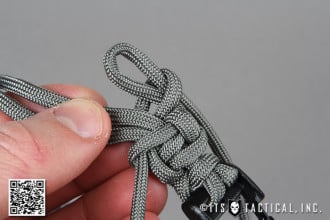
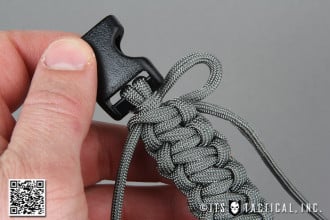
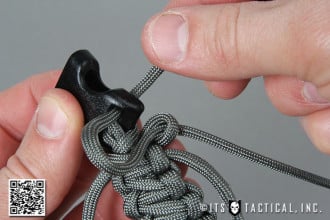
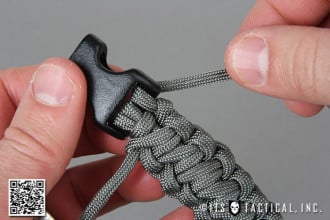
- As you pull through your last bight near the male buckle, you’ll actually pull this side all the way through and into the female buckle (see photos)
- The opposite strand you’re left with will be also threaded into the male buckle
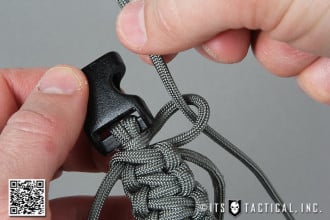
- Now that both strands are out the backside of the male buckle simply tuck them behind the topmost loop of the solomon bar type wrapping
- Tighten them up and trim to your desired length, in the video you can see that we’ve melted these ends together slightly so that they’ll stay together until pulled apart, but not so much that these ends won’t pull apart
- To quick release your bracelet, simply untuck the ends from the loop and pass them back through the male buckle and unlock the side you pulled through the bight
- You can now pull the two sides of paracord apart quickly to deploy your paracord!
View the gallery or YouTube video below and follow along with the steps above, be sure to let us know in the comments if you have any questions!


Discussion