


How to Tie Knots Like a Navy SEAL: Part 2

Photo U.S. Navy (Released)
This weeks “Knot of the Week” continues with the second of five knots taught to Navy SEAL candidates at BUD/s for their Underwater Knot Tying Test.
Students start from the shallow end of the pool, and when called swim out to a waiting instructor. The student announces themselves and which of the five knots they’ll be tying.
Once give the nod by the instructor, the student then requests permission to descend to the bottom of the 15 foot pool with a downturned thumb.
The signal is returned by the instructor and the student begins his descent without splashing the surface of the water.
When the student reaches the trunk line he will tie the knot and signal the instructor with an OK. The instructor will check the knot to make sure it’s tied correctly and return the OK.
The student then gives an upturned thumb signal to ascend. Once he sees it returned by the instructor, can begin his ascent.
We’ll have a special video presentation during the last week of the five-part series, combining all the knots and showing them tied underwater like the test.
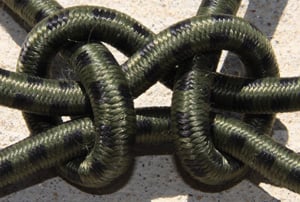
The second knot we’ll show from the test is the Square Knot.
Square Knot » Bends
(Strength: 2/Secure: 2/Stability: 1/Difficulty: 1)
Please refer to our Knot of the Week introduction post for a description of what these ratings mean.
Yes, the Square Knot is a somewhat simple knot, but the primary purpose of teaching this knot at BUD/s is for demolition.
When working with Det Cord (Detonation Cord), lines need to be spliced together. The simplest way to do this is with a Square Knot.
It’s debatable whether or not to backup the ends or not when dealing with Det Cord. It burns from one end to the other when ignited and is basically just cord with a PETN core that burns at a calculated rate.
When the Det Cord burn reaches the backed up portion of the Square Knot it will start burning not only towards the center of the knot, but also take off in the direction of the tail. This is why some don’t backup the knot.
At least a six-inch tail must be left after tying the Square Knot to prevent moisture from entering the Det Cord through the exposed end.
During the BUD/s Underwater Knot Tying Test, it’s not required to backup the knot.
Uses:
- In demolition to splice Det Cord
- One of the most common knots in surgery
- Used in first aid to tie bandages, as it lies flat
- Tie boot laces to prevent boots getting pulled off by mud
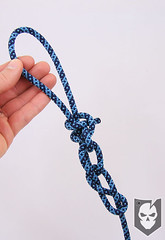
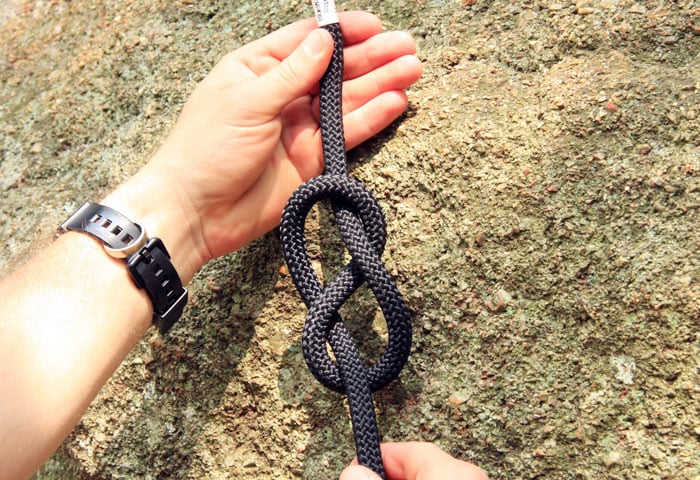
Tying Instructions:
- Pass the right end over the left end and back under the left
- Pass the left end over the right end and back under the right
- Check the knot (the two loops should slide on each other, if not you have a granny knot)
- Tighten by pulling both strands on each side of the knot
- Backup the square knot by making an overhand knot using the working end of each side of your knot
- **The video below shows an alternate way of tying the Square Knot that will help with next week’s knot**
View the gallery or YouTube video below and follow along with the steps above!
Discussion