


Knot of the Week: 550 Paracord Wrapping
Knot of the Week: 550 Paracord Wrapping
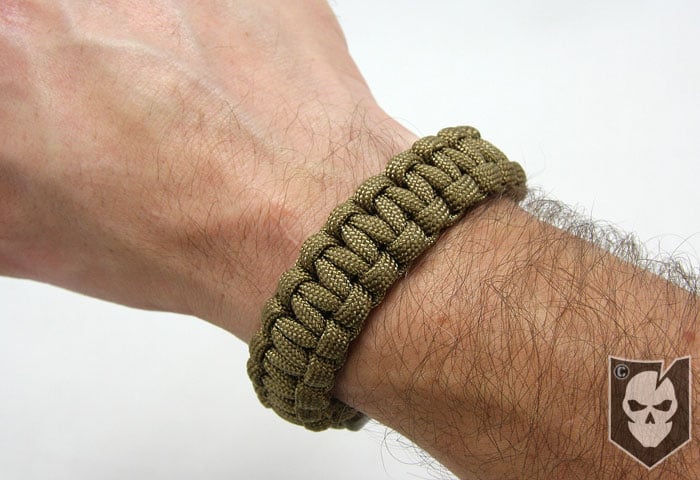
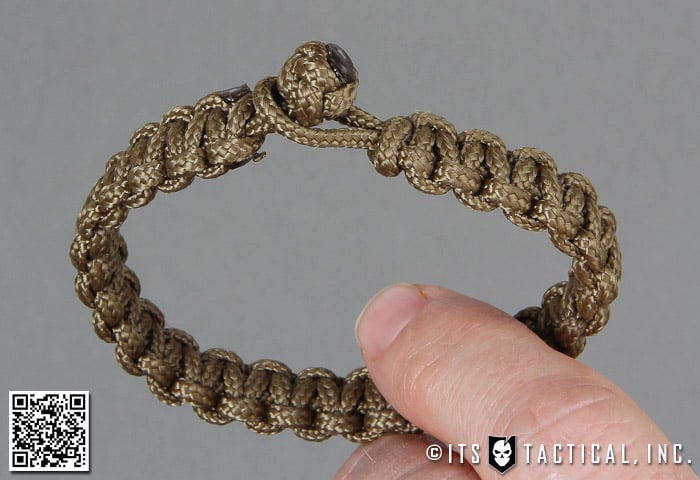
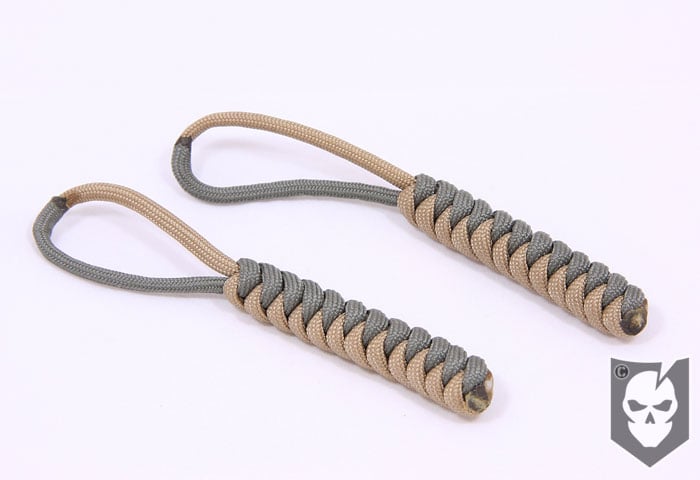
This week’s Knot of the Week isn’t a true knot per se, but a way to wrap objects to increase their grip and also to store extra paracord.
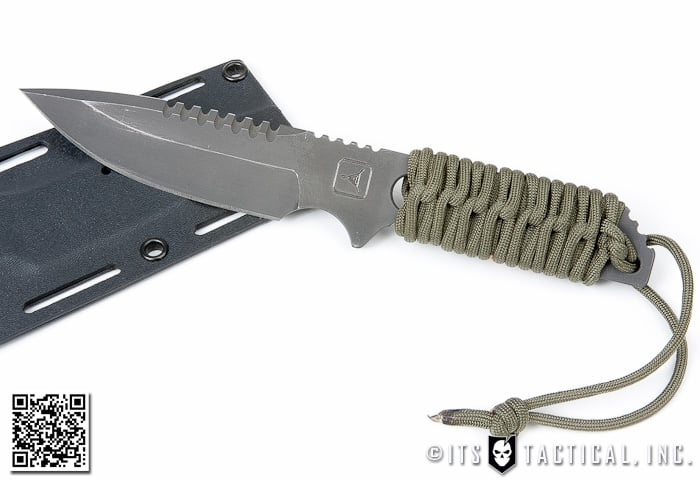
Today we’ll be wrapping a County Comm Micro Widgy Bar, which is a miniature pry bar. It’s made from hardened D9 steel and is around 3″ in overall length.
The wrapping we’ll show you today isn’t a very complicated wrapping, but still provides a nice secure way to lock in the paracord.
Some people like to wet paracord before wrapping which will enable you to get the wraps tighter, but if you’re concerned about that, you should also use a vise to hold the object you’re wrapping.
We’ve used around two feet of paracord to wrap this Micro Widgy Bar, but depending on your lanyard length you might want to use a few more inches.
Paracord Wrapping » Decorative
(Strength: 3/Secure: 3/Stability: 2/Difficulty: 1)
Please refer to our Knot of the Week introduction post for a description of what these ratings mean.Uses:
- Increase the grip of an object
- Storing Paracord
- Decorating an object
Tying Instructions:
- To follow along with these instructions, your object will need to have two holes for paracord
- Start my taking working end and passing it through the backside of the uppermost lanyard hole
- Give yourself plenty of line when passing out of the hole, as this length will determine the length of your lanyard
- The standing part now becomes your working end as you wrap a single turn either clockwise or counter-clockwise around the object
- This first wrap is also placed on top of the standing part
- As you wrap the second turn place your standing line on top of the turn creating and under/over pattern
- The third wrap will be an “over” turn and you’ll start to see the pattern emerge
- Repeat this under/over pattern until you reach the bottom hole in your object
- At this point thread your standing line through the hole
- End the final wrap with your working end so that it winds up enabling you to thread it through the backside of the bottom hole
- What you should have is opposing ends at this point
- Tie your knot of choice, whether it be a simple overhand knot or a lanyard knot to finish off the wrapping
View the gallery or YouTube video below and follow along with the steps above!
[flickrset id=”72157623608008806″ thumbnail=”square” overlay=”true” size=”medium”]
Discussion