


Lightweight Backpacking Step 2: The Big Three
Lightweight Backpacking Step 2: The Big Three
- An Introduction to Lightweight Backpacking
- Lightweight Backpacking Step 1: Weigh Everything!
- Lightweight Backpacking Step 2: The Big Three
- Lightweight Backpacking Step 3: Multi-Function Gear
This is the third post in my series on lightweight backpacking aimed at helping you reduce your overall pack weight without sacrificing any of the comfort or the necessities. In my first post I introduced you to the concept of lightweight backpacking, the benefits, how to get started, taking less stuff, and smaller amounts of things. In my second post I focused on weighing your gear, using a detailed gear tracking list, weight summaries, and the importance of keeping it up to date. How else can you know how much you are carrying if you don’t weigh your gear?
For this third installment I wanted to focus on the three pieces of gear that every backpacker must have and which collectively account for the majority of the weight you will be carrying – we call them “The Big Three” – your tent, backpack, and sleeping bag.
The Big Three
If you’ve been following this series and have completed step 1, you should have a detailed list of all of your gear with accurate weights. If you take a careful look you’ll notice that your three heaviest items are your tent, your backpack, and your sleeping bag. If you want to get serious about reducing your overall pack weight and going lighter, you’ll need to tackle the big three to achieve that. The goal is to try and get each of these items under 3 lbs each (9 lbs in total). That might sound drastic or impossible to some of you, but it’s easily achievable with todays lightweight gear – and affordable.
Unfortunately the only real way to achieve this is by purchasing alternative version of these items if yours weight too much. I wish there were some clever hack or modifications that I could share with you to let you reduce the weight of these items and save money, but that’s not gonna happen. If any one of your big three is over three pounds, it’s probably a good time to buy a new version anyway and take advantage of the improvements in build and technical materials being used today. If you time your purchases right (think end of year sales) you can pick up some great deals and save a lot of money.
Tent
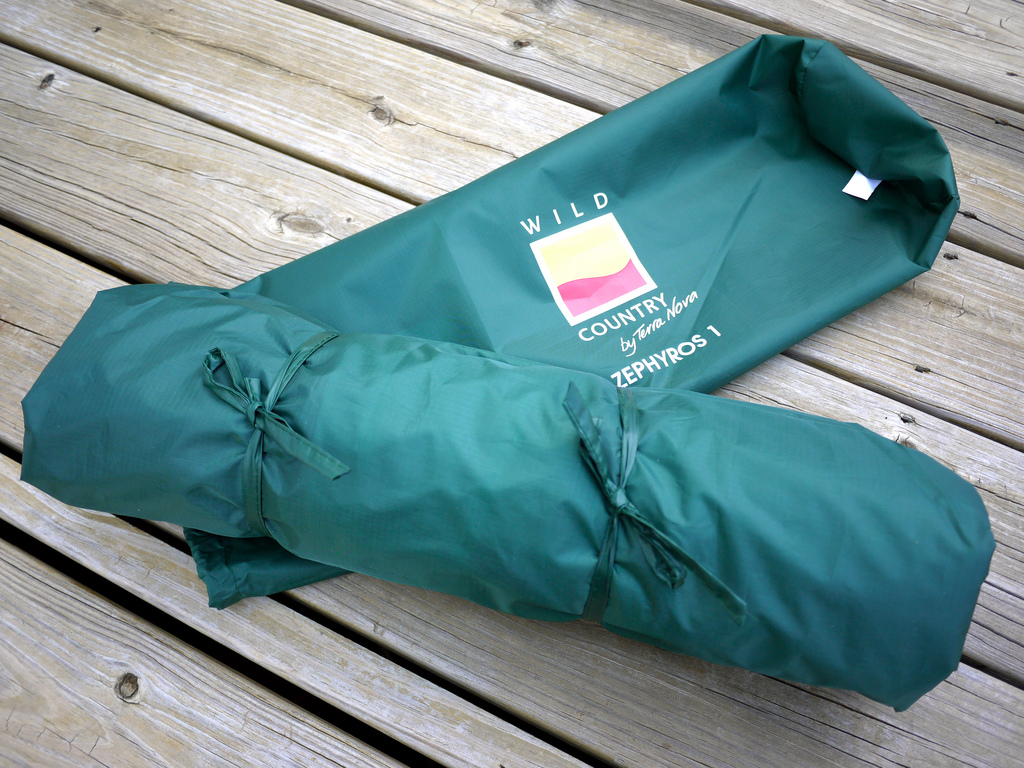
Let’s start with your shelter or tent. Chances are that if you don’t own a relatively new tent it’s probably going to weigh more than our goal of 3 lbs (48 oz). If that’s the case, then it’s time you replace it with a newer version or alternative shelter. The lightest tents on the market today tend to all be either single-walled tents or tents with intreated rain flys. The fabrics used by tent manufacturers have improved so significantly in recent years that single-walled tent are just as waterproof as double-walled tents and are no longer the condensation traps they used to be.

Combined with advancements in the technical design of tents and you now have some extremely compact and lightweight options available in most of the common outdoor stores. REI, Big Agnes, Sierra Designs, and EMS are among some of the better known brands that offer one and two person options. And while we’re on the subject of tent size, unless you regularly backpack or hike with a significant other, go with a one person tent and save as much unnecessary weight as possible. Many one person tents now come with vestibules for storing your gear under cover outside of your tent.
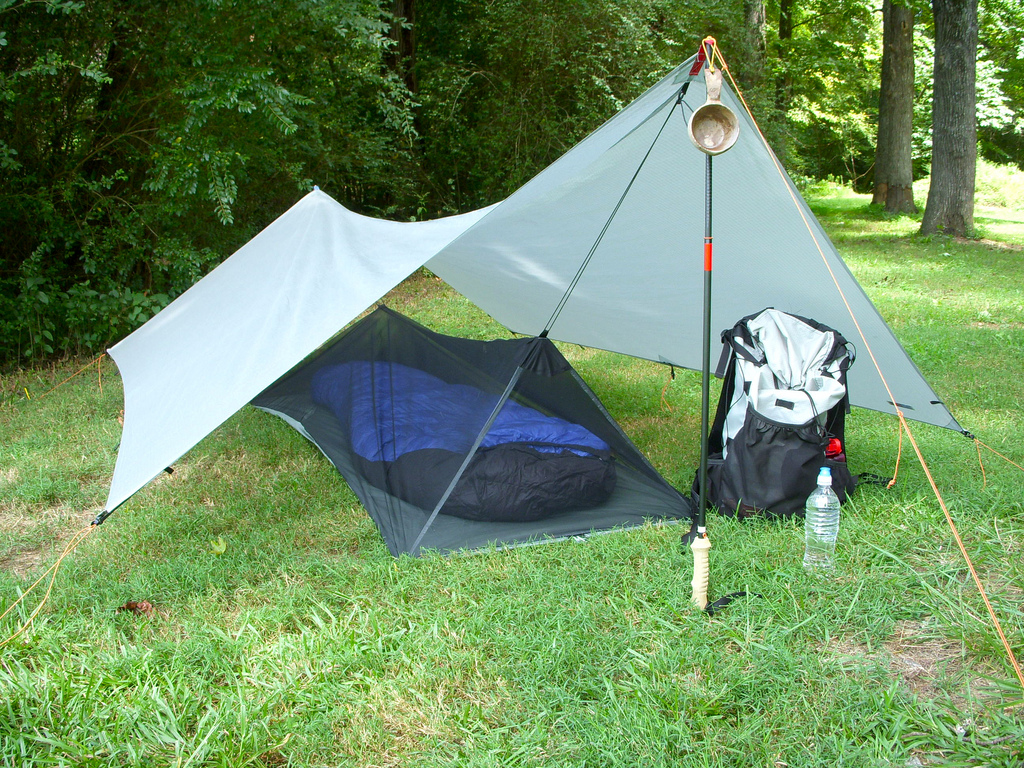
I’m personally a big fan of using a tarp as my primary shelter. A tarp can be an extremely lightweight option (my Gossamer Gear SpinnTwinn weighs just 12 oz) but requires a little more experience to pitch properly and may not be as easy to use in as many environments or situations as a tent. Last year I really struggled with my tarp on Mt. Whitney with the high winds and rocky surface. I couldn’t drive a stake in to the ground and couldn’t get a tight pitch. As a result I had two very miserable nights of fitful sleep above 12,000 ft. Hammocks are another lightweight alternative to a tent. However, like a tarp, these require certain characteristics of your campsite (can you say trees?) in order to be used. I’d personally recommend that you invest in a quality, lightweight one-person tent and then consider going to a tarp or hammock as the next phase of going lighter if thats what you want to do.
Sleeping Bag
Next let’s talk about your sleeping bag. Again, if it weighs over 3 lbs or is so old that you can’t remember the year that you bought it, it’s probably time to replace it. There is a lot of debate among backpackers and outdoors people over what the ideal rating is for a 3 season sleeping bag. I can only tell you that based on my own personal experience of having tried many different rated bags over the years, I finally settled on a 20 degree F bag as my “go to” option for 3 season camping. A 20 degree bag is easily regulated using the zipper and your clothing choices if you want to use it in warmer temperatures.
I’d highly recommend buying a down filled bag versus a synthetic one. Down bags tend to be much lighter in weight and far more compressible than synthetic ones. Having a sleeping bag that is more compressible is important when it comes to choosing a backpack. The smaller the bag can pack down to means you can choose a pack with a smaller volume, which in turn will save you some weight.
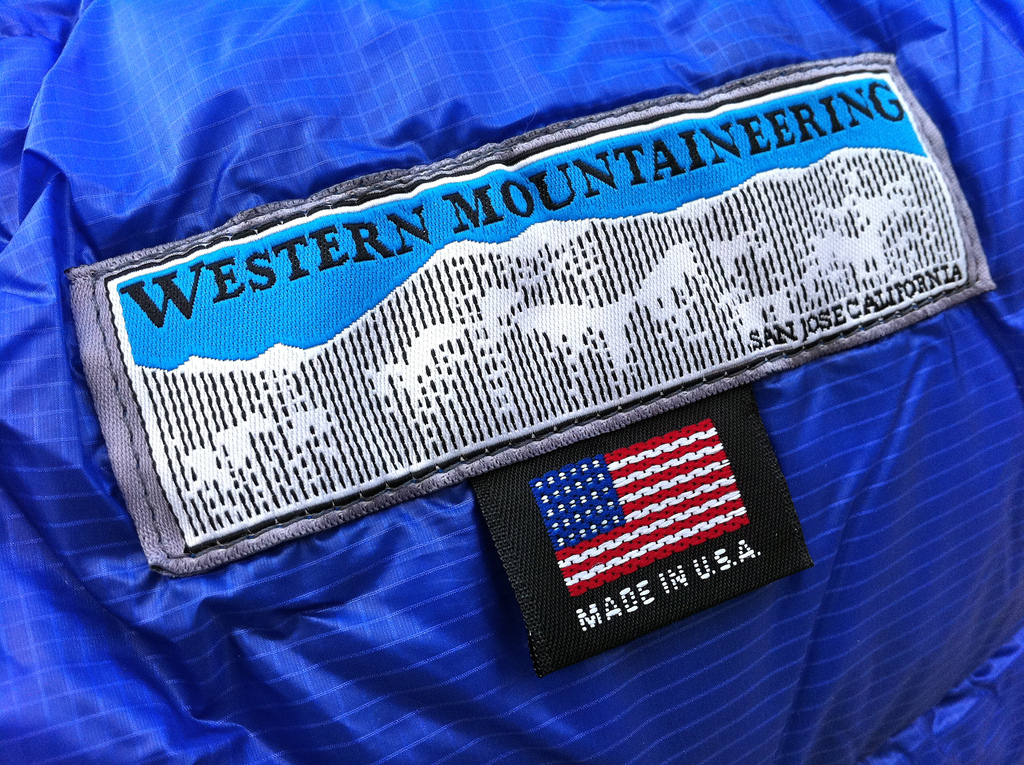
I carry a Western Mountaineering Ultralite down bag with me that weighs 1 lb 13 oz and is rated for 20 degrees. I highly recommend WM as a quality sleeping bag manufacturer, but a bag such as this is a big investment and doesn’t come cheap ($300 -$400). A quality down sleeping bag can last you over 10 years and easily pay for itself if you take care of it, clean it properly and store it uncompressed so that you don’t ruin the loft of the down fill. Also look at some popular brands like Marmot, REI, Big Agnes, and Montbell that all have a good selection of quality affordable down bags in the $100 – $200 price range.
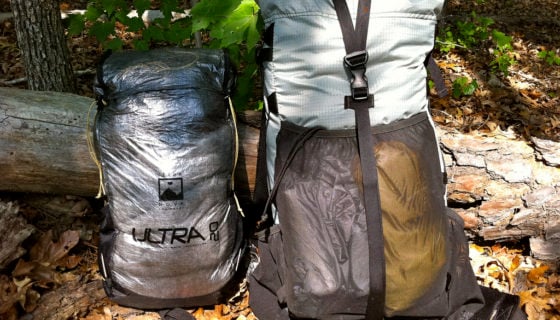
Backpack
Finally, we get to the last of your big three items – your backpack. I’ve deliberately left the backpack to last because you really don’t want to choose a smaller backpack until you know how much volume you’ll need for your tent and sleeping bag! Chances are that a 40L backpack will be sufficient for just about any type of trip you are planning from an overnight hike to a 6-moth thru hike of the AT. Just about every mainstream backpack manufacturer has come out with a “lightweight” (2 – 3 lbs) version of their packs to try and capitalize on the growing trend in lightweight and ultralight backpacking – which is good news for you. Some of the better known brands include GoLite, Osprey, REI, and Granite Gear.
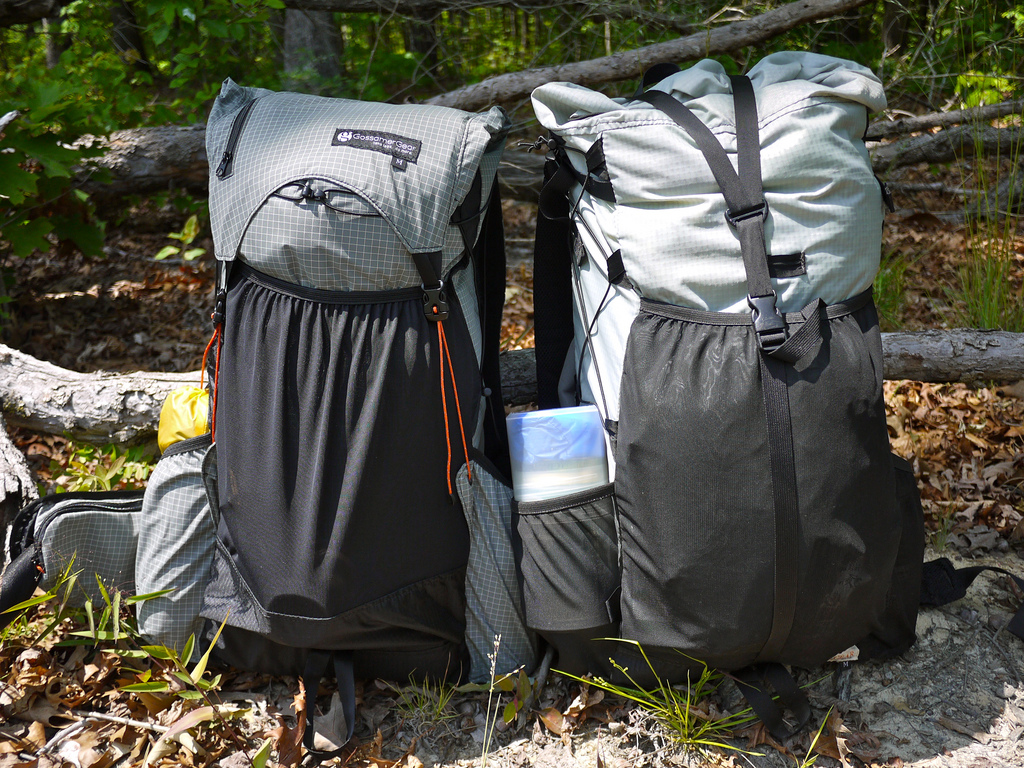
The lightest weight backpacks are going to be the ones with a minimal internal frame or stay, or completely frameless. No more external frame backpacks please! Advancements in backpack design have resulted in innovative ways to combat the lack of internal frames such as using your ground sheet as a folded pad in the back of you pack to provide comfort, support, and rigidity. It also lets you use your ground sheet as a multi-purpose piece of gear, something we’ll look at in more detail in a future blog post as a way of further reducing your base pack weight.
Conclusion
Your tent, sleeping bag, and backpack are the three heaviest pieces of gear that you carry – don’t take my word for it, check your gear list (step 1). Reducing these three items (the big three) will have the largest impact on reducing your overall base weight. As a rule of thumb aim for getting each piece under 3 lbs. Look for off season deals on sleeping bags and tents, and consider some of the online gear swapping forums that sell lightly used gear for reasonable prices.
In my next post I’ll take a closer look at multifunction gear and reducing your base weight further by using pieces of gear for more than one purpose – double-duty.
Editor-in-Chief’s Note: Brian is an avid lightweight backpacker and author of the popular Brian’s Backpacking Blog. Originally from Southampton, England, Brian has lived in the US for over 15 years, finally settling in North Carolina. His love of the outdoors started at a very early age, almost as far back as he can remember. Now he spends as much time backpacking as his work schedule and family life will allow. Be sure to check out his blog for other great backpacking tips & tricks and gear reviews.
Discussion