


An Introduction to Lightweight Backpacking
An Introduction to Lightweight Backpacking
- An Introduction to Lightweight Backpacking
- Lightweight Backpacking Step 1: Weigh Everything!
- Lightweight Backpacking Step 2: The Big Three
- Lightweight Backpacking Step 3: Multi-Function Gear
The most frequent question I get asked by people I meet on the trail or who read my blog is how do they get started with lightweight backpacking?
Usually they’ve read some articles online, seen some gear reviews in a magazine, or hiked with someone who had a much lighter pack they theirs. They’re typically already convinced of the benefits of going lighter, but just don’t know where to start.
What’s Lightweight Backpacking?
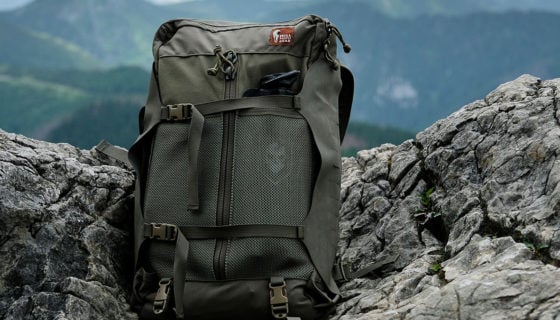
Let me start by saying it’s a journey. Don’t expect to accomplish this overnight or by just reading this blog post. It takes time. Lightweight backpacking is getting your overall pack weight (minus food, water, and fuel) down to around 25 lbs for a multi-day trip. If you want to get more extreme, you can become an ultralight backpacker and shave your pack weight down to a meager 15 lbs or less — but that’s a whole other blog topic that we’ll save for later.
What are the Benefits?
Right off the bat I’d say the difference between carrying a 60 lb backpack and a 25 lb one is an enormous weight saving. You will be able to hike at a faster pace, you’ll be able to hike for much further distances, and the reduced strain on your body will mean there’s less likelihood of injuring yourself. If you like being outdoors and enjoying nature, you’ll be able to see a lot more of it with a lighter weight pack. Bottom line, you’re probably going to start enjoying backpacking trips a whole more with a lightweight pack than you were in the past with a huge one.
How do you get Started?
I start by telling people that they need to adjust their expectations of backpacking. If you try to take along all of the creature comforts of home while you’re out on the trail, you are going to end up with a heavy pack — it’s inevitable. So, step one is to realize that you’ll need to take less to be able to do more.
There are several tried-and-tested techniques to successfully reducing your pack weight without sacrificing all of the little luxuries. I’ll touch on three of them as part of this post and expand on the details and other techniques as part of a future series.
Weigh all of Your Gear — Knowledge is Power
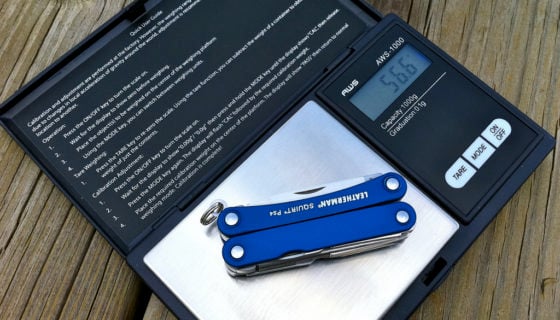
In order to figure out how much pack weight you need to lose, you need to know where you are. This is the first and most important step towards reducing your pack weight. Don’t assume the weight of something is negligible until you’ve weighed it.
If you already have a set of scales around the house you may be able to use of them. But I’d recommend you invest in a set of digital kitchen scales ($20 on Amazon or ebay) in order to have accurate readings.
Take out every piece of backpacking gear that you currently use, have taken on a trip in the past, or might take on a trip in the future. Weigh every piece of gear and write down the weight. Be sure to describe each piece of gear accurately (don’t just write ‘pants’) so you’ll know what you were talking about three months from now when you look at this list again. Weigh all of the individual component parts of your gear. Your first aid kit is a particularly good example of this.
Weigh all the pieces and break everything down into its components. Now add up all of the clothing and equipment (excluding consumables – your food, water, and fuel) that you would take on a normal backpacking trip. This is called your base weight.
Take Less Stuff — Leave Things at Home
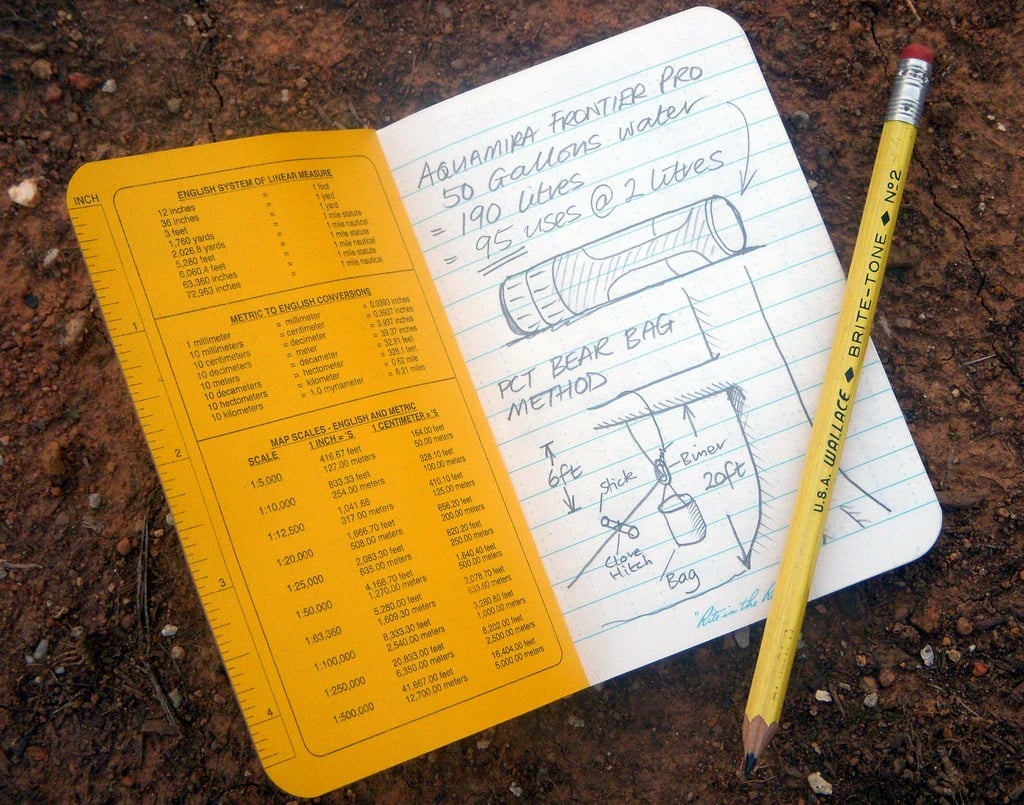
On your next backpacking trip, keep careful track of all of the gear and clothing items that you did not need or use. I like to carry a small 3×5 Rite in the Rain (RITR) notepad and pencil to help me organize my notes. When you get back home from your trip, you can subtract these items from your gear total and quickly see how much weight you could have saved if you had left those items behind. You’ll probably be very surprised by just the results of this first step, but if you’re not totally convinced about leaving the items behind, repeat this step on your next trip.
Take Smaller Amounts of Things
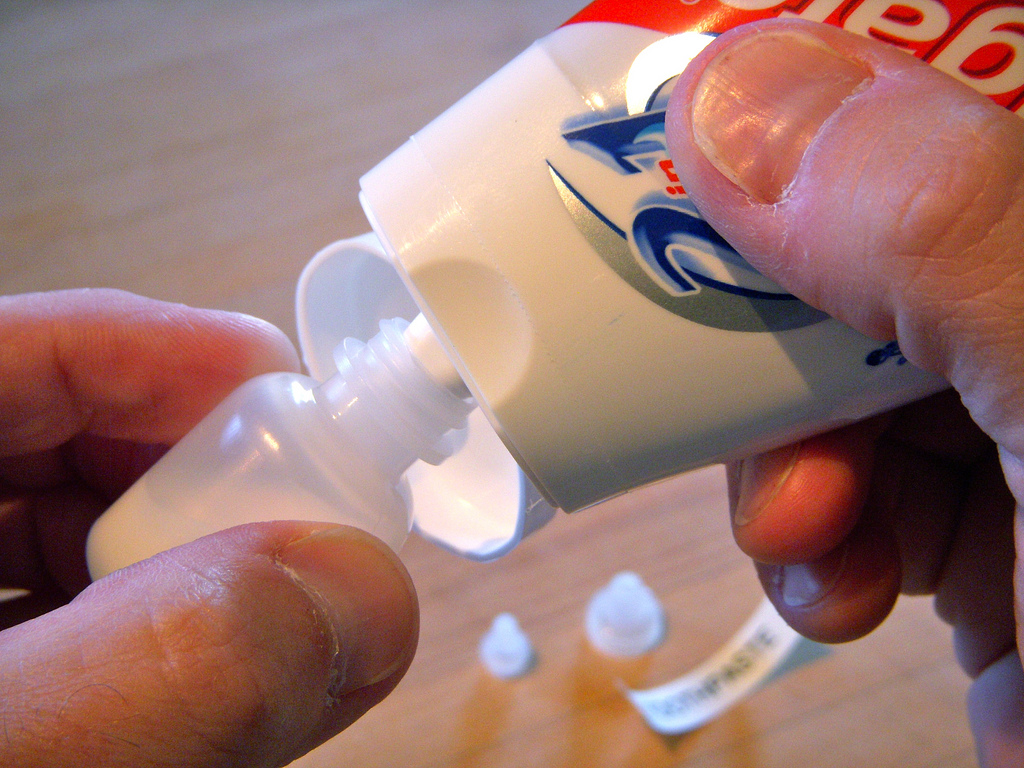
Similar to simply taking less stuff with you is taking smaller quantities of things. If you’ve done your homework and weighed all of your backpacking items, you’ve probably already noticed how things like soap, insect repellent, sunscreen, and lotions really start to add up in weight. The chances are that you’ve grabbed a small travel size container for all of your toiletry items but only ended up using 1/5 or less of each one. BY keeping track of how much of any given item you use on a multi-day or overnight backpacking trip you can start to fine tune how much you carry on future trips. Mini containers and small eye-dropper bottles are a great way to carry smaller amounts of liquid items with you. There are also lots of websites (such as minimus.biz) that sell tiny individual packets of all sorts of consumables.
Multiple Use Gear
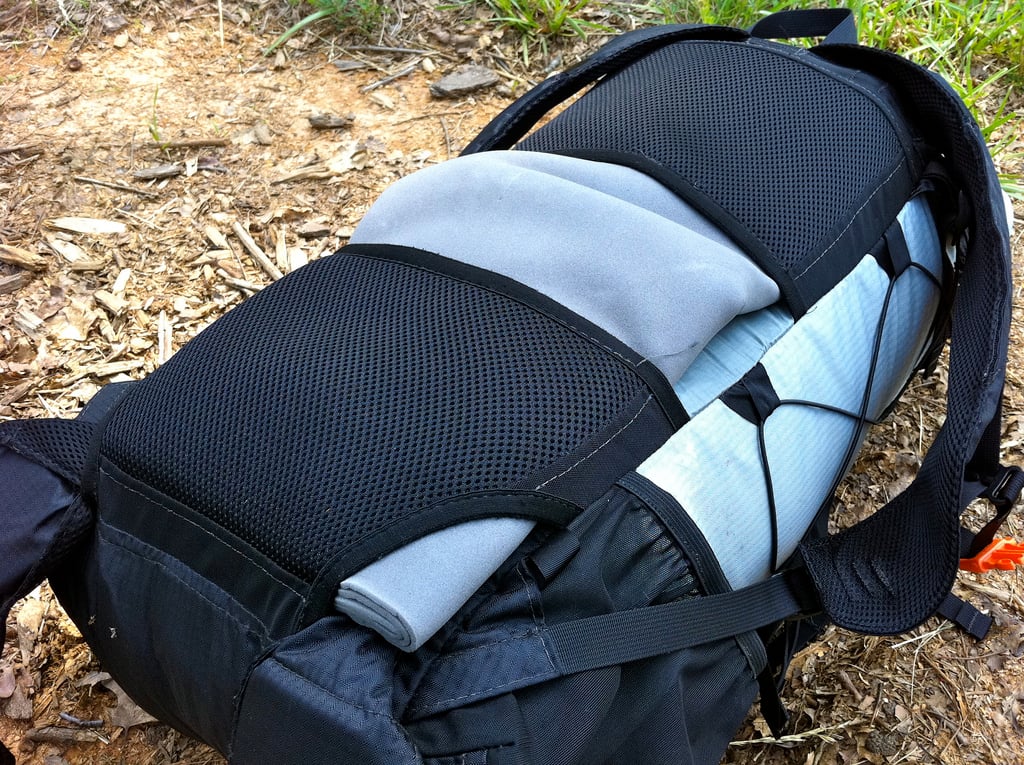
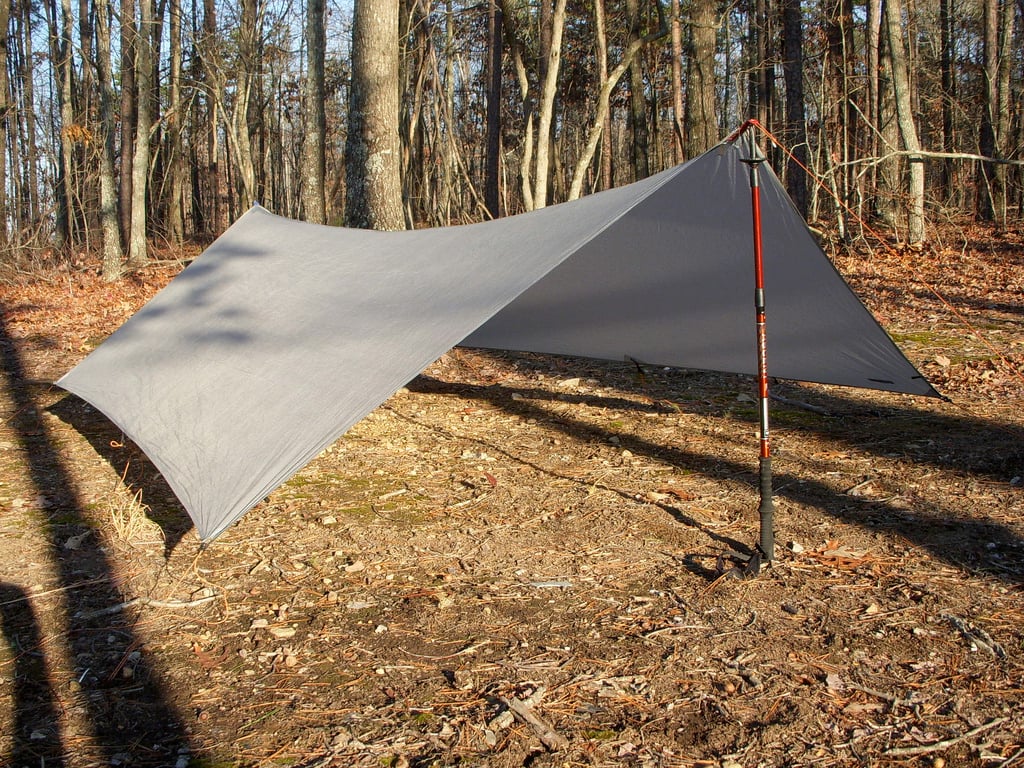
Once you’ve eliminated all of the items of gear that you no longer need to carry and have gone through a process of reducing the amounts of items that you take, there is one other reliable method for reducing some additional weight — take items of gear that can serve multiple purposes. An example of this is trekking poles. I carry a set of lightweight trekking poles with me when I go hiking or backpacking. The trekking poles double as my tarp support poles letting me leave the original and heavier poles at home. Another example is my backpack and sleeping pad. I carry a frameless Gossamer Gear Gorilla pack for most of my hiking and backpacking trips. I use my sleeping pad, in a special pocket on the back of the pack, to stabilize the structure of the pack and to provide padding for my back. Even something as simple as a bandanna can function in multiple ways such as a washcloth, towel, bandage, hat, water pre-filter, and handkerchief – you get the idea.
Conclusion
Going from a 60lb pack weight to 20lbs or less is not going to happen overnight. The process of reducing your base weight and applying the principles listed above could easily last throughout an entire backpacking season, or longer. It’s a journey. Experiment, take good notes, and observe your gear usage carefully. I highly recommend going on “practice” trips to test out your gear and see what works and what doesn’t. Most important of all, get outside and go backpacking!
Editor’s Note: Please join us in welcoming Brian Green as a contributor to ITS Tactical! Brian is an avid lightweight backpacker and author of the popular Brian’s Backpacking Blog. Originally from Southampton, England, Brian has lived in the US for over 14 years, finally settling in North Carolina. His love of the outdoors started at a very early age, almost as far back as he can remember. Now he spends as much time backpacking as his work schedule and family life will allow. Be sure to check out his blog for other great backpacking tips & tricks and gear reviews.

Discussion