


Quick and Inexpensive DIY: Easily Colorize your AR-15 Fire Control Roll Marks
Quick and Inexpensive DIY: Easily Colorize your AR-15 Fire Control Roll Marks
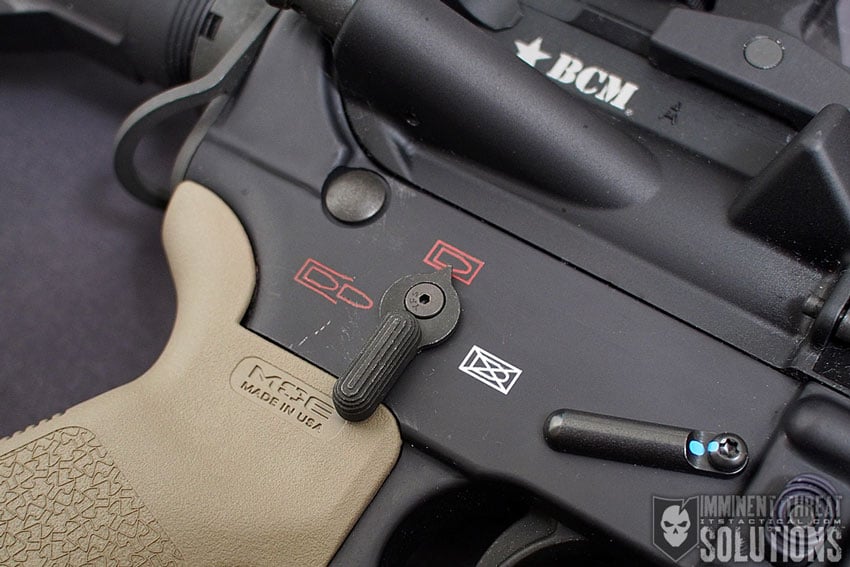
I’m just about done building my first rifle and while there’s still a few finishing touches to add, I thought about marking the fire control engravings so they stood out slightly from the rest of the lower receiver.
Since I wasn’t sure this modification is one I’d want to live with forever, I searched for a non-permanent solution. In my initial research, I found that most people paint the roll marks on their rifles one of three ways; crayons, nail polish or model paint.
Because it was the simplest, most inexpensive and easily removable option, I went the crayon route. While this DIY would be easier for those working with a stripped lower receiver, it can also be done with a fully completed rifle like mine in this example. Depending on what you have at home, you may not even have to buy anything extra and could have this simple project completed in no time.
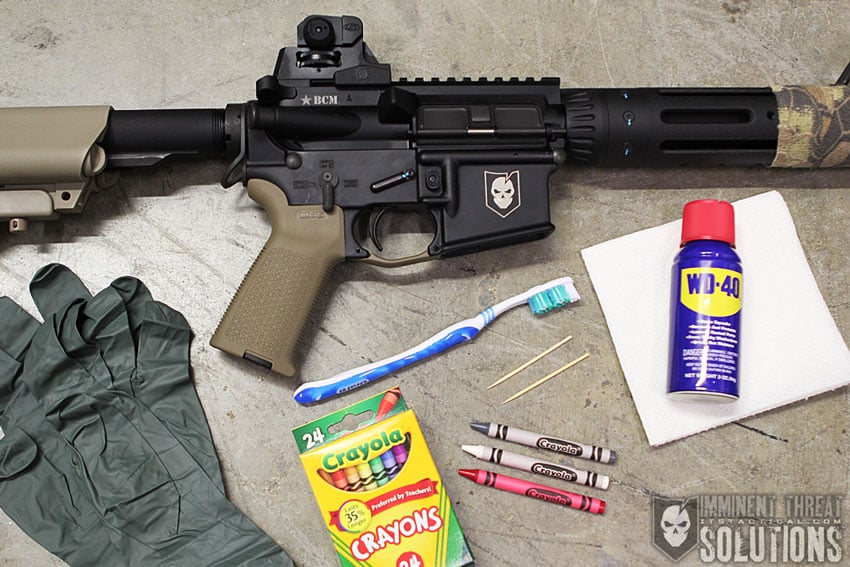
Items Needed
- Crayons
- WD-40
- Paper Towels
Optional
- Knife (to sharpen the crayons)
- Toothbrush and/or Toothpicks (to clean engravings or fix mistakes)
- Rubber Gloves (skin protection from WD-40)
- Compressed Air Duster (blowing away excess crayon)
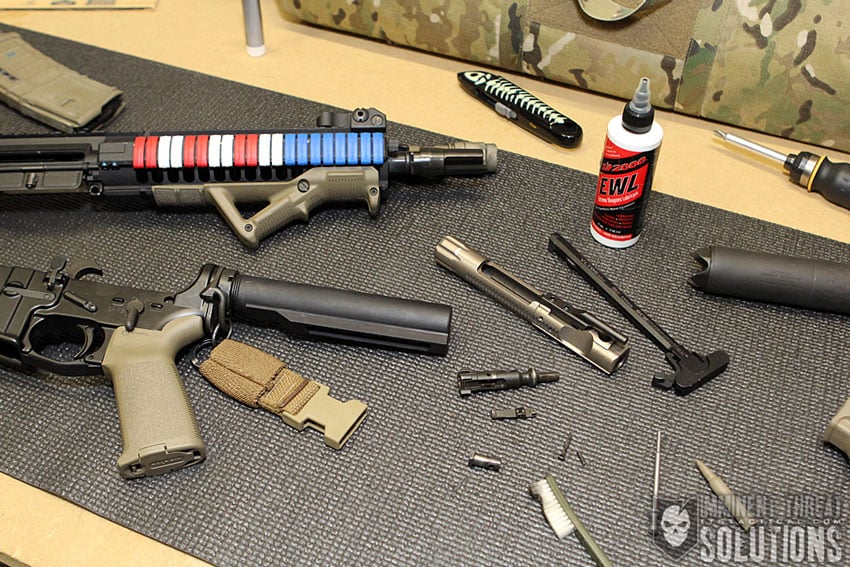
Once you’ve assembled all of your equipment, make extra certain that the weapon is safe and clear.
Don’t cut corners when it comes to safety.
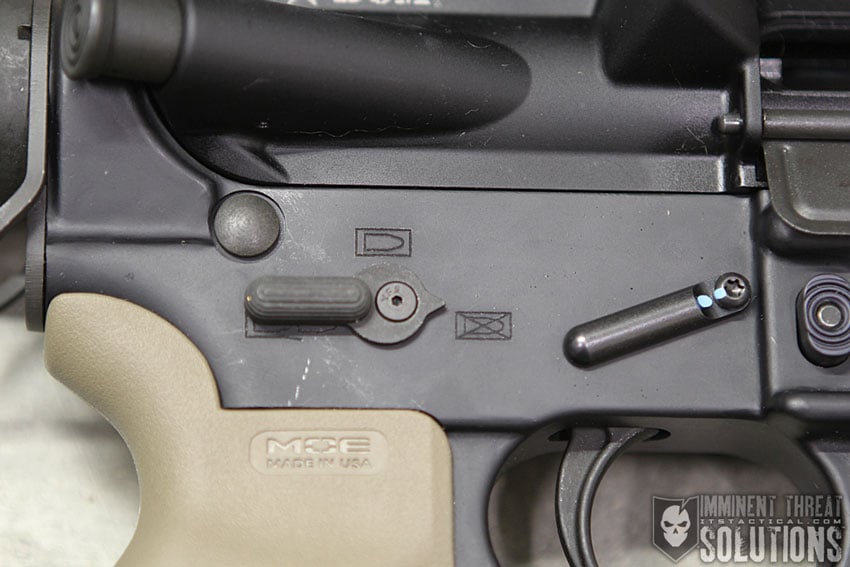
Step 1
It should go without saying but be sure to clean the surface you’re about to work on. As mentioned previously, this rifle was just newly built and hasn’t even been test fired but I still made sure that the markings were clean and free of any debris. This is where a canister of compressed air could come in handy blow the dust away.
Step 2
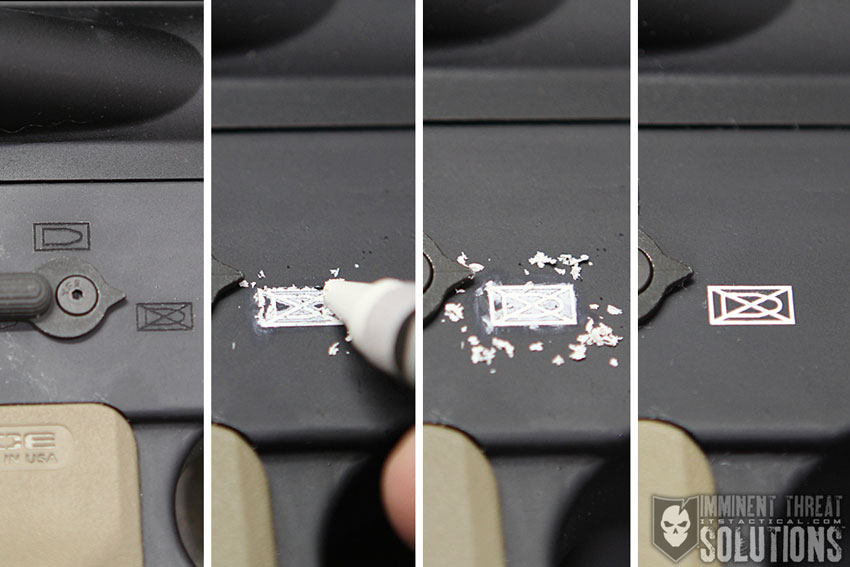
Rub the preferred color of crayon into your markings. Don’t worry about coloring outside the lines as you want to really work the crayon wax into the engravings. Some rifles will have deeper markings than others, so be sure completely fill them in. If your crayon becomes dull, simply sharpen it with a knife.
Step 3
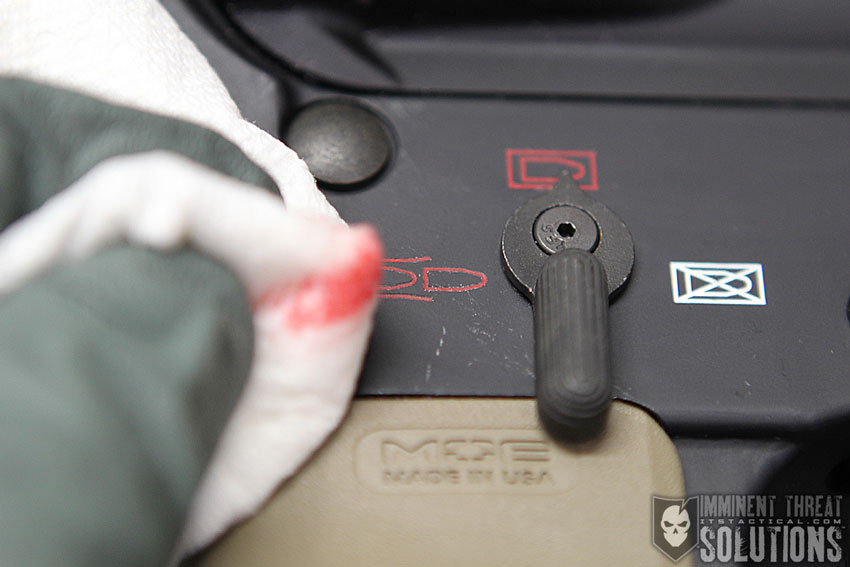
You’re now going to remove the excess crayon that’s not in the engraved marking. Spray a little WD-40 on a paper towel and gently rub away the excess wax surrounding the marking. You’ll notice that you can actually rub over the marking itself and what’s left inside will remain if you rub lightly.
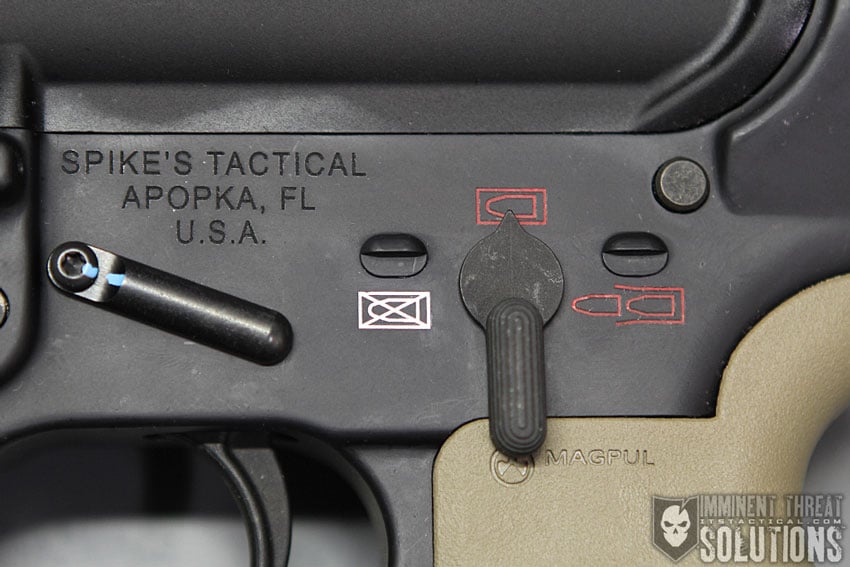
Step 4
Repeat the above simple steps on all of the markings you’re looking to color. In my case, I used the same crayons on each side of the lower receiver and left the other roll marks of the rifle untouched.
Durability?
Over the next few months, I’ll be keeping an eye on how these markings handle the wear and tear of regular use at the range and cleaning. Also, if I decide that I still like this modification, I may go with something more permanent, but at least I have the option to remove it.
Have you ever colorized the markings on your rifle or handgun? Share your tips and photos of your work in the comments!
Discussion