


Dealing with Anchors while Rappelling and Making a DIY Retrievable Anchor
Dealing with Anchors while Rappelling and Making a DIY Retrievable Anchor
You’ve read the series on learning How to Rappel. You have a good grasp of the fundamentals and are ready move beyond going up and down the same spot. This article is meant to supplement a few items that were beyond the scope of the original series.
- How do you deal with natural anchors?
- How do you deal with multiple pieces of webbing in various lengths?
- How do you get that anchor back after you get down?
Disclaimer
I think we’re all in agreement that reading something on the Internet is not a substitute for real-world training. The intention of this article is to demystify concepts and to present intermediate steps — not a final one — to your training. If you work out the theory behind how you would retrieve an anchor now, it will free up some memory to make absorbtion of information a more efficient affair when you get hands on.
There are a hundred ways to skin a climbing cat. What is advocated here may be different from what your instructor teaches. We welcome readers to share their ideas in the comments, as well. There are debates on the Double Fisherman’s Knot vs the European Death Knot (gotta love that name!) just like there are debates on how to execute a tactical reload. Educate yourself and do what you feel confident trusting your life and the life of your party to. The decision ultimately falls upon your shoulders, not the approval of someone on the Internet!
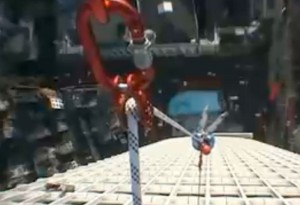
Finding Natural Anchors
[flickr id=”6636252287″ thumbnail=”medium” overlay=”false” size=”medium” group=”” align=”right”] Not all routes are bolted. A solid anchor could be a boulder that is too big to hug (i.e., larger than the circumference of your arms), a live tree more than nine inches in diameter, or a big fallen tree.
Use your best judgement. In the end, trust your gut. If it looks sketchy, it probably is.
Combining Webbing
If your webbing isn’t long enough to go around your anchor, you can simply tie two or more pieces together with a water knot. For the sake of simplicity and efficiency, you’ll want to use as few pieces of webbing in the shortest lengths possible.
If you use your longest piece all the time and it gets stuck, or if you need a long piece later it just slows things down if you have to tie a bunch of short ones together. At worst, you’ll get stuck without a way down; or up.
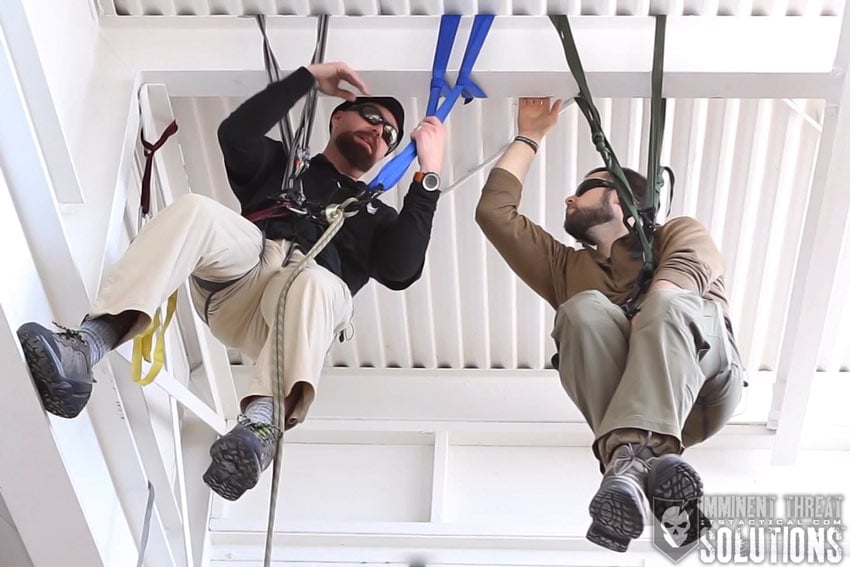
Verbal Commands
There are different theories on the matter, but I like my climbing buddies to simplify commands and yell “ROPE” when a man-made object is falling (whether it actually be rope, or my retrievable anchor, or a bottle of Wild Turkey) and “ROCK” when a natural object is dislodged and falling.
Yelling things like “NAGLENE BOTTLE”, “‘BINER!”, or “TREE BRANCH!” just causes confusion. If something is falling, alerting your companions to mind their head (you are wearing a helmet, aren’t you? Chicks dig it) is more important than the specifics regarding what will be crashing down in a second and a half.
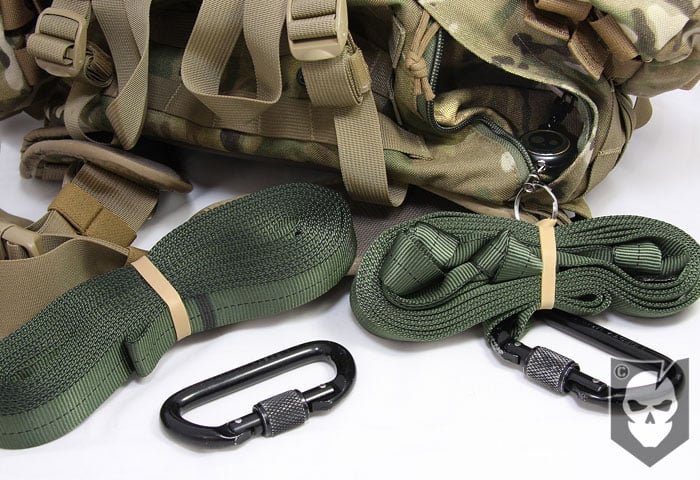
Organizing Multiple Lengths of Webbing
Webbing is cheap and meant to be carried in abundance. But how do you prevent it from becoming a tangled mess?
I had my pieces of webbing cut at REI. I discriminate their lengths by color. For example, I have my three-foot lengths in blue, my six-foot lengths in red and my fifteen-foot length webbing in yellow. It’s arbitrary, so make your own system and stick to what works best for you. I like loud obnoxious colors for my webbing, but they are also available in subdued tactical colors. All of my webbing fits in a small stuff sack.
[flickr id=”6636252331″ thumbnail=”medium_640″ overlay=”false” size=”medium” group=”” align=”center”]
To store them, use the Chain Sinnet. I like to put a Rappel Ring on each length of webbing. These rings are cheap and intended to be expendable. The hole is smaller on a rappel ring than a carabiner, so you can also set up a single-line rappel by putting a triple-clove-hitch on a carabiner and will not risk the knot slipping through the rappel ring the way it might through another carabiner.
[flickr id=”6636252177″ thumbnail=”medium_640″ overlay=”false” size=”medium” group=”” align=”center”]
Retrievable Anchors
You may be wondering what happens once you get down and want your anchor back. You probably don’t want to leave all that hard earned climbing swag tied to a tree with no way to get it back. You also want to minimize your impact and, if possible, leave no trace for the next climbing party.
To make a retrievable anchor, simply place a water knot at the end of each end of your webbing, being sure to leave an adequate tail. Wrap the anchor around a big tree or boulder or whatever you trust your life with. Once you slide the rope through both rings, the ends will stay together and the system will no longer move freely.
[flickr id=”6636251999″ thumbnail=”medium_640″ overlay=”false” size=”medium” group=”” align=”center”]
[flickr id=”6636251863″ thumbnail=”medium” overlay=”false” size=”medium” group=”” align=”right”]Tie another ring bend on one of the tails of your anchor. This is the side you will be pulling it down from. You will need a spool of pull-cord, whether it be a big length of 550 paracord or even more webbing.
Whatever you have on your person in order to pull it down will work. A little sack for the pull cord helps keep things tidy and untangled As you rappel down, the pull cord should deploy from the pull cord sack.
Before you pull your rope down make sure the last man undoes the figure-eight knot after he touches down, or else your rope will get stuck on the rappel ring up top. You won’t be able to retrieve the anchor while the rope is through both loops.
First, you need to retrieve your rope, then retrieve the anchor using the pull cord. There are pieces of metal on both ends of your webbing, so make sure to yell “ROPE” when it all this stuff comes down!
Here’s a gallery of the step-by-step instructions for tying your own DIY Retrievable Anchor:
[flickrset id=”72157628718887979″ thumbnail=”thumbnail” photos=”” overlay=”true” size=”large”]
Seek Real Life Training
Most guides cater to folks who want to do a half day of rappelling down cool places and get their picture taken to put up as a sweet Facebook profile picture. There is nothing inherently wrong with wanting to be given a fish, but chances are that if you are reading this, you want to learn how to fish.
I recommend talking to your guide beforehand and explaining that you and your climbing party wish to spend more time learning the ins-and-outs of anchoring skills, even if it means less time actually climbing and rappelling. The guide should dedicate at least half the morning to ground school. If you are in the south-west region of the United States, I highly recommend a three-day course with Zion Adventure Company. Zion is a canyoneering mecca. the scenery is top drawer, and thus it is a great place to learn the relevant skills.
Have fun, stay safe, and remember: whoever steps on the rope owes its owner a case of beer!
Discussion