


How to Fold a Topographic Map and Other Techniques
How to Fold a Topographic Map and Other Techniques
Hopefully many of you are not only familiar with Topographic Maps, but have had some experience folding them. I say this to relate to how much of a pain they can be to manage.
Today, I hope to show you a few new techniques for folding a topo map, or any map for that matter. These are universal and can be used on any map.
I’ll even show you a great way to take an 8.5″ x 11″ sheet of paper and turn it into a simple booklet to access information more efficiently.
Why is Folding Important?
Most topo maps are quite large and in the case of the example map I use throughout this article, can measure 24″ x 29″ or larger. Not exactly pocket sized.
While there’s not necessarily a “wrong” way to fold a map, there are some methods that will allow you faster access to different “quadrants” of information on your map.
With minimal refolding you’ll be able to fold up the necessary information to the forefront for quick reference.
Folding vs. Cutting
The first thing to decide, is if you’re comfortable cutting your map. Topographic Maps can be expensive and you’ll more than likely want to make it last as long as possible.
Personally, I feel cutting the map isn’t necessary, but I do see the benefit in it. While I’ll do my best to explain folding and cutting through the words and photos in this article, it may help you out to watch this video we’ve put together first.
Steps for Folding a Map
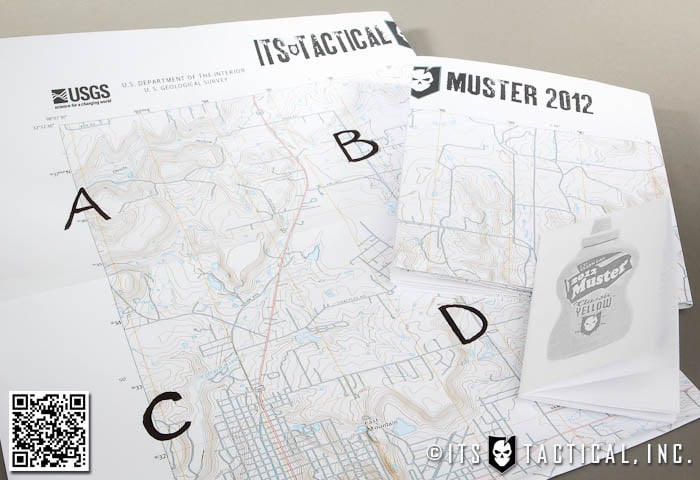
Through folding, you’ll be creating 16 quadrants with your Topographic Map. On this particular example map in the photos, each quadrant measures roughly 6″ x 7″.
First off, something I feel really helps when folding a map is to always crease one side, then flip it over and crease it on the opposite side too. This creates a deeper crease which, in my opinion, makes the map fold easier.
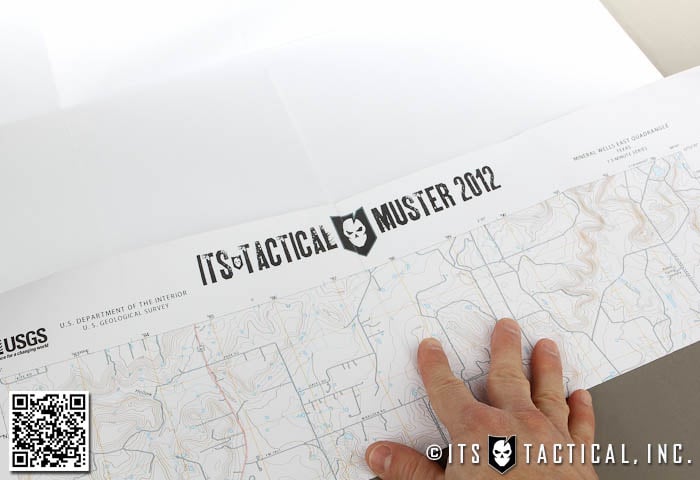
As mentioned, since you’re creasing both sides, the side that’s up doesn’t really matter. The first fold you’ll make is to the very center. Crease the map so that it’s split in half. Next, with the map split in half, bring the bottom up so that the bottom edge is touching the crease you just made in the middle. Doing the exact same thing to the top, (the next step) will divide your map into four creased sections.
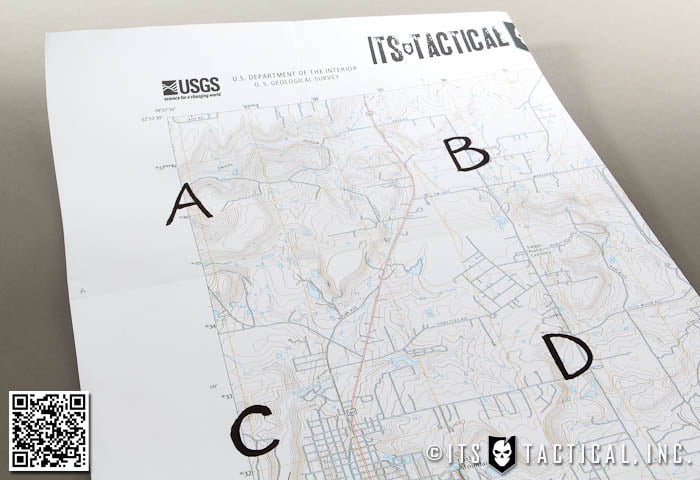
Now simply duplicate this same method running lengthwise. Find the middle, crease it and then fold up the bottom and the top to the middle. You’ll now be left with those 16 quadrants I mentioned earlier. I personally like to now z-fold the map so that the first four quadrants (top of the map) are visible. Then z-fold it again so A is on the top.
Looking at the photo below, what will be visible are quadrants A, B, E and F. I’ll now explain that funky lettering system.
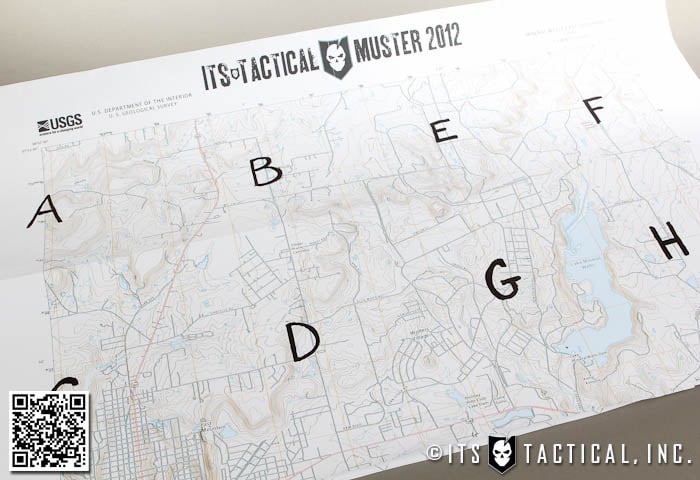
Each of the 16 quadrants on map in the photos you’ll see below is labeled from left to right (A-Q) A thru Q actually equals 17 not 16, but the letter I is eliminated to avoid confusion.
The lettered quadrants will be important when I describe how to cut your map and how it folds afterward.
Cutting Your Map
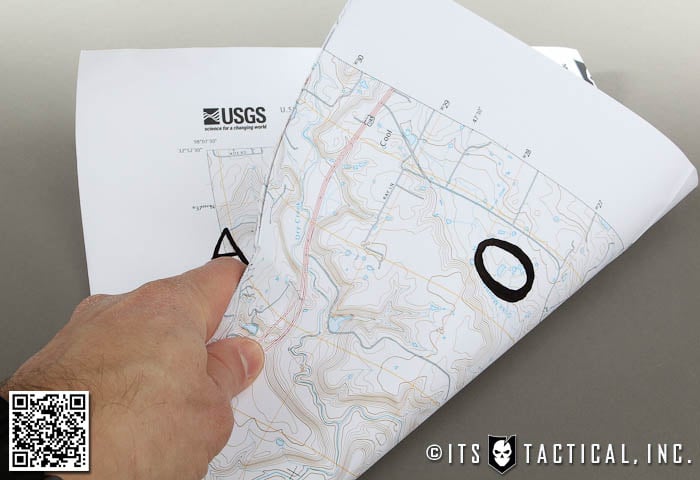
Now that you have everything folded up, let me explain what putting a cut in your map will allow you to do. By taking an X-Acto Knife, (my preferred method) or a pair of scissors, cut the horizontal crease line that runs between quadrants D, G, K and N.

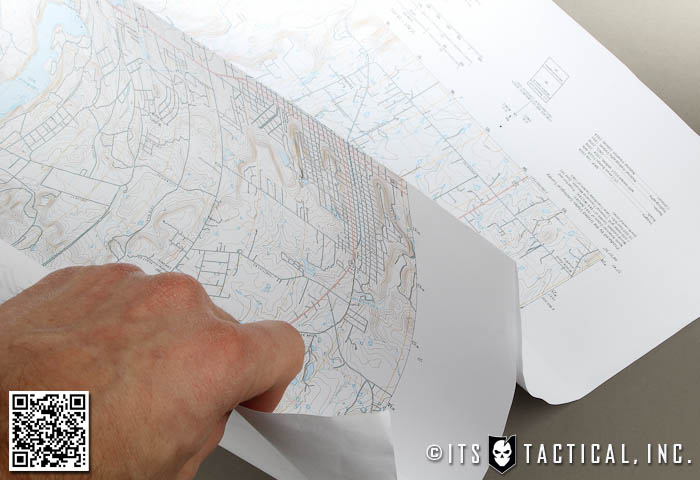
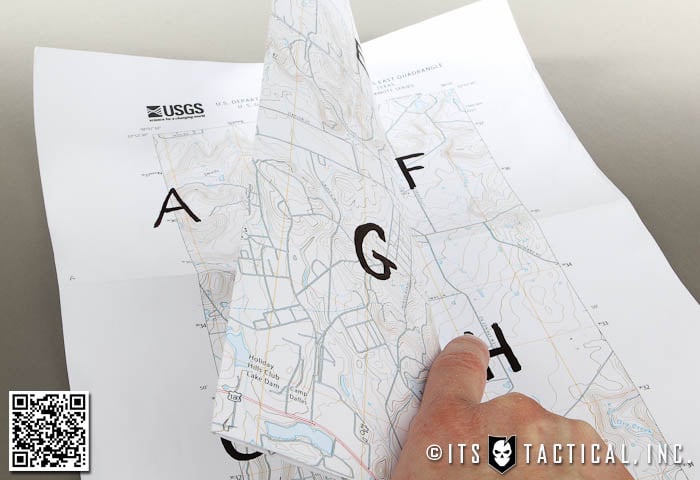
This may seem a bit unorthodox at first, but here’s where it pays off. Grab the map and pull up on the middle vertical crease, allowing the left and right sides of the map to remain flat.
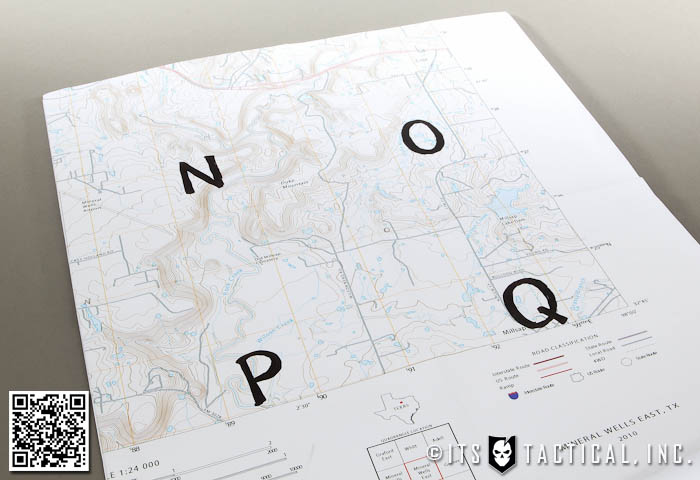
You should now be holding the vertical middle crease and be looking at A, C, J and L running from top to bottom on the left side and F, H, O and Q running from top to bottom on the right side.

Now simply allow the top of that middle section you’re holding to fold to the left (B and D drops on top of A and C). The lower middle section folds in the opposite direction to the right (N and P drops on top of O and Q).
The last step is to fold the map in half so that you’re now looking at A, B, C and D.
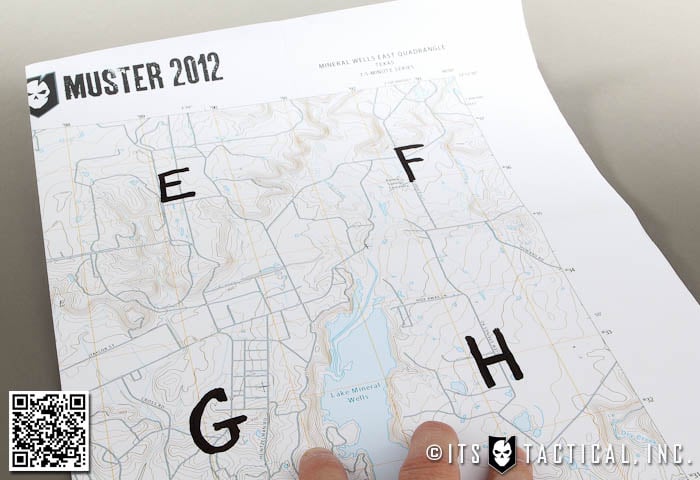
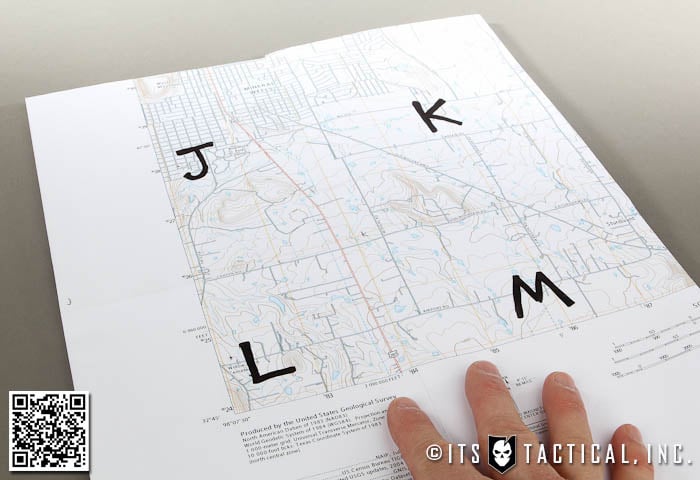
What you’re now left with is a four quadrant folded map that will allow you to quickly flip to the next four quadrants by “turning the page.” Try it. You’ll now be easily looking at E, F, G and H. Now turn the map to the other side. You’re now staring at J, K, L and M. Turn the page again and you’re staring at N, O, P and Q.
You’ve now accessed the whole map, four quadrants at a time, very quickly. You can even now glue the map together at the corners (A to L, C to J, F to Q and H to O. The only problem with gluing it is that while you’ll still be able to pull it out to half a map, you’ll never be able to view the whole map at once. This can be particularly troublesome if you need to draw a line that bridges the horizontal mid-point of the map.
Again, cutting isn’t necessary and just another option. There’s one last thing I’d like to describe and that’s a neat trick you can use to turn a 8.5″ x 11″ sheet of paper into a booklet for quick reference.
Making a Booklet
Interestingly enough, now that you know how to fold a larger Topographic Map, this is a piece of cake.It uses the same concept as the topo map, but folds a sheet of paper into eight quadrants instead of 16.
This is beneficial because with the folds we’ll make you can view everything on one side of a piece of paper by simply flipping the pages.
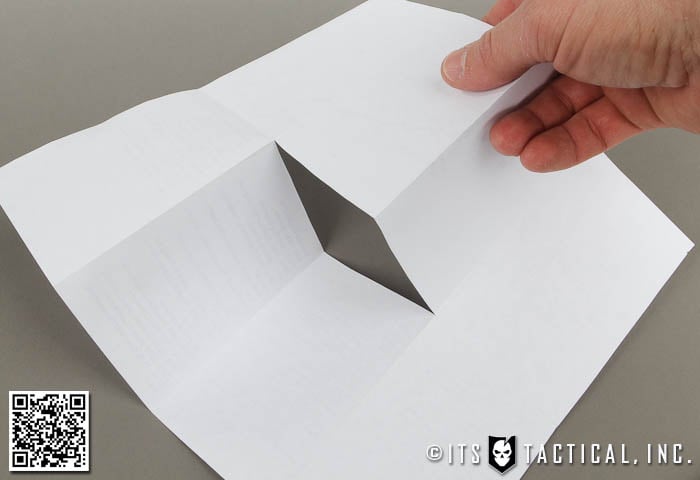
Just like before, I find it easier to crease both sides, so it doesn’t quite matter which side you start on. Start with a fold in the middle lengthwise, followed by a fold in the middle crosswise. Now pull up the bottom edge to the middle crease you just made, creasing again. Repeat the step with the top, pulling it to the middle and creasing.
You’re now left with a “W” shape. Make a simple cut to the W along the center fold, stopping before you get to the next fold line on each side.
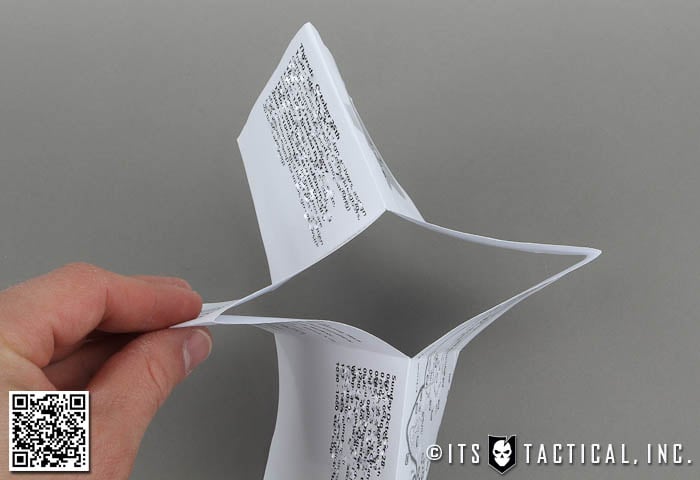
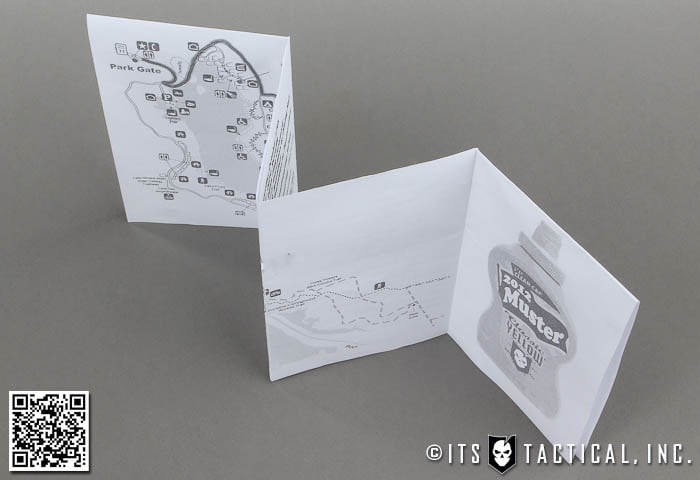
Now just simply ensure the side you want to display in your booklet is facing out as you fold the piece of paper lengthwise again. This gives you a booklet with four sections.
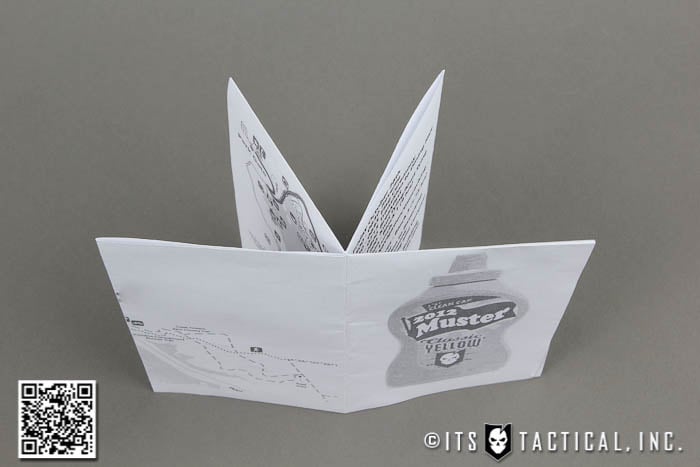
We found this pretty handy during the Muster to give out to the staff with a copy of the schedule on one side and a quick-reference map on the other.
Notes
Again, there’s no right or wrong way to fold a map, but there are some methods that will help you access information quicker than others.
Hopefully you’ve learned a few new techniques for folding a map and even a piece of paper!


Discussion