


Refresh Your Navigation Skills
Refresh Your Navigation Skills
 Whether your GPS has run out of power or you’re in a survival or E&E situation, the ability to navigate using a map and compass is one of the most valuable skills you can have and something that everyone should take the time to learn to do.
Maps
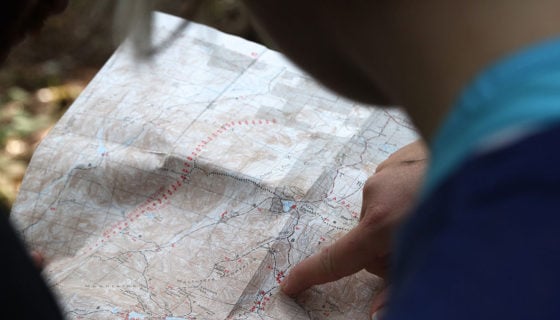
Before you can navigate, you need to be able to read a map. While maps come in many different types, the most common map used for navigating is the topographic map.
Topographic maps are characterized by their depiction of contour lines, or lines that show all the points on the map at a particular height above sea level. These lines can be used to gain an idea of the terrain, as they show all the rises and drops in the land.
The closer together the lines are, the steeper the terrain is. For example, in the map below, the terrain is clearly quite steep and mountainous. This is shown by the tightly grouped contour lines.
Another important feature of a map are the Eastings (vertical grid lines) and Northings (horizontal grid lines). These tell you how far north and east a position is on the map and are important in taking bearings.

Compass
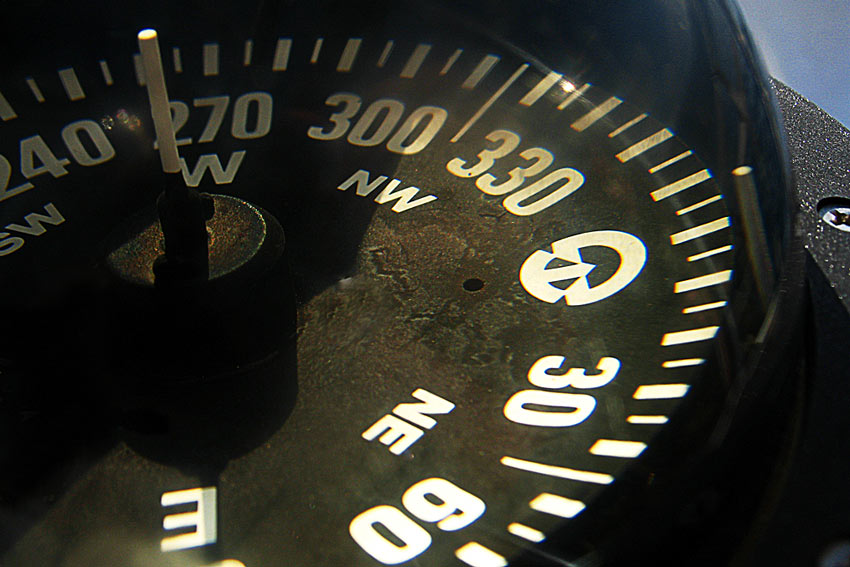
The most important tool in the navigator’s arsenal is his compass. There are three main types of compasses; orienteering, lensatic and basic.

From L to R: Orienteering, Lensatic and Button Compasses
Orienteering compasses are the best compasses for navigation as they don’t require a separate protractor. In addition to being lightweight, they also feature rulers, magnifying lenses and can be used as a protractor. Orienteering compasses are made by Silva, Brunton and others.
Lensatic compasses are the next best option for navigation. They feature sights which allow for the easy taking of bearings from the viewer to another object. The lack of a base plate however means that a protractor is required for accurate navigation. They are usually very durable due to their metal bodies, but weigh substantially more than orienteering compasses. The most common lensatic compass is the standard GI compass.
Basic compasses have no features other than a needle and dial. These are really only useful in the form of button compasses.
Compasses can use two different units of measurement, Mils and Degrees. It doesn’t matter which your compass uses, except if you’re using a separate protractor, in which case you’ll need to convert your bearings from mils to degrees and vice-versa.
Here’s a link to an online conversion Web site for converting mils and degrees.
Navigation
Step 1 – Where am I?
In order to navigate you need to know where you are on the map.
The best way to work out where you are is by using the features around you. For example, if you were at a bend in a river with a building (black square in photo below) approximately North-West of your position, you can deduce that your are at the red dot.

Alternatively you can use the resection sequence method. This is best if your not at a landmark but there are landmarks within sight.
Select three prominent, widely spaced features that can be recognized on the map and on the ground; two features can be used to obtain an approximate position.
On the ground, take magnetic bearings to these features with a compass and convert these to grid bearings (I’ll explain this later). Convert the grid bearings to back bearings (add or subtract 3200 mils/180 degrees).
Using a protractor (not needed with an orienteering compass), plot on the map the back bearings from the identified features. These lines will either intersect to locate your position or form a small triangle of error which will indicate the area in which you are located.

Grid and Magnetic Bearings
One very important thing that you’ll need to understand in order to navigate accurately is the difference between Grid North (or True North) and Magnetic North. Maps point to Grid North, compasses point to Magnetic North.
To put it simply, they’re different and you’ll need to allow for this when you navigate. The variation changes over time and differs from place to place. For example, for me in Victoria, Australia the difference is approx. 200 mils or 11.5 degrees. Here’s a link for calculating magnetic variation in the U.S. and abroad.
Some compasses, such as the Silva Ranger have the ability to set magnetic variation/declination so that you won’t have to manually calculate it while navigating.
Step 2 – How do I get to where I need to be?
In order to navigate, you’ll need to take a bearing. If we’re at the red dot on the map below and we wanted to get to the intersection of the road (red line) and the river, the first thing we would do is mark out a line between the two.

We then measure the angle between the line and North (orange lines), in this case roughly 60 degrees. If you’re using an orienteering compass, it’s much easier.
Line the base plate up between the two points (you may have to draw a line if the points are far apart) with the arrow on the base pointing in the direction of travel, then twist the compass section around so that the lines and arrow are parallel with the Eastings. (Don’t forget to then change from Grid North to Magnetic North)
Now that you have your bearing, it’s time to follow it. If you’re using an orienteering compass, you’re all set to go, just turn around until the needle lines up with the arrow in the dial and off you go.
If you’re using a different type of compass, rotate the ring of the compass till your bearing is at the top (usually there’s some sort of mark to show where to line it up).
There should be an arrow or some sort of mark in the dial, so turn until the needle is in line and you’re ready to go.
Step 3 – Navigating and Pacing
While you can just stick your head down and follow the compass, this is a very inefficient method of navigating. If your destination is fairly obvious, like the intersection in the example above, you can usually just walk in the direction, checking the compass occasionally.
Another method is the tree method. Line up your compass on the bearing and find a tree that lines up with the bearing. Walk to the tree and repeat the process. if using this method, choose the furthest trees from you in order to minimise the number of stops.
Also, it’s important that when you get to the trees you alternate which side of the tree you walk around, otherwise you can end up veering in one direction.
When navigating with a compass it’s important to count your paces so that you know how far you have travelled, especially on long nav legs. If you’re only navigating a short distance, or there are plenty of distinctive landmarks along your route, then pacing is less important.
While hopefully you will always have access to a GPS, knowing how to navigate with a map and compass is a highly useful skill, and one that you’ll never know when you’re going to need.
Here are some additional downloadable resources provide by Ben Gillies, the author today’s guest post, “refresh your navigation skills.”
Navigation Estimating Distance
Stay tuned for more in-depth articles on the topics covered here today!

Discussion