


How to Rewarm your Body When You Become Cold, Wet and Miserable
How to Rewarm your Body When You Become Cold, Wet and Miserable
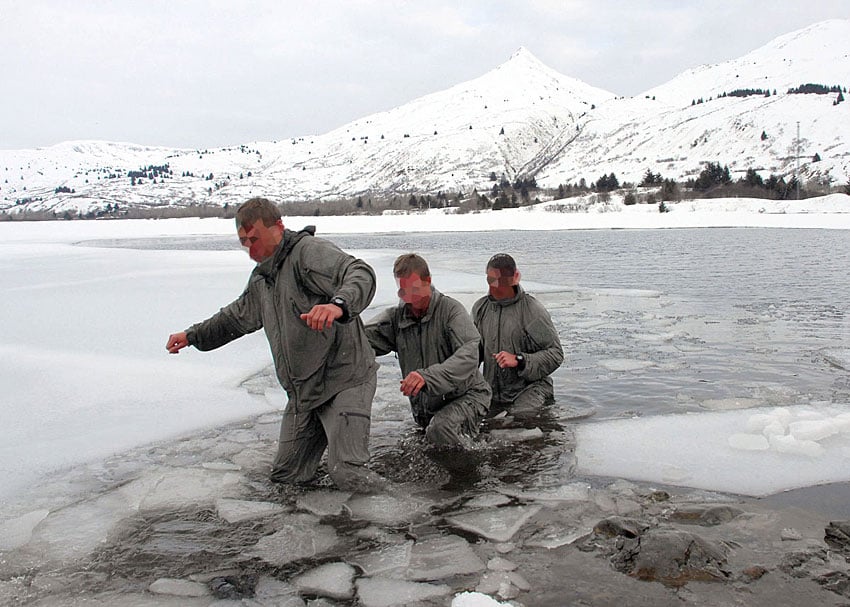
If you’ve ever fallen into ice-cold waters, you know what it truly means to be cold. We often think that we’re cold when the wind picks up or when we’re underdressed for the weather, but there’s simply nothing like being wet and cold.
During the winter, we as outdoorsmen are often placed in situations that could turn deadly in an instant if we’re not adequately prepared. Preparing for the worst comes in two forms. First, it’s important to ensure that you’re wearing the right gear for the environment and the second is having a solid knowledge base of how to help yourself or your buddy when no one else can.
Geared For Survival
Clothing
First thing’s first, never wear cotton. I strongly recommend wearing a base layer and some type of Omni-Wick, or clothing that pulls moisture away from the body, whenever you’re out in the wilderness. The base layer is essential when you become waterlogged, because if you’ve selected the right materials it will dry quickly and do its job pulling the moisture off of your body and into the next layer of clothing. If your next layer is also a wicking material. it will in turn dry quickly as well.
Fire Starting Equipment
Another “must” is to always keep waterproof matches in a pocket on your 1st Line clothing. This means that it’s always on your body, in a pocket or pouch on your belt. It’s not survival gear if it’s not on your body. Additionally, you may consider keeping the matches in a pocket sized waterproof bag as well.
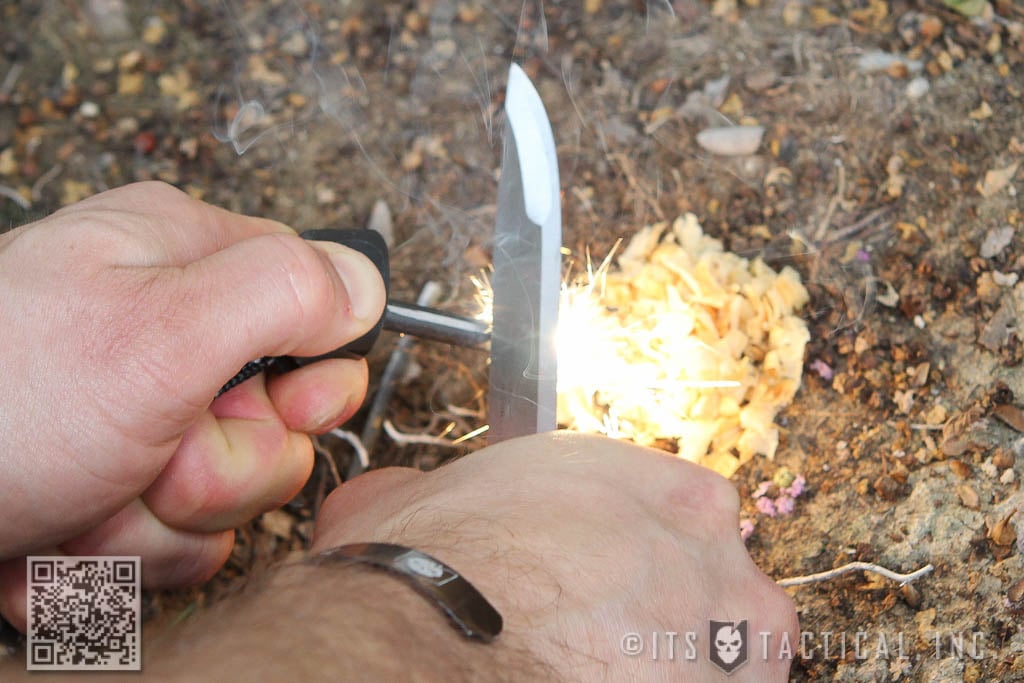
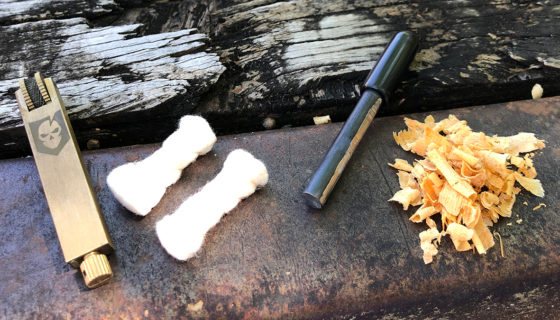
If you’re carrying a backpack then you’ll want to keep whatever tinder you like to use and an alternate means of starting a fire ready to go. Personally, I keep a TinderStick and a Swedish Mora FireKnife in my kit at all times just in case.
The FireKnife has a magnesium stick stored in the handle which makes it a great dual purpose tool. You’ve got to love it when a piece of equipment has multiple uses. If you use this tool to start your evening fire, you’re essentially practicing a life-saving skill.
Dry Bag
Keep a large waterproof bag in your backpack as a liner to keep everything inside dry and to serve as positive flotation when needed. Always keep a pair of extra socks in a Ziploc or even better, an aLOKSAK bag. Bring a backpacking stove (e.g., Jetboil, MSR WhisperLite) and extra fuel, which can be used to start a fire if you loose too much dexterity to start one the old fashioned way.
Step 1: Get Dry
Act quickly and put yourself in a positive position. Get out of the wind as much as possible and replace your wet clothing for dry ASAP. If you don’t have any dry clothes available, remove your wet clothing, ring out the water and put them back on. If you’re wearing the proper clothing mentioned above, it should dry quickly on its own.
Step 2: Get Moving

Movement, such as gathering firewood, will increase your dexterity in the short term. Collecting firewood should be done in three phases. Start with large logs, which you’ll need later and will create more internal heat. Next, gather mid sized logs and finally, gather kindling. I always recommend storing all three kinds of fuel in three separate stacks so that you can access what you need with ease, even at night.
Step 3: Get Fire

Now you can build your fire. Select a location that’s out of the wind and if available, build it next to a natural backdrop like a hill or large rock. Use waterproof matches, your FireKnife, magnesium, or your Jetboil stove to light the fire. When the temperature is below freezing a Bic lighter may let you down. This is why waterproof matches are a great backup.
Step 4: Reflection
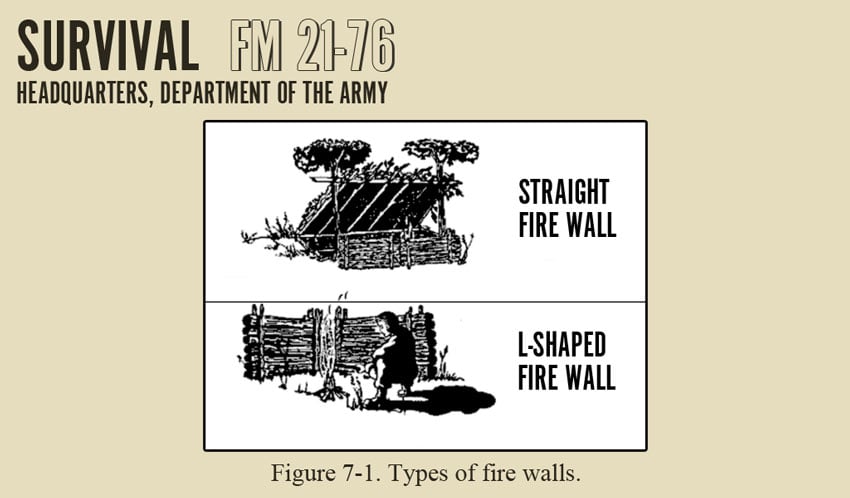
Now that your fire is burning bright, place a large object opposite the fire from you. This will reflect heat back at you, maximizing the fire’s effectiveness. If you weren’t able to build your fire next to a natural reflector, then use logs to build a hasty wall. Ideally you’ll have a backdrop behind you and the fire, plus another reflector in front of you to provide heat from every angle.
Step 5: Introduce a Heat Source
You’re now comfortable next to a fire in either dry clothes or clothes that are drying quickly. Don’t think that you’re done improving your situation though. Now you can boil water with your Jetboil, or directly over the fire.
When the water is boiling, you can fill a Nalgene water bottle with it. Put the water bottle under your clothes, but above your base layer to avoid burning your skin. Introducing an additional heat source will dramatically improve your condition. I like to hold the water to my chest so that it’s heating my internal organs.
Eventually the water will cool down. When this happens, drink the warm water so that you’re getting every ounce of heat you can. Boil more water and repeat the process while you wait. Keep this tactic in mind next time you’re on a hunt and sleeping outside in frigid conditions. You can always boil water, place it in a Nalgene bottle and sleep with it on your chest through the night. I’ve used this trick many times and it always improves morale.
Keep in mind that the above method is ideal for treating yourself quickly and avoiding an emergency. If you’re in the elements for too long though, you’ll advance past mild hypothermia and into the advanced stages. At this point, treatment becomes extremely sensitive and should be conducted by health professionals. For this reason it may become imperative to communicate your situation with whatever means possible so that help will arrive before it’s too late.
For more information on the effects of the cold on your body and heat loss, please read, “Know your Winter Enemy: How to Battle the Elements and Win.”
If you’d like to read about how to bed down overnight should your situation become dire, check out this article that covers shelter building, “Survival Techniques: Building a Shelter to Live Through the Night.”
Editor-in-Chief’s Note: Nick recently left the Navy after serving for 10 years as a Navy SEAL with multiple deployments, having been awarded the Bronze Star for operations in austere environments. Nick’s been with us since the beginning here at ITS on our Advisory Board.

Discussion