


Our Knot of the Week series continues this week with the Clove Hitch.
The Clove Hitch is a fairly easy knot to tie, but a hitch that’s quite versatile and often referred to as an essential knot.
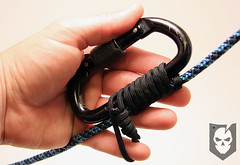
It can be used as a quick and easy way to secure a rope to a post or in climbing as a TEMPORARY tie-in to an anchor point.
Be careful here with the Clove Hitch, because while it will not bind after being loaded and released, it will fail under a high load. So whatever you’re temporarily tying in to an anchor, make sure it’s not yourself.
Not binding after being loaded and released makes the Clove Hitch very easy to untie, and thus adds to it’s insecurity.
It can also be used as a brake or check on an object to prevent it getting out of control, for instance, a horse or even a boat tied up on a dock post.
Clove Hitch » Hitches
(Strength: 4/Security: 2/Stability: 4/Difficulty: 3)
Please refer to our Knot of the Week introduction post for a description of what these ratings mean.
Uses:
- Securing a rope to a post
- Temporary tie in to an anchor point
- A brake or check of an unwieldy object
When tying the Sheepshank using these instructions, ensure that on each loop being made the working end is passing behind the standing part.
Tying Instructions:
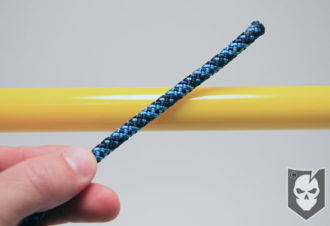
- Begin by wrapping the line around the post
- Cross the working end on top of the standing part
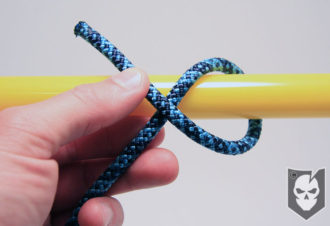
- Continue passing the line around the post working in the opposite direction of the first wrap
- Feed the working end under the standing part of the second wrap
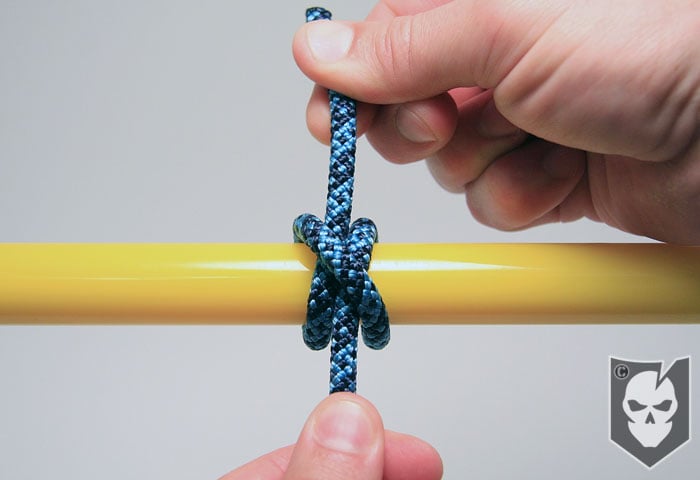
- Clean up the knot by squeezing the two loops of the clove hitch together
- Tighten up the knot by pulling on the working end and the standing end
- *Ensure that there is a least a few inches left in the working end after tying*
An alternative method of tying the Clove Hitch is tying it on the bight, which means that it’s tied without having either working end available.
(This additional method is also shown in the video, but not the photos)
- Form two back-to-back, or opposing loops, on the bight
(Similar to the Sheepshank) - Stack the right loop on top of the left loop
- Place the stacked loops over a post or into a carabiner
- Tighten up the knot by pulling the two ends
View the gallery below and follow along with the steps above!


Check back next week as our Knot of the Week continues with an introduction to tying decorative knots!

Discussion