


Get Wet and Dive Into a Whole New World Underwater
Get Wet and Dive Into a Whole New World Underwater
While diving is one of the most enjoyable experiences that one can have on a day off, it’s an activity that should be approached with a high level of personal responsibility. Diving is a dangerous sport but the juice is certainly worth the proverbial squeeze. It’s very important to familiarize yourself with the process of receiving your dive qualification, as well as what equipment is absolutely necessary and what equipment will simply improve your experience.
The following is a beginners guide for all those wanting to get into Scuba Diving, it’s designed to give you some advice on getting started and bring awareness to important skill-sets to develop. Even if you’re already a diver, read along anyway, you might pick up a tip or trick you weren’t aware of.
Get Certified: Crawl, Walk, Run
Crawl
Before you rent tanks and get wet, you’ll need to get the appropriate certification for your experience. If you don’t yet have a certification, you’ll need to start with an Open Water Diver Course. The most common types of certifications come from PADI and NAUI, although PDIC and SSI certifications are perfectly acceptable as well. You’ll gain essential information from the basic courses offered by these organizations and you’ll need the basics to begin your diving adventures.
Diving certification programs start with knowledge development that covers the principles of Scuba Diving. In the past, this was primarily done in a classroom, but these days you can learn online as well. If you’re learning online, make sure to learn as much as you can. Remember that this information is valuable to you and I promise you’ll get out of it whatever you put in.
I also recommend keeping a notepad to write down all the questions that come up during your study. Since online learning has the disadvantage of not having someone there in person to answer your questions when they arise, you’ll need to keep them for the diving instructor during your qualification dives. Don’t let this deter you from the eLearning option though. You’ll have a plethora of learning aids available to you, including videos, audio, graphics, reading and quizzes that will help gauge your progress along the way. The PADI website claims that the average time for completing the online option is between 12 and 15 hours.
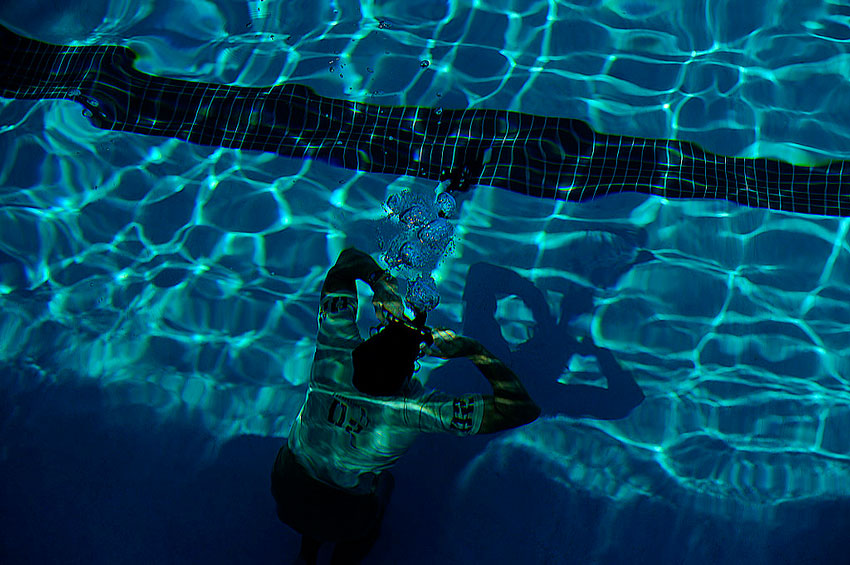
Walk
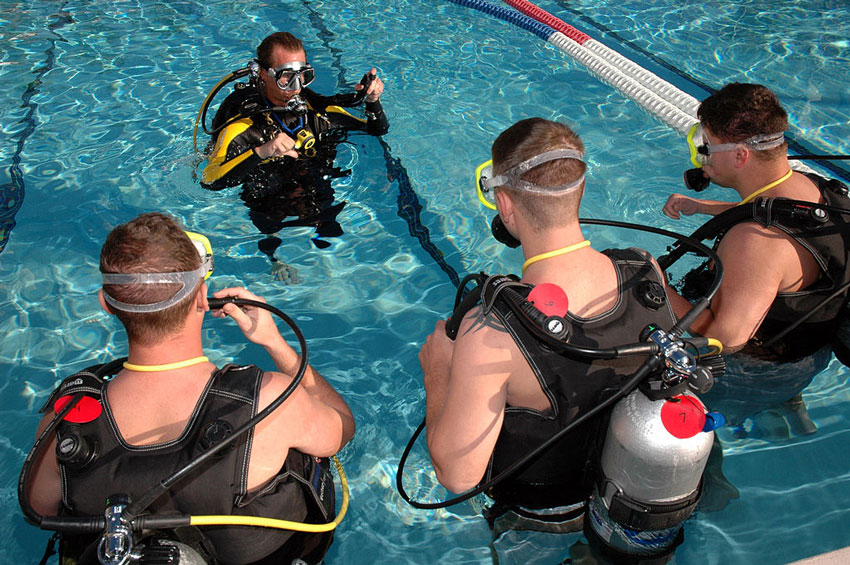
Now that you understand the fundamentals of diving, you’ll be able to splash your way into the pool. The second phase of gaining your certification will involve time with an instructor in a controlled environment, such as a swimming pool. The purpose of the “Confined Water” phase is to make sure that you don’t get in over your head too quick (pun intended).
Since it’s a dangerous sport, you’ll be happy to pick your instructors brain and to practice certain skill-sets in that controlled environment with an extra regulator available in case anything goes wrong. I know that you’re excited to dive a reef in Belize, but this is a step that you’ll be thankful for in the long run.
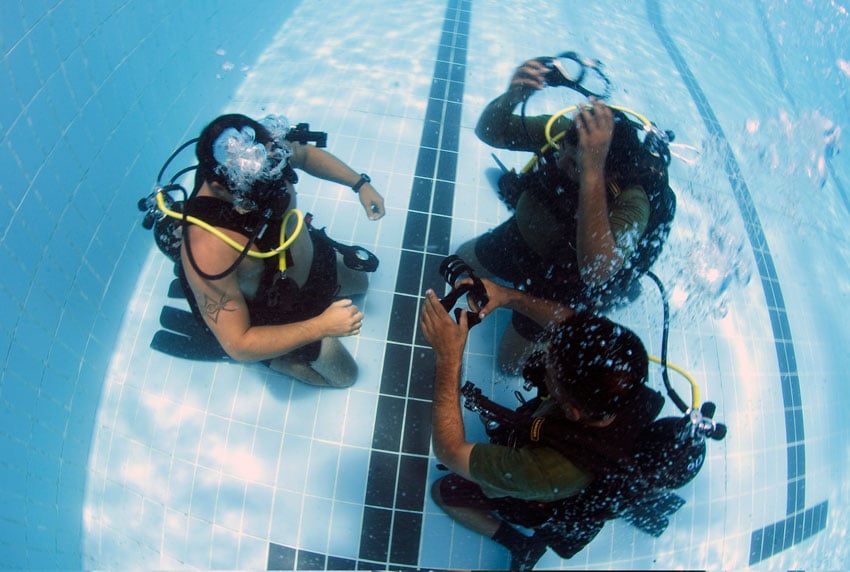
Through a total of 5 dives, you’ll advance through valuable skill-sets such as:
- How to set up your scuba gear
- How to clear your ears
- How to get water our of your mask (mask clearing) without surfacing
- How to replace your mask without surfacing
- Emergency Skills: Sharing regulators underwater
Run
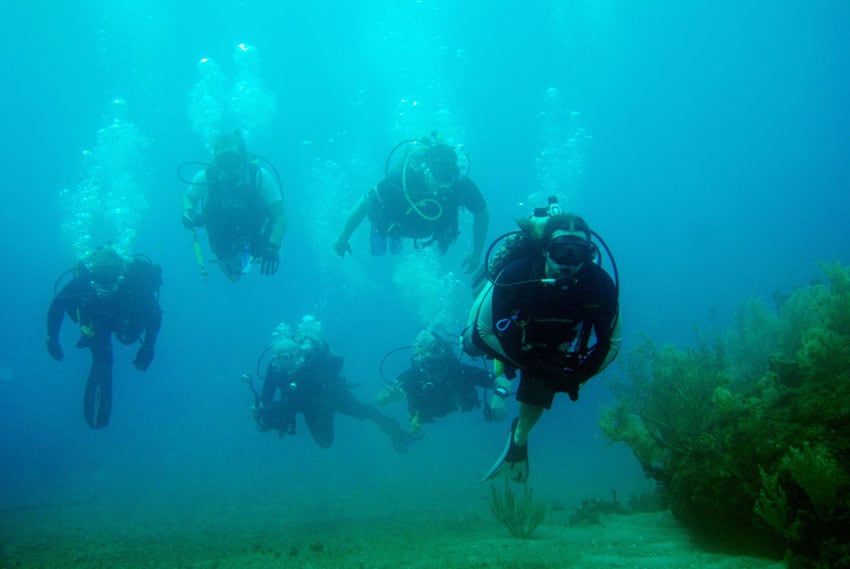
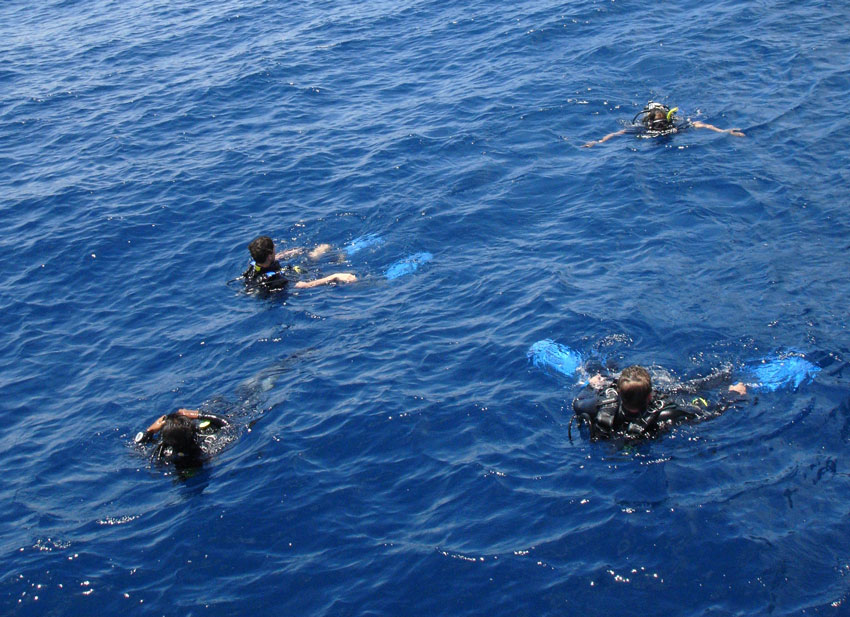
Now that your pool dives are out of the way, you’ll complete a minimum of four open water dives with an instructor to learn even more. Four is the minimum number required by all four major certification companies. Granted, most of what you’ll learn will be self-taught in this phase, but take advantage of the observation in whatever way seems the most fun. If you push it a little now, you’ll be more confident later. If you want to get fully-certified before your trip to the tropics, then you can use areas close to home to fulfill your open water dive requirements.
After you complete your Open Water Certification, you’ll be able to rent tanks and dive without a Dive Master present. The big rule is that you always go with a dive buddy. If you’re interested in continuing your education, you can take speciality classes in subjects from Underwater Photographer to Underwater Hunter and Collector from NAUI. PADI also has a wide selection of speciality diving certifications like Ice Diver, Diver Propulsion Vehicle Diver and Cavern Diver. SSI is similar in that they offer courses in Altitude Diving, Deep Diving, EAN Nitrox and River Diving.
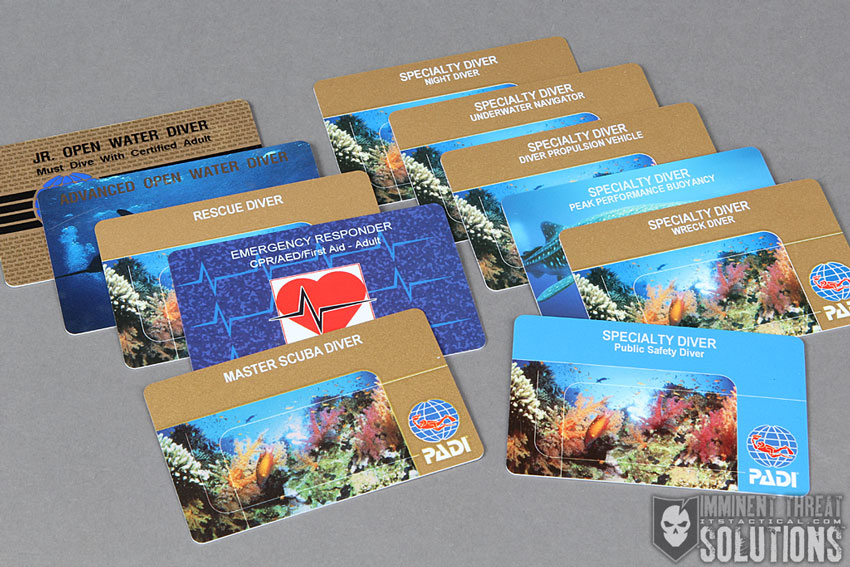
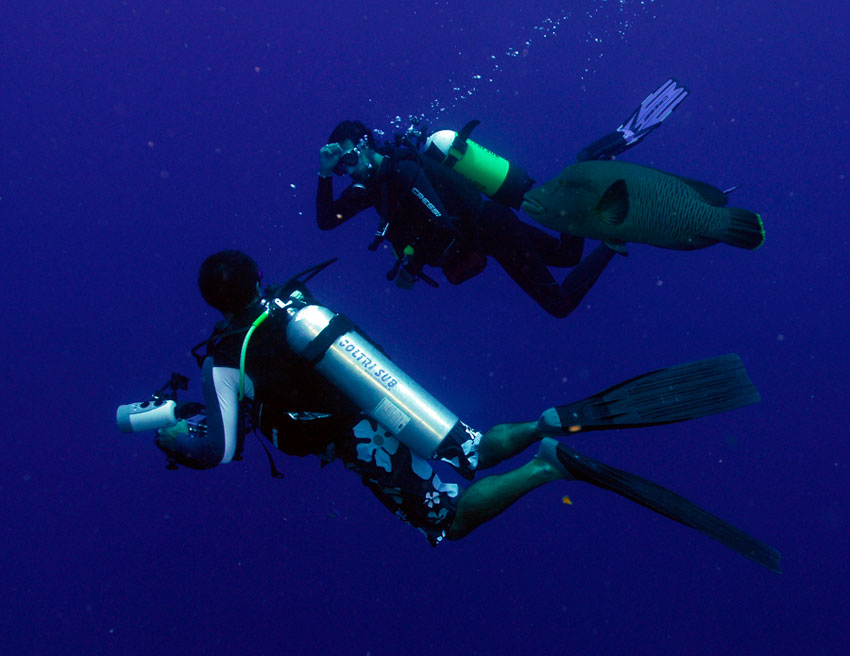
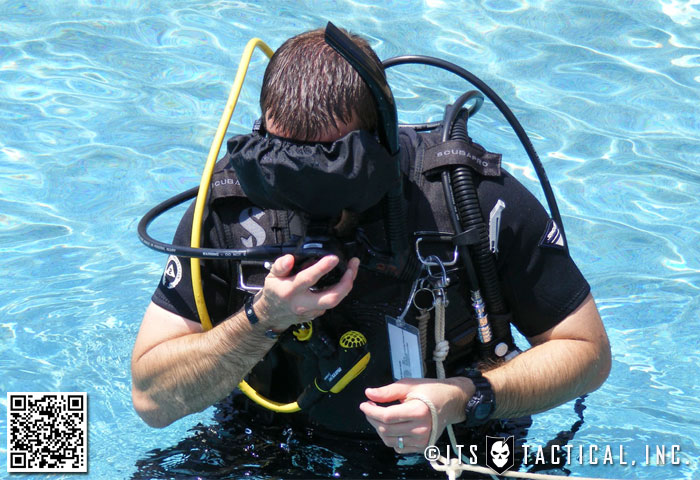
Eventually you can earn your Advanced Open Water Diver and Master Scuba Diver if your curiosity turns to an obsession. You’ll even become a card collector like Bryan’s certifications he’s accumulated in the photo above. While the names of these specialties and further certifications vary from agency to agency, they’re all structured with a beginning open water level, advanced level and a master level at the top.
Gear Common to All
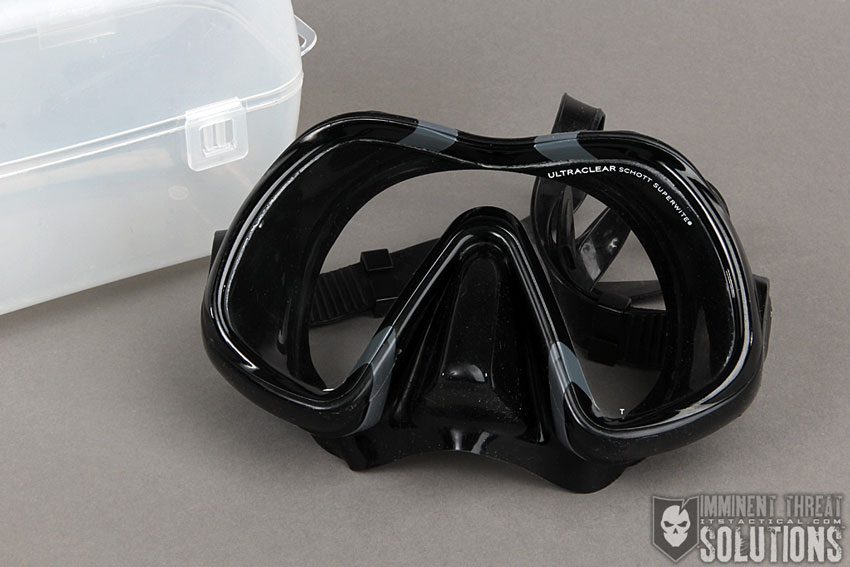
Mask – You’ll need a mask that includes coverage of your nose. This is important, because it will make it will facilitate clearing your mask underwater. I highly recommend putting toothpaste in your mask the night before you get wet and then washing the toothpaste out before you put it on and enter the water.
This will prevent the mask from destroying your view from fogging up. You can also purchase a commercial defogging agent to help, these work best when you simply rinse your mask out after rubbing the agent around with your fingers. This is because the agent coats the mask to prevent defogging.
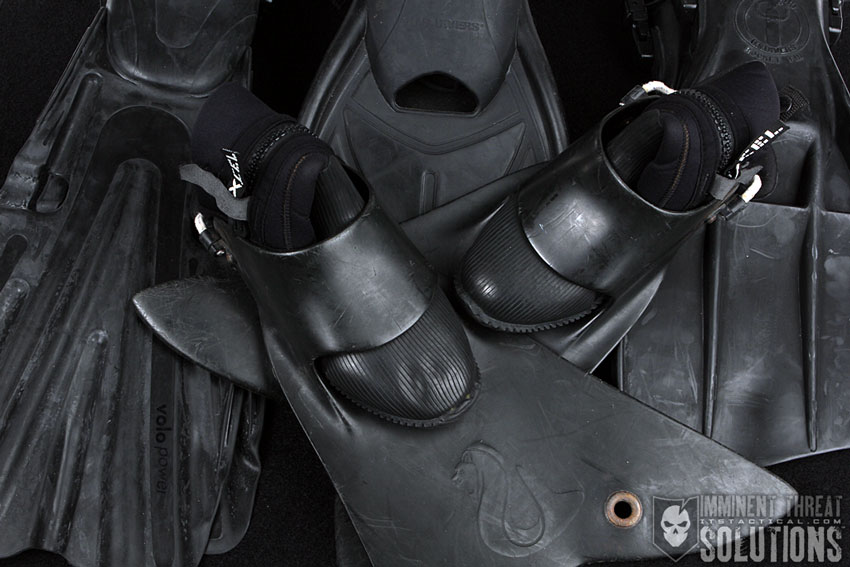
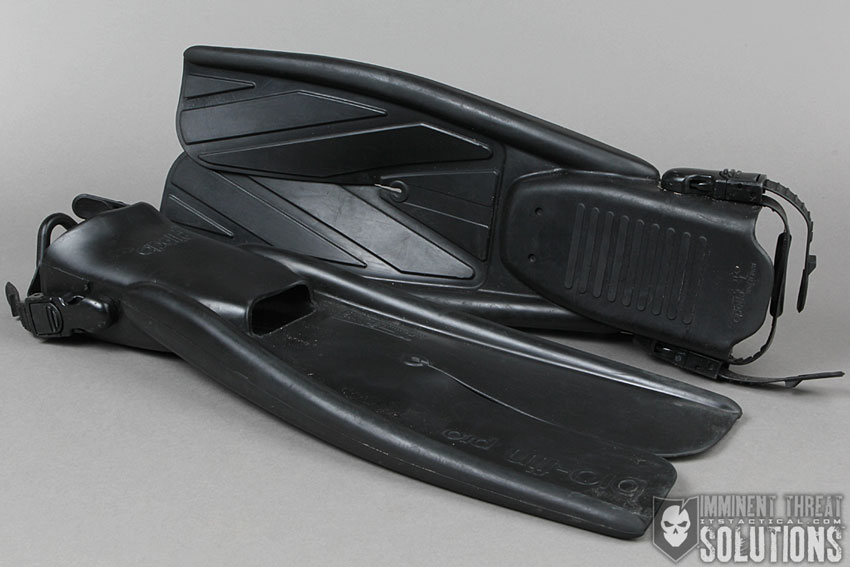
Fins – There are many types of fins that are perfectly acceptable for Scuba Diving. I personally use Apollo Bio-Fins because of their split design that helps support a knee kick better than most. I’ve found that long stretches of navigation are more of a challenge when straight legs and pointed toes are critical for the fins to function.
In my experience, split fins are forgiving when fatigued and provide torque even when you bend at the knee. There are many different types of fins including some that have open-heels, meaning that you’ll need dive booties and some that are full-foot, which can be worn barefoot or with a dive sock to keep from chafing. For a review of these many variations and ratings from professional divers check out this article from scubadiving.com.
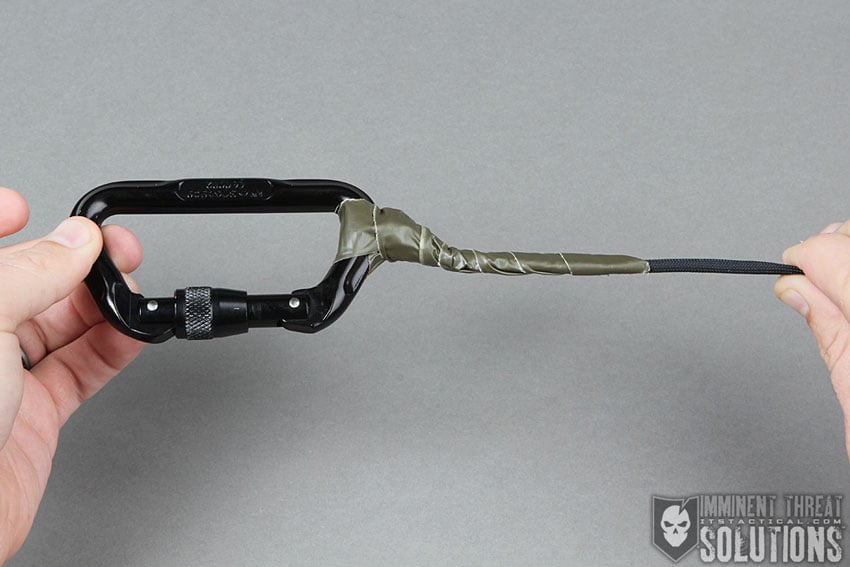
Buddy Line – This is a line with connecting points at both bitter ends so you and your dive buddy can be attached to one another. Carabiners work perfectly well to connect the line to your BC. If you’re in poor visibility, or the sun is about to go down, a buddy line becomes critical. The buddy rule is a rule born of example and should be respected. I highly recommend painting any carabiner that you use in the water either blue or green. This way you won’t wind up using a carabiner that’s been deteriorated by saltwater during your next rock climb.
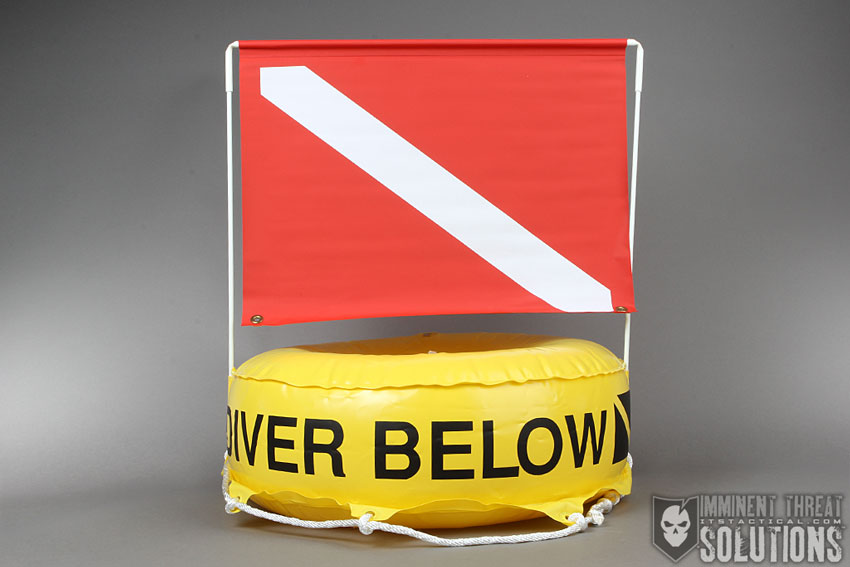
Diver Down Flag – Dive flags are red with a white diagonal stripe that begins at the top staff-side of the flag and extends diagonally to the lower opposite-corner. The flag can be either square or rectangle. You’d be at risk if you were to dive without a flag, as nearby boat traffic wouldn’t have an indicator you were diving below, which is an obvious threat.
It also goes without saying that it’s always important to indicate your position, considering how much can go wrong on a dive. While law requires displaying a dive flag, you should reference the laws of your state as they can vary. Most states agree on the specifics however. The flag should be flown on the highest point of your vessel within 100 feet of the submerged divers. Once all divers are recovered, the flag should be lowered immediately. Find out more on the dive flag here.
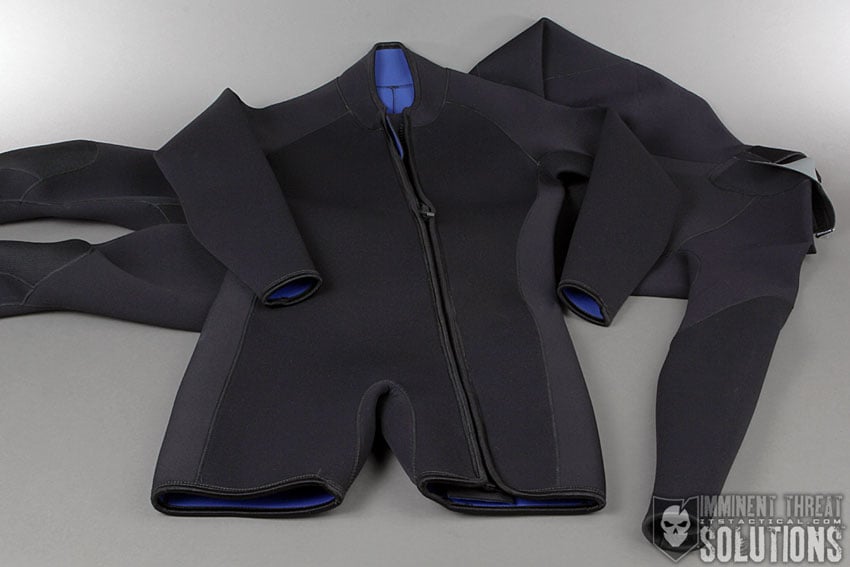
Wet Suit – A good thing to purchase is a 3-mil wet suit. I use a 3-2-1 which means that the mil [thickness] decreases towards your appendages, which increases dexterity. If you’re primarily thinking of tropical diving, I still recommend buying a shorty wet suit. If you plan on spending serious time underwater, you won’t want to be limited by your equipment. If you plan on diving in colder water, you can use a heavier wet suit, a semi-dry suit or a dry suit. Just keep in mind that the thicker your suit, the less dexterity you’ll have.
Use what you need to stay warm, as too much will make your life miserable. If you wind up using a dry suit, be sure that you have air attached directly to the suit. This is because air contracts under pressure and what’s comfortable at 10 ft. seawater will be unbearably tight at 40 ft. seawater. You’ll need to add air for comfort and function. Dry suits work because of the dry material between your skin and the suit. If the suit is tight around your skin then you’ll feel the cold of the water. Also note that you’ll need to vent the air while ascending to offset the expanding of the air as you rise. Later in this series we’ll discuss Boyle’s Law and the expansion of gas in the water column.
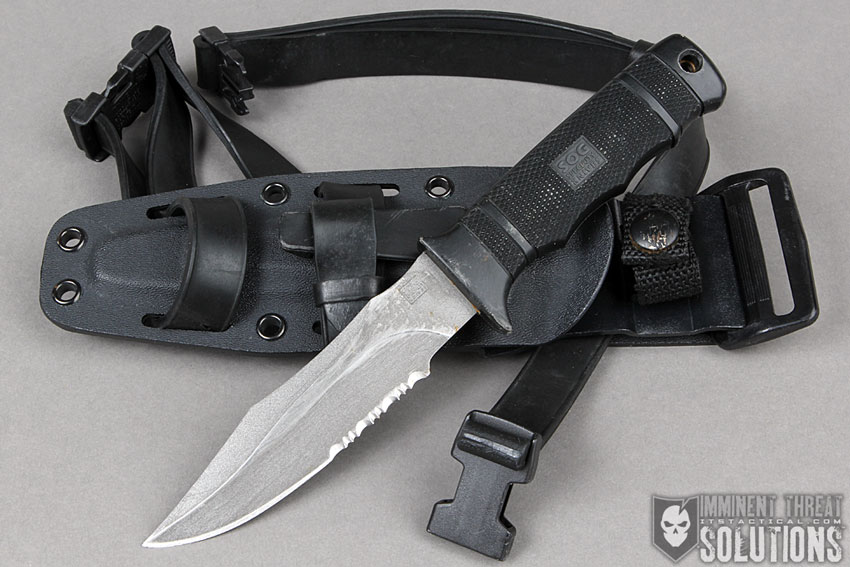
Dive Knife – Dive knives are very important underwater. The problem is that it’s the one piece of equipment that will require constant maintenance. If you want to minimize your time preventing rust, I recommend purchasing a titanium dive knife. Anyone who’s spent time diving in a professional capacity will understand this point, as you can give them a freshwater rinse with the rest of your gear and it’s good to go. If you already have a non-titanium knife and you want to continue using it, you’ll need to know how to properly maintain it.
I recommend putting lubricant on the blade before your dive. When you get back to your dive locker, give all of your gear a freshwater rinse. After you rinse your gear, pull your dive knife out and apply lubricant again. While this will get you through a couple of dives, you may end up having to take a wire brush to the metal to scrape the rust off with the aid of a rust removing chemical such as CLR, which can be purchased at most popular retail stores.
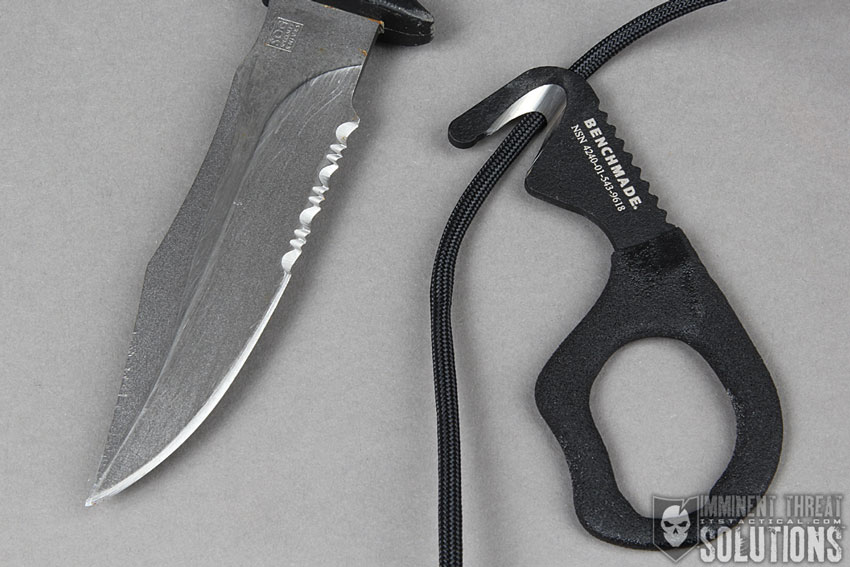
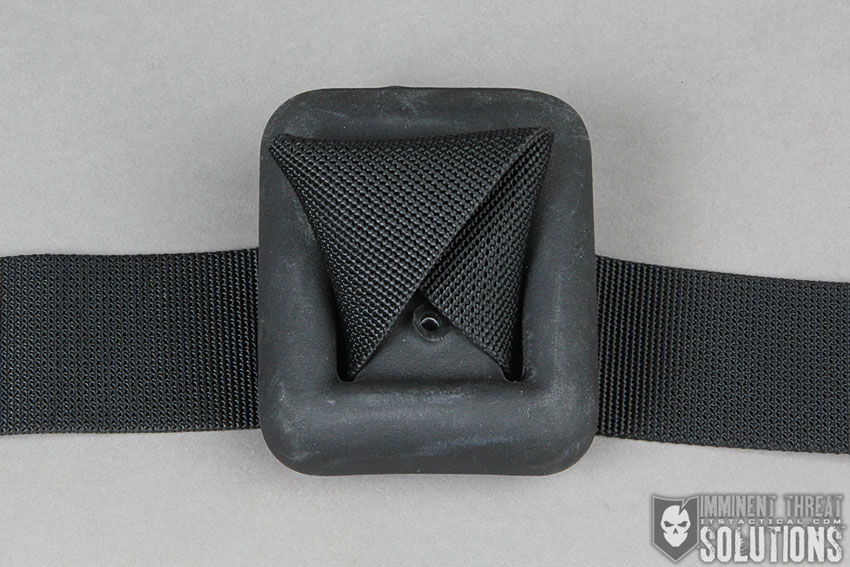
Hook Knife – This is a piece of gear that gets left off the dive gear list all to often. The hook knife provides a way of cutting items such as line or straps while eliminating the risk of collateral damage. In the event that you and your dive buddy become tangled, it’ll be to your advantage to keep the blind slashing to a minimum. Another advantage is that they’re very small and easy to conceal within your gear. They’re not an inconvenience to add it to your loadout.
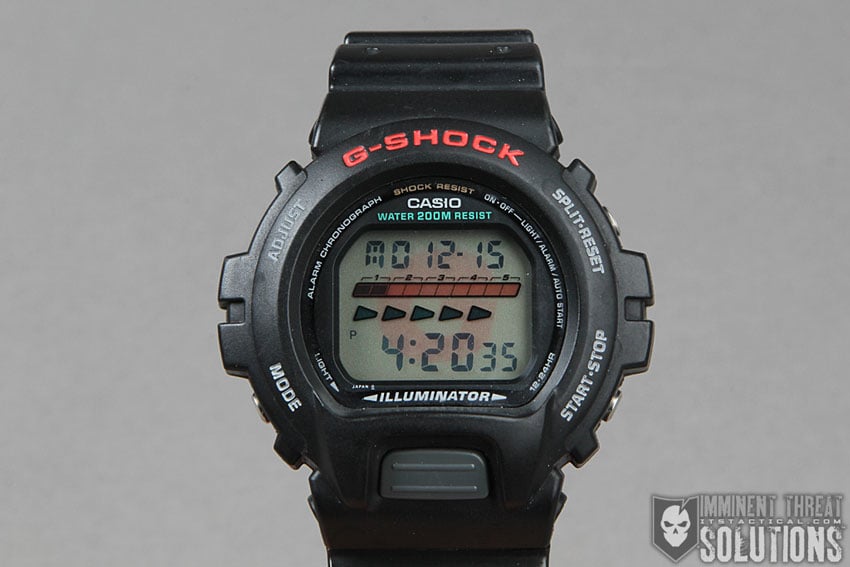
Dive Watch – A Casio G-Shock will get this done better than almost anything else. They’re durable, relatively cheap and the light button will not set itself off under pressure like many other watches. Dive watches are essential to keep track of your bottom time during a dive. If you stay down too long, your dive profile will require decompression stops before coming to the surface. Too much bottom time with no decompression stops will result in a painful dive injury known as decompression sickness, or DCS.
Dive Computer – This is a great tool for keeping track of your dive time and calculating repeat dives. If you’re new to diving then you’ll understand the value of a dive computer after you study up on dive physics and decompression dives.
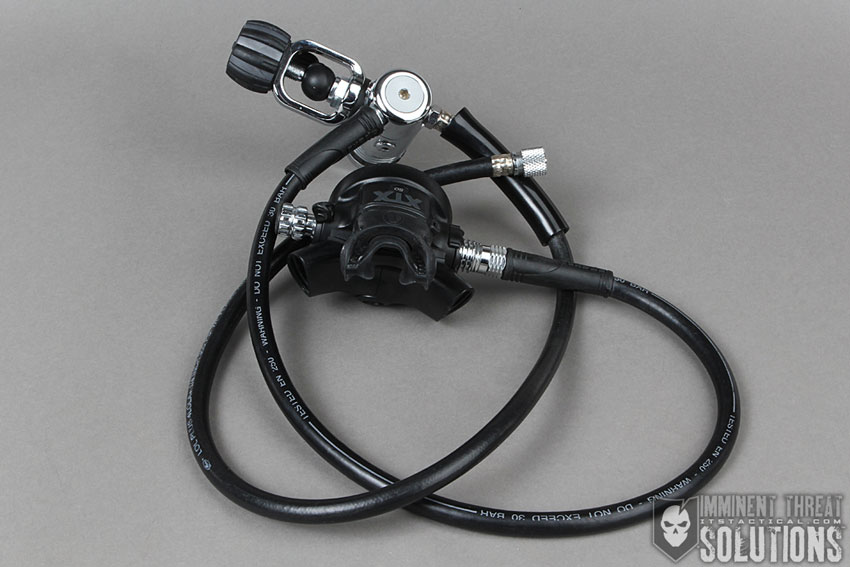
Regulator – The hose that connects to your air cylinder on one end and to your mouth on the other is called a regulator. This is because it reduces the pressure from the bottle to a manageable level through two stages. The first stage is what’s connected to the bottle. It reduces the pressure from 3000 psi to 140 psi. The second stage reduces the pressure to the ambient water pressure, which is dependent on depth.
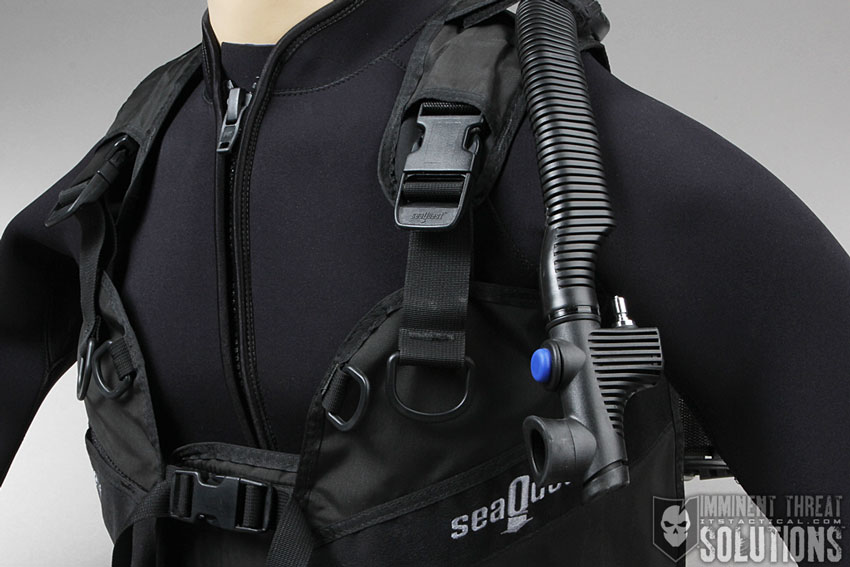
Buoyancy Compensator (BC) – Your BC is what the tank attaches to and will have a connection to attach an air hose that can be used to inflate the BC. When on the surface for long amounts of time this becomes crucial.
Tanks – The tank is where the air is filled to 3000 psi. They’re heavy in the water when empty but not when they’re full. Aluminum tanks are cheaper, but made of softer metal and don’t last as long as the steel tanks. Steel tanks are strong and durable, but will require maintenance to keep from rusting. You’ll start by renting these items and then when you get to a point that you’re considering purchasing this equipment, you’ll know exactly what you want to buy and why.
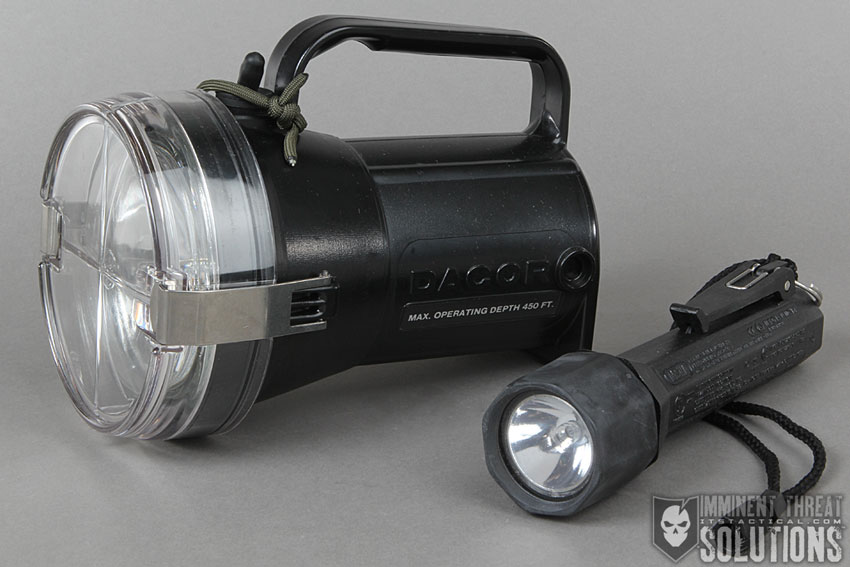
Underwater Light – An underwater light is a lot of fun to have. Diving at night adds a great deal to the diving experience and is a little more of a rush. With a dive light you can keep situational awareness with your dive buddy, as well as hunt for things to see. There are many shapes and sizes in the world of dive lights. There are models that look like Surefire flashlights and some that have pistol grips.
There are even some models that aren’t handheld at all, allowing you to secure the light on your head. I personally recommend a hand-held light with a pistol grip and a lanyard. The pistol grip will make your life easier as you slowly loose dexterity during your dive and the lanyard is an absolute must.
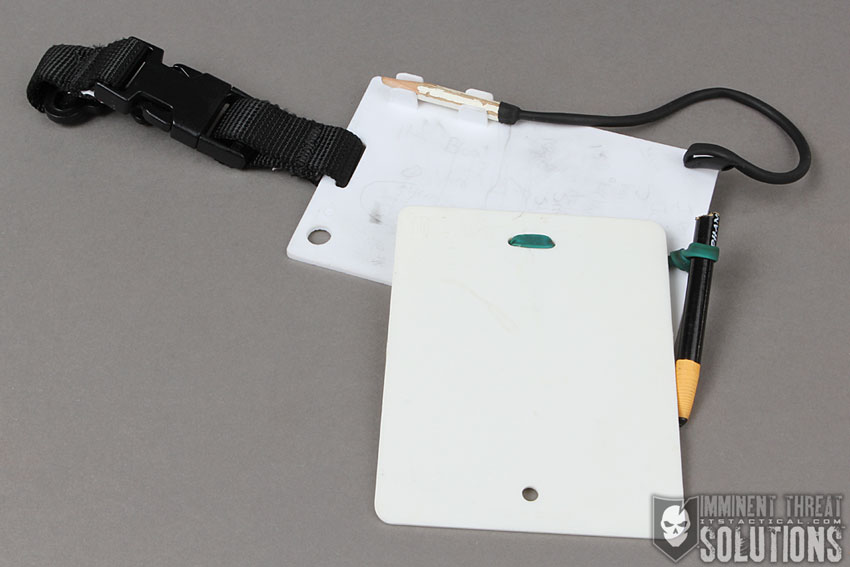
Writing Slate – A slate has many applications in a tactical setting, but you’ll be happy to have one even when having fun with your friends. You can write out messages that will enhance your communication beyond hand signals and also log your bottom time & surface interval so you can focus on the moment without fear of mistake. If you buy one from a dive shop, it may come with a 2D pencil, which you’ll find hard to see underwater. I recommend replacing it with a 4D pencil which is a softer lead and will appear bolder underwater. Grease pencils also work well because they paint large and bold, but have the tendency to smudge.
Extra Weights – You’ll want extra weights in your dive bag because you won’t always be in the same condition or in the same equipment. Being able to make in-water adjustments will make your dive safer and more fun. One reason why this is important is that when you have a good ballast (buoyancy) in the pool, you’re not actually ready for the ocean. It takes more weight in the ocean than it does in the pool because of saltwater. You’re more buoyant in saltwater, which means that you’ll probably need to add weight when you make the transition. Later in this article we’ll discuss how to achieve a good ballast.
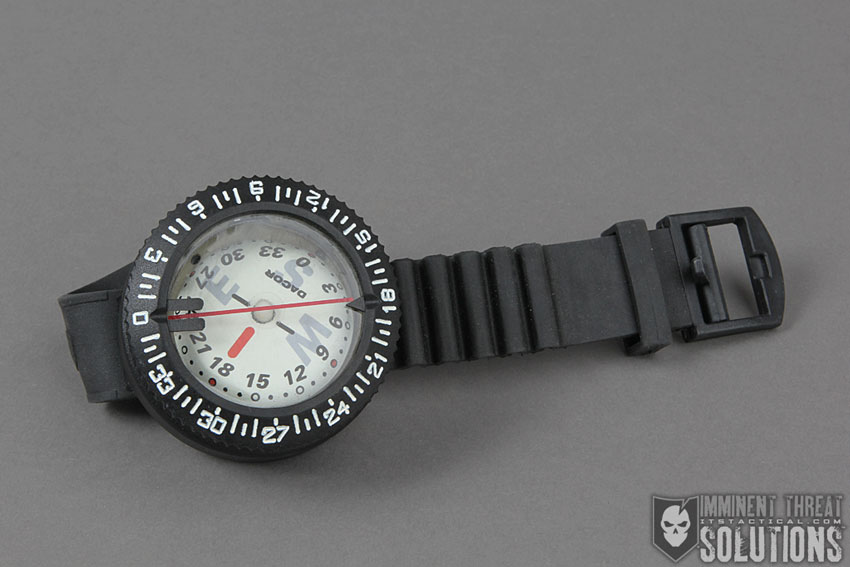
Wrist Compass – Having a compass is always important, but knowing where you are underwater can be very hard to accomplish. In the next section, we’ll discuss how you can use your compass to keep track of a boat’s location and navigate underwater to nearby wrecks and reefs. The compass will work on the surface as well as underwater, which is great to know should you become separated from your boat or crew.
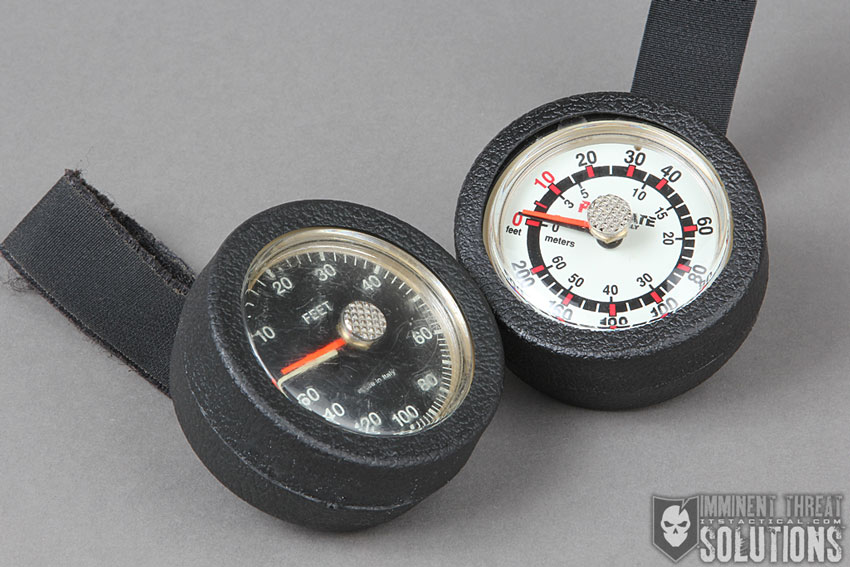
Depth Gauge – Knowing your depth is critical to a successful dive. Your dive profile will consist of a depth and a time at that depth. These parameters should be strictly followed to prevent injury or inconvenience with decompression stops. Using a depth gauge is a great way to maximize your bottom time as well.
The deepest depth that you hit during your dive limits your bottom time. For example, you can’t stay at 80 ft. for as long as you can stay at 50 ft. If you’re mindful of where you are in the water column, you can stay down for the max allowed time without a decompression stop. I’m old school in that I like to have an analog depth gauge instead of digital. Analog depth gauges are widely available, fairly inexpensive, durable and reliable.
Tips Before you Get Started
Clearing Your Mask
If you’ve never had a mask full of water, you’ll certainly want to practice it a few times in a controlled environment, like sitting in the shallow end of the pool. I recommend starting by barely cracking the seal on your mask until water fills to just below your eyes. This way the first time you try it, you’re not completely blind. Once there’s water in your mask, take a minute to practice breathing off your regulator. It’s a confidence boost to know that you don’t need to clear your mask to breathe. Just relax and breathe normally when your mask becomes full of water.
When you’ve had a chance to collect yourself, put your hand on the top center of your mask and apply slight pressure. Look down and take a deep breath (this will keep water from going down your nose). Now, while still holding your mask, begin blowing out through your nose. Blow hard and slowly tilt your head up while you blow. You’ll notice that if you can blow for 5 seconds or more, the air goes to the top of your mask where your hand is keeping the seal from breaking. The added pressure from the top pushes the water out of the bottom of the mask.
Becoming Neutrally Buoyant
Ballast refers to your body’s ability to stay in one location within the water column. You’ll need a good ballast if you want to have a successful dive. The idea is to have enough weight on your belt to keep you neutral in the water column at around 15 ft. To accomplish this, I recommend taking a few extra weights to a pool or the side of a pier. With your dive buddy, descend to about 15 ft. and try to stay there without help from your arms or fins. If you can’t stay down, then return to the surface and add more weight. If you can’t stay up then return to the surface and remove weight. The closer you get to neutral, the more you’ll enjoy your dive. Don’t get lazy by positioning yourself to fight the water for the next hour.
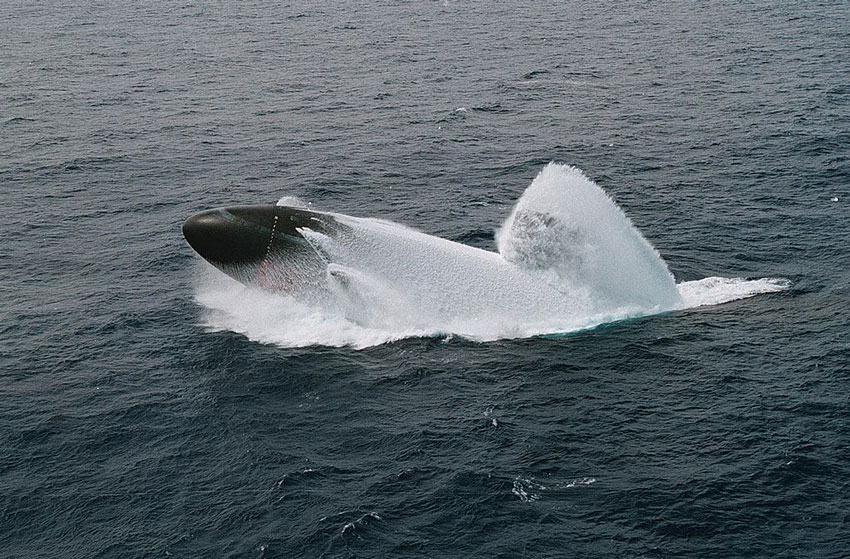
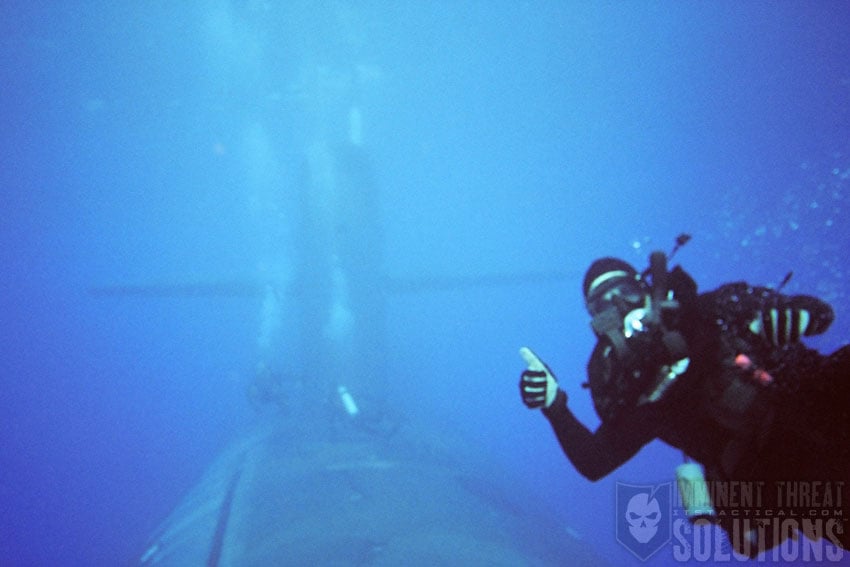
Trim refers to your position in the water column. This isn’t the same as ballast, which is your location within the water column. Trim is a term that’s best explained with a submarine example. If a submarine is sticking at 30 ft in the water column, but its nose is pointed down then it doesn’t have a good trim. Although it’s sticking at 30 ft. while stopped, just a little propulsion will drive the submarine deeper in the water. This is because the propulsion is pushing the submarine in the direction the nose is pointed, down. If the sub adds air to the front, or moves water from the back to the front for weight distribution, then the submarine’s nose will level out with its prop. Now that the Sub is positioned parallel to the water’s surface, it has a good trim.
As you can tell, trim is important for subsurface movement. If you find that you’re unable to stay straight when kicking on your dive then you’ll want to adjust your trim by moving weight. Usually a dive belt on your torso doesn’t require you to make any changes, but weight inside a BC or vest might.
Underwater Navigating for Beginners
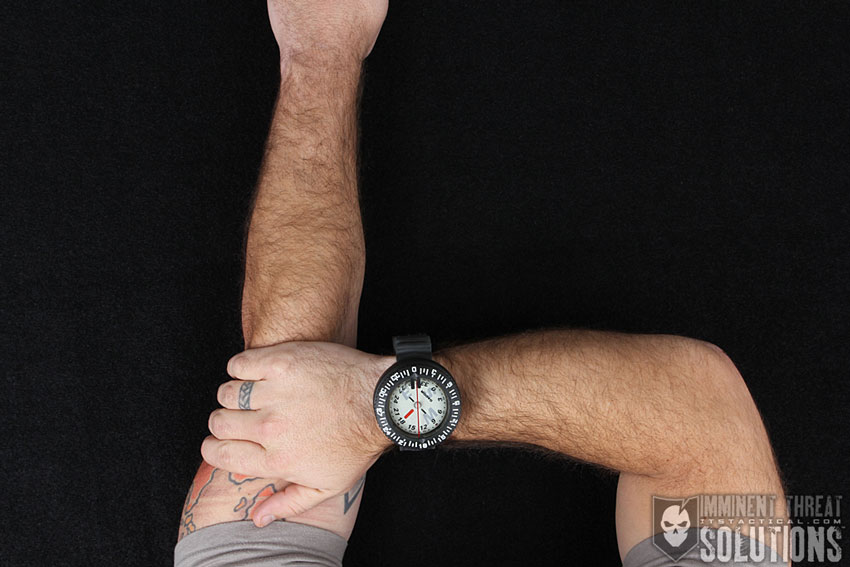
Bearing
Finding your way from point A to point B is challenging underwater. It’s very easy to become disoriented and lost with limited visibility. The good news is that you’ll have a compass on your wrist. Don’t fall into the trap of trying to shoot a bearing underwater. Instead, point the arm without the compass straight out in front of you as if you’re pointing at something. Next, make an L shape with your compass arm so that you’re looking directly at the 12 o’clock of the compass. Now you can kick while keeping your eyes on the compass to ensure you’re as accurate as possible.
Distance
Now that you have a way of shooting and following a bearing, you’ll need a way of measuring how far you’re traveling. Just like in land navigation, you’ll need a pace count. Of course, instead of steps we have kicks. To measure a kick count you’ll need to travel a known distance multiple times to gain a couple pieces of information. You’ll need to know how much time it usually takes to travel that distance, as well as how many kicks it takes to travel that distance. Just like on land, I recommend counting every other kick. If you count only your left foot then you’ll only have to count half as much. Most civilian guides suggest a distance of 100 ft. as your benchmark, which is a good distance for the recreational and beginner level dive profiles.
Examples
- If you’re leaving a moored boat and heading towards a reef, first take a bearing of what direction you’re about to travel before you submerge. Now you’ll know the reciprocal bearing back to your boat from the reef (this would be a great time to jot that info down on a slate.) Combined with a good kick count, this can be a fairly accurate way to navigate.
- You’re kicking on your back (turtle backing) to a marked wreck before submerging, first take a bearing to your boat before you submerge. Now you’ll know exactly what direction to travel on your return to the boat. Just be mindful of the difference in your kick count when you’re on the surface compared to when you’re submerged.
You can see from the examples why you’d never want to consider leaving the compass in your dive bag, instead of putting it on your wrist. It’s a tool that should be used to mitigate risk and enhance your reward. Even if you have another type of navigational aid, you’ll want to bring your wrist compass.
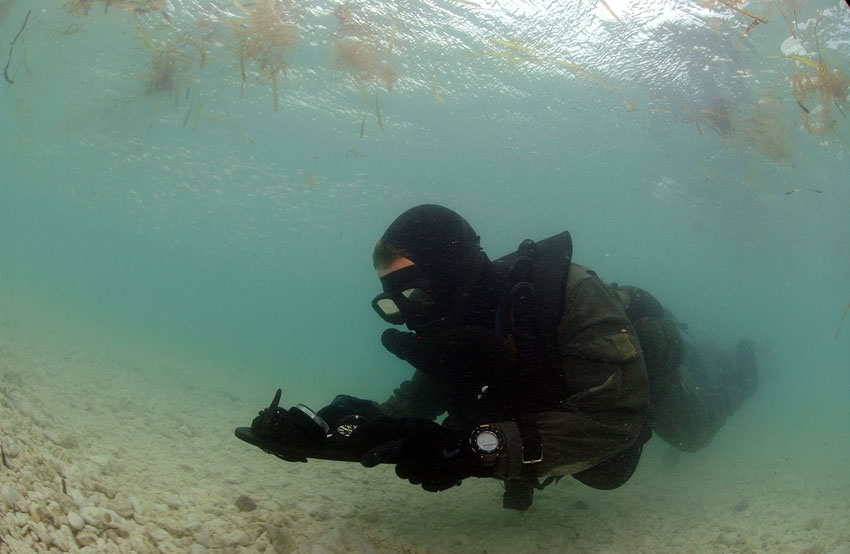
Using it to fly a course will help you get from point to point, but it does have several disadvantages. Flying a bearing in the position demonstrated with the wrist compass is tiring and less accurate than some other methods. As you become fatigued, you’ll loose some of your form, leading to degraded nav. This is why I suggest practicing flying this way as a life saving skill, but having another way to navigate from point to point underwater.
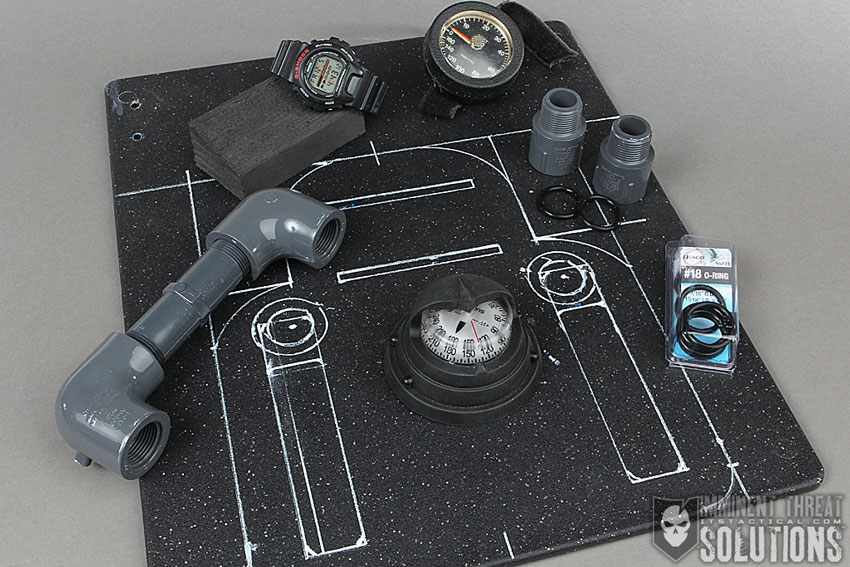
For longer legs of navigation you’ll want to have a Tac Board. This is a plastic board with handles that has a fixed compass on it as well as a depth gauge and a dive watch. This is ideal because you can keep your arms close to your side and kick out while looking directly at your compass. You’ll want to keep the needle as close to the bearing as you can so that you can keep your course as accurate as possible. You’ll also need to constantly transition your focus from monitoring your depth, to checking your bottom time, or navigation leg time and flying your bearing.
This is by far the best way to navigate without the help of sophisticated equipment. Note: You’ll still need your compass and watch on your wrists. Having a Tac Board doesn’t mean that you can substitute those items from being directly on your person. Now you have redundancy should one go down or become lost underwater. A tip here is to keep your total bottom time on your wristwatch and your course/navigation leg time on your Tac Board to alleviate confusion.
More to Come
In this series, we’ll continue the discussion by introducing subjects such as dive physics, dive medicine, advanced diving technique/equipment and even how to build your own Tac Board navigation platform as a DIY project.
Editor-in-Chief’s Note: Nick recently left the Navy after serving for 10 years as a Navy SEAL with multiple deployments, having been awarded the Bronze Star for operations in austere environments. Nick’s been with us since the beginning here at ITS on our Advisory Board.

Discussion