


DIY AR-15 Build: Pivot Pin Installation
DIY AR-15 Build: Pivot Pin Installation
- DIY AR-15 Build: Introduction, Parts and Tools Required
- DIY AR-15 Build: Magazine Catch Installation
- DIY AR-15 Build: Bolt Catch Installation
- DIY AR-15 Build: Pivot Pin Installation
- DIY AR-15 Build: Trigger Group Installation
- DIY AR-15 Build: Safety Selector and Pistol Grip Installation
- DIY AR-15 Build: Trigger Guard Installation
- DIY AR-15 Build: Buttstock Installation
Today in part four of our DIY AR-15 Build you’ll learn how to install the Pivot Pin on your Lower Receiver and hopefully take our recommendations on board for a happier stress-free build!
This can either be one of the most complicated steps in assembling a lower receiver, or a relatively easy one. It just depends on your tool selection.
When inserting the detent that holds in the Pivot Pin, it’s quite common for it to turn into a Pegasus Missile and shoot across the room along with the spring that’s under tension. In this article we’ll describe a good method to utilize and mention a tool that will help avoid detent missiles!
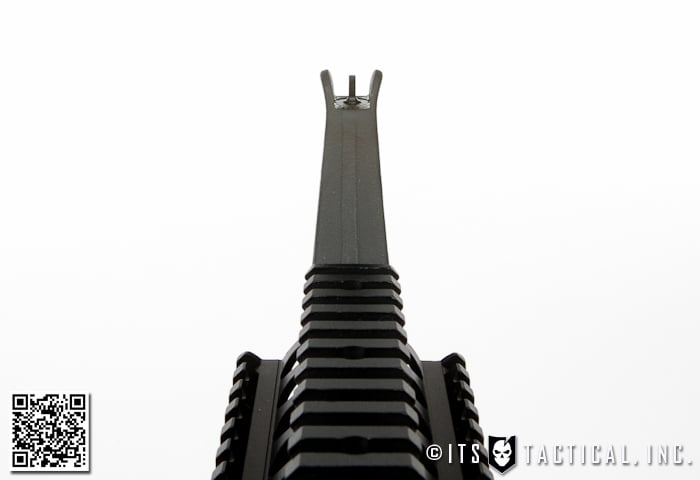
Pivot Pin Installation
One of the reasons we like the Stag Arms Lower Parts Kit is that it comes with one extra detent in case yours takes off into the atmosphere during this assembly. As mentioned this step can be fairly simple depending on tool selection. You can get away with what we use in the video below, which is needle nose pliers, a hex wrench and a small punch.
If you want to avoid frustration, we highly recommend the Brownells Pivot Pin Installation Tool, which is a cylinder that fits into the Pivot Pin ears and has a small cutout for the detent. You simply insert the spring, slide in the tool, put the detent into hole and push a small punch in and turn. This traps the pin without the Pegasus Missile effect. This will of course make more sense when we describe the installation in detail below.
Parts Needed:
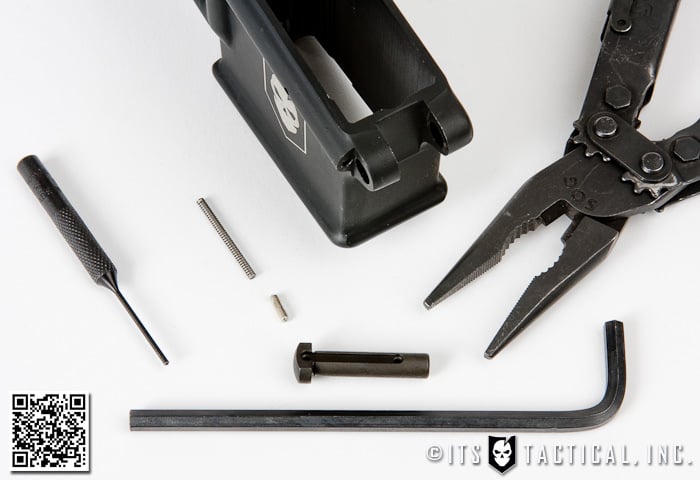
- Bench Vise
- Lower Receiver Vise Block
- 3/16 Hex Wrench
- Pivot Pin Detent Spring
- Pivot Pin Detent
Tools Needed:
- Safety Glasses!
- Needle Nose Pliers (Our fav – SOG PowerLock)
- Small Punch (Brownells #1 Punch or Standard 1/16 Punch)
- *Optional* Brownells Pivot Pin Installation Tool
Assembly Instructions

- Put the lower on the vise block and tilt it towards you to so you can work easier.
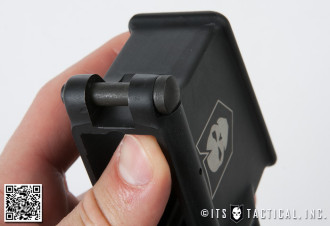
- WARNING: The Pivot Pin Spring and Detent can launch out during this section and if you lose them you’d better have good eyes or you’ll be ordering replacements!
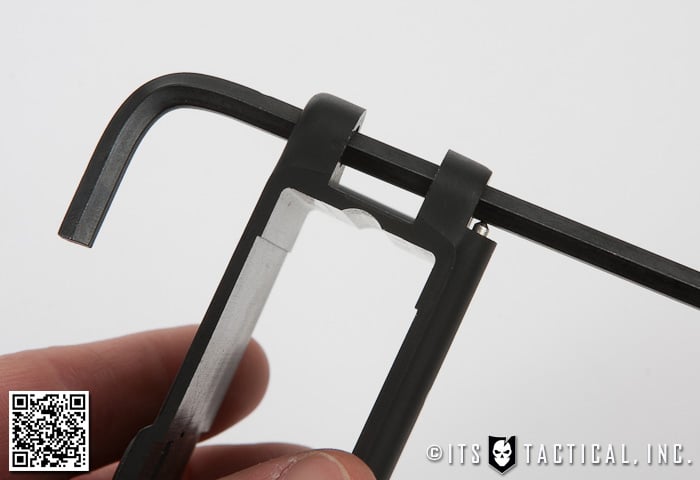
- Insert the 3/16 Hex Wrench from the port side flush with the outer starboard side pivot pin ear.
- Insert the Detent Spring into the Detent Spring channel in the lower.
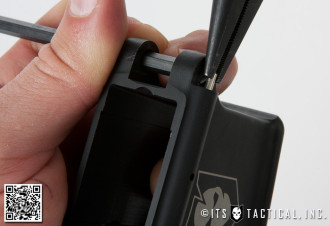
- Using the needle nose pliers, grasp the detent and push it onto the spring. Once it inserts into the channel, take a small punch and hold it there.
- Carefully slide the punch away as you maneuver the Hex Key over the spring and detent, capturing them.
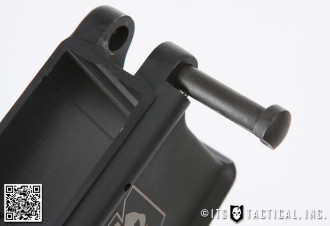
- With the flat cut section of the Pivot Pin facing aft, slide it over as you back the hex key out.
- You’ll now be able to test the Pivot Pin’s functionality by ensuring it’s capturing the detent as it moves back and forth.
ITS Tactical Logo Lower Receiver
Don’t forget about our exclusive offer to our Plank Owners and Crew Leaders to get a ITS Tactical Logo Lower Receiver from Spike’s Tactical for $99! Click here for more info! Offer ends June 10th!
Join us back here soon for our 5th installment in the DIY AR-15 Build where we’ll be assembling the Trigger Group!


Discussion