


DIY AR-15 Build – Welding and Checking the Headspace
DIY AR-15 Build – Welding and Checking the Headspace
- DIY AR-15 Build: Upper Receiver Assembly Introduction
- DIY AR-15 Build: Ejection Port Cover and Forward Assist Installation
- DIY AR-15 Build: Barrel and Free-Float Rail System Installation
- DIY AR-15 Build: Front Sight Base Installation
- DIY AR-15 Build: Muzzle Device Installation
- DIY AR-15 Build – Bolt Carrier Group Installation
- DIY AR-15 Build – Welding and Checking the Headspace
- DIY AR-15 Build: Lubrication, Assembly and Firing
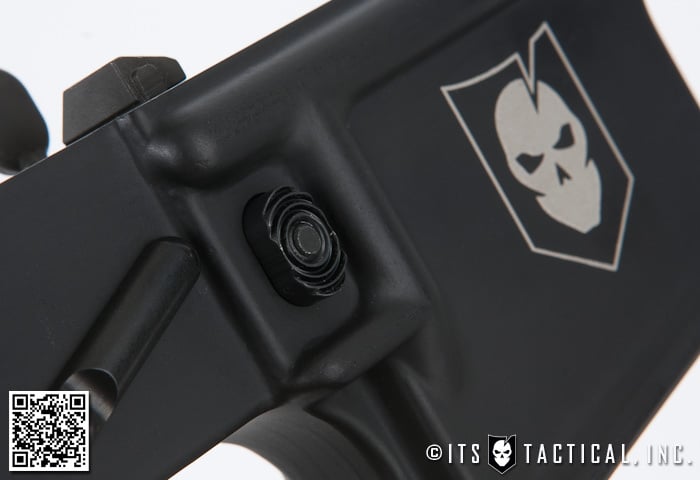
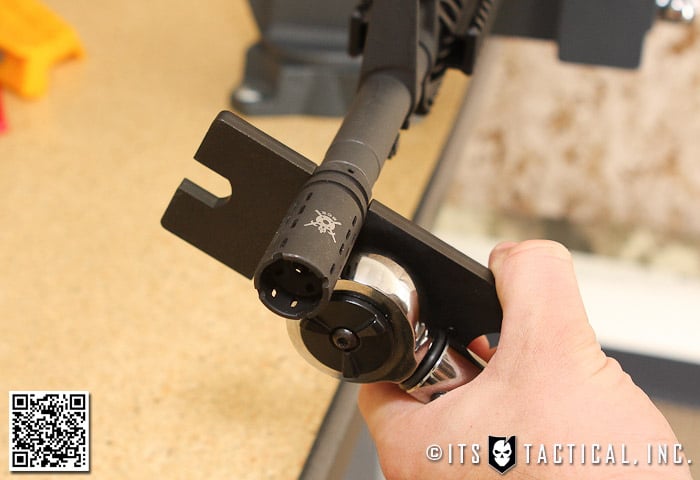
We’re nearly complete with our DIY AR-15 Build! Today we’ll be showing you how we permanently attached our BattleComp 1.5 Compensator and how to check the Headspace.
As these both seem to be elusive steps in assembling the AR, we’ve put them together in this article. Welding a Flash Hider/Compensator isn’t necessary unless you’re complying with the NFA as we are. Since we’re using a 14.5″ barrel, we need to permanently attach the 1.5″ BattleComp to bring the barrel to the minimum length of 16″ and not have to pay for a $200 Tax Stamp and make an SBR (Short Barreled Rifle).
Headspace is also something that some neglect from their assembly, but it’s important nonetheless. Most rifles will be within tolerances even if you mix manufacturers, but it’s always a good idea to check.
Welding
We’re lucky enough to have a nearby and reputable gun shop that was willing to let us come in and film them drilling and welding our BattleComp Compensator. The video below shows our good friend Steve from Military Gun Supply in Ft. Worth, TX welding up our BattleComp.
Some things to keep in mind when permanently attaching a Flash Hider/Compensator is that the BATFE expressly states that to be permanently attached, the muzzle device can’t be easily removed with hand tools and must either use 1100 degree silver solder, be blind pinnned and welded, or welded completely around the barrel.
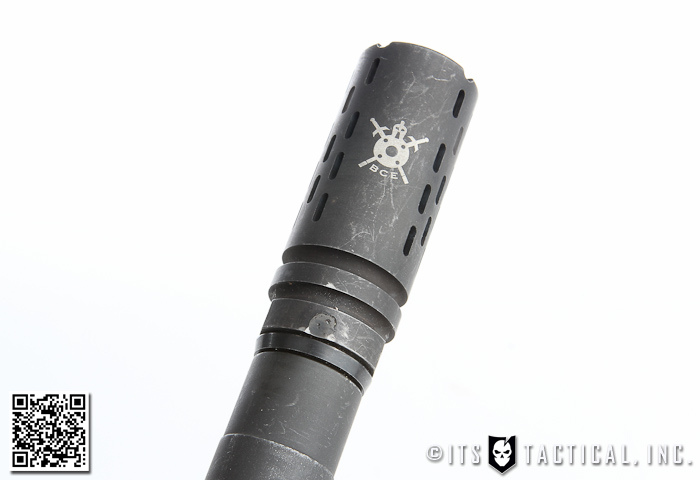
For our attachment, we chose to blind pin and weld. A 1/8″ deep blind hole was drilled into the barrel using the pre-drilled hole in the BattleComp 1.5 as a guide. Be particularly careful at this step that you don’t drill all the way into your barrel, you’re just drilling a hole deep enough to accept the pin.
A section of drill bit was used for our pin, as it’s tool steel and fulfills the BATFE requirement on not being easily removed with hand tools. Don’t use anything like a coat hanger for this step, as you might be able to torque that off with a hand tool.
After the bit was inserted, Steve welded over it and ground the weld bead down flush with a Dremel Tool. The last step was to apply some Cold Blue to hide the grind marks and darken back up the weld bead. Check out the complete process in the video below!
Headspacing

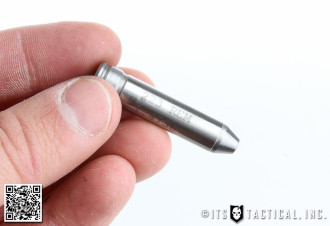
As mentioned earlier, most ARs will be within tolerances even if you mix manufacturers, but it’s always a good idea to check. What the headspace gauge is measuring are the tolerances of the bolt face to the chamber of your rifle.
If there’s not enough headspace, excessive chamber pressures can occur and damage the rifle. If there’s too much headspace, then the case itself can rupture and cause damage to the rifle. And of course in both situations you and any bystanders could also be injured.
When you follow the steps below you’ll learn what indicator to look for when using a Field Headspace Gauge, but if you encounter an incompatible Headspace your easiest option is to replace the bolt. Most likely you aren’t going to run into this though. Especially using the Bravo Company USA parts that we’ve recommended in this series.
Headspacing Parts Needed
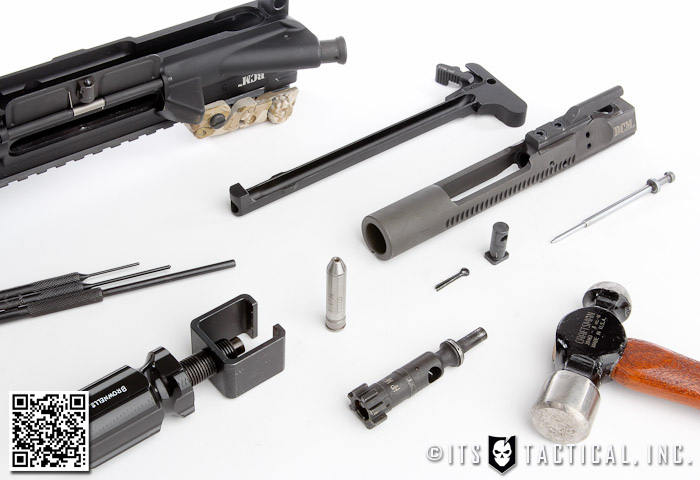
Headspacing Tools Needed
Headspacing Instructions

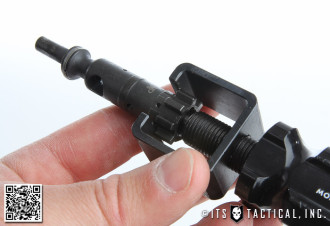
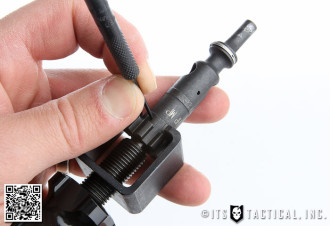
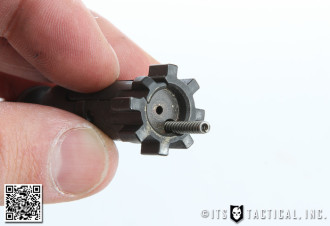
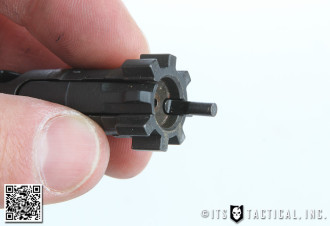
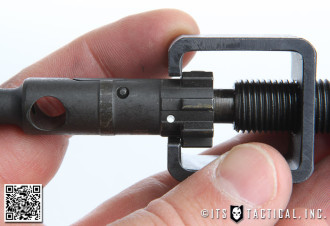
- Place Bolt into Ejector Removal Tool and tighten down tool until Ejector is depressed.
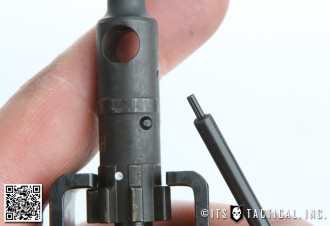
- Using the #1 Roll Pin Punch, tap out the Ejector Roll Pin.
- Slowly back off the tightness on the tool until loose.
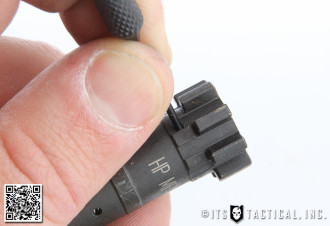
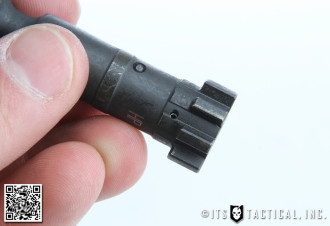
- Remove Ejector and Ejector Spring.
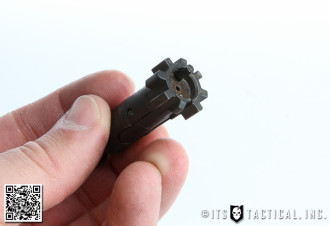
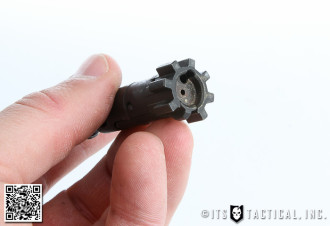
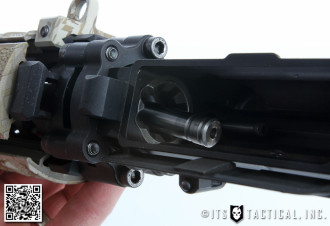
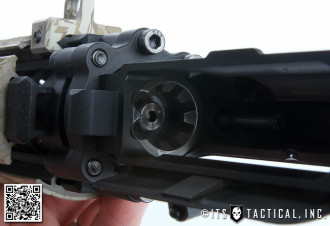
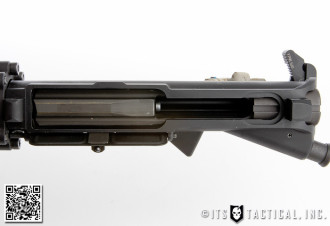
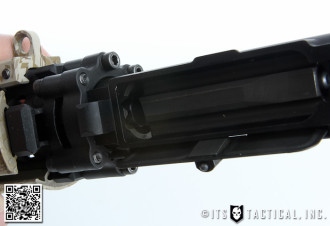
- Reassemble Bolt Carrier Group with Bolt.
- Test the lock-up of the Bolt Carrier Group and visually note how it closes correctly.
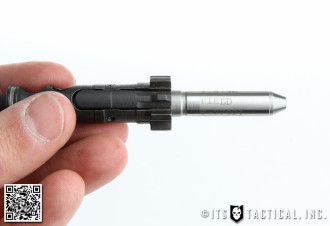
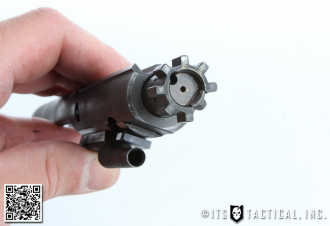
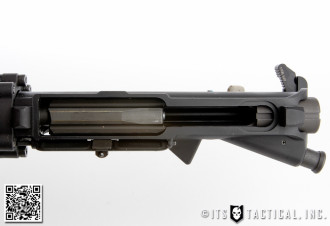
- Now pull back the BCG and insert the Field Headspace Gauge into the chamber.
- **Carrier should NOT close completely**
- If carrier closes completely on Headspace Gauge, then the Headspace is NOT correct.
- If the bolt does NOT cam into position the rifle DOES NOT have excessive headspace.
- Again, the bolt SHOULD NOT close on a Field Headspace Gauge.
- Reverse the directions above to reassemble your bolt or follow along with our video below.


Stay tuned next week as we conclude our DIY AR-15 Build with test firing our newly completed AR-15!
Discussion