


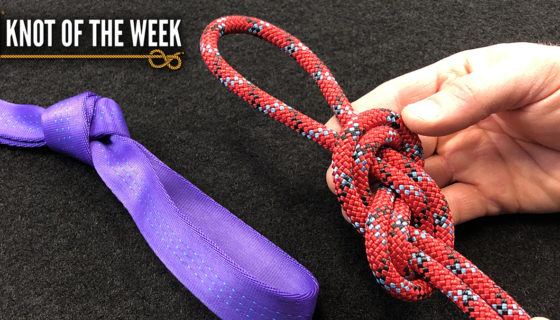
Knot of the Week: Tying a Barrel Knot for Single Line Rappelling
Knot of the Week: Tying a Barrel Knot for Single Line Rappelling
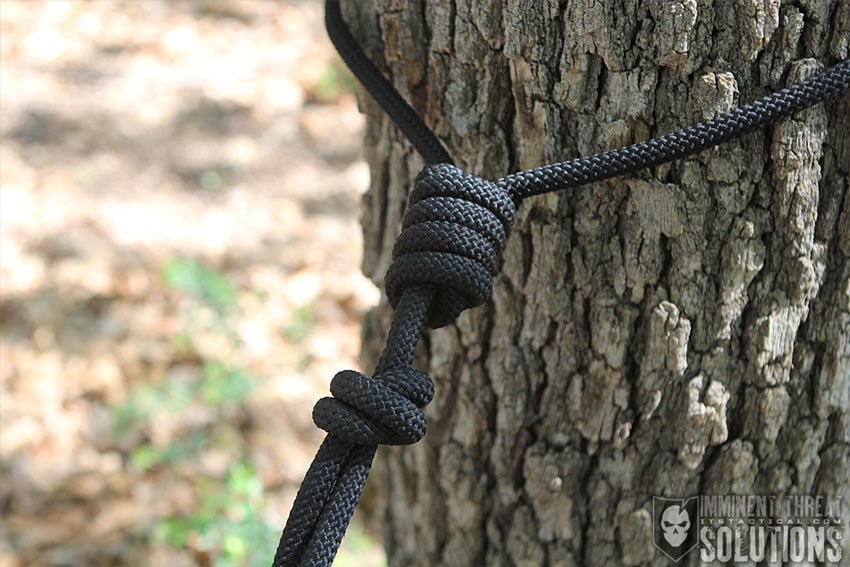
In one of our more recent articles on setting up an urban rappel, we went over two methods for tying off a static rope for single-line rappelling. Today, we’d like to go over the Barrel Knot and how it’s tied.
The other knot we mentioned in that urban rappelling article is a Bowline, which we’ve gone over before on our Knot of the Week series. The Barrel Knot is preferable to the Bowline, for the simple reason of it being a friction knot (or slip knot), meaning that as it’s loaded, it will self-tighten around the stationary object it’s tied off to. An important note here is that while tying this for rappelling purposes, you should always use a large diameter tree or object that you’ve deemed sturdy enough to rappel from. Small trees have no place in a proper rappelling setup.
Tying a Bowline for single-line rappelling is acceptable as well, but with a Bowline being a fixed loop, it will move around much more than a Barrel Knot and again is why the latter is preferred.
How To Tie a Barrel Knot » Bends
(Strength: 4/Secure: 5/Stability: 3/Difficulty: 3)
Please refer to our Knot of the Week introduction post for a description of what these ratings mean.
The Barrel Knot is somewhat similar to the Double Fisherman’s Bend and shares much in common with a hangman’s noose, although that uses a different tying method. The Barrel Knot is also great for tying off a rescue line to a stationary object before throwing it or lowering it down to the someone being rescued.
Uses:
- Single-Line Rappelling
- Affixing a Stationary Rescue Line
Tying Instructions:
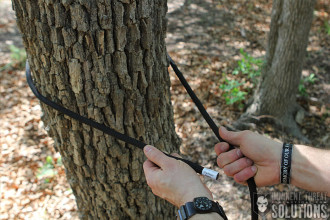
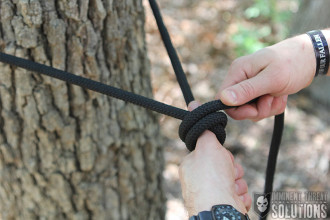
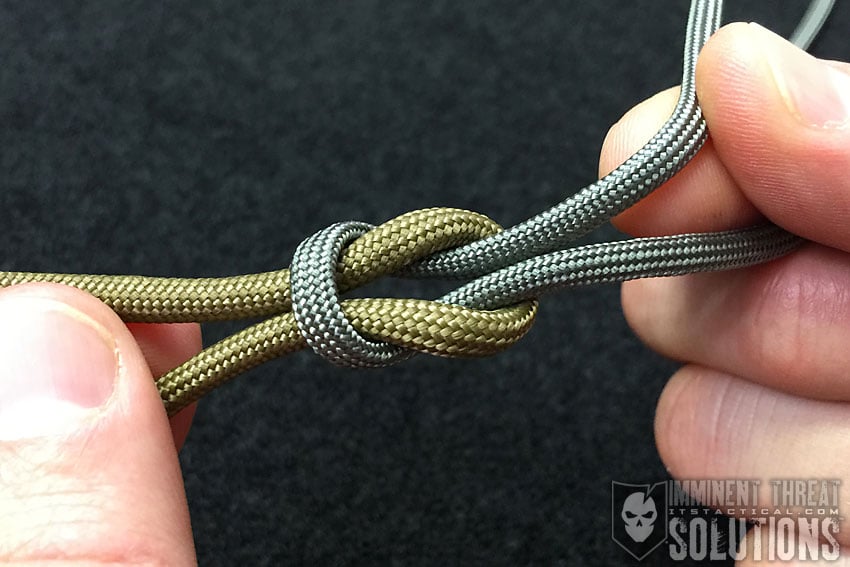
- Start by wrapping the line around your stationary object with the working end off to your left (this instruction set can be accomplished from starting the other direction as well.)
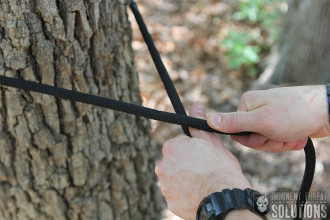
- Pass the working end up and over the standing part of your line, where your extended thumb rests.
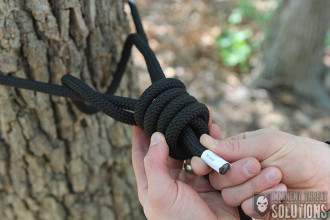
- Wrap over your thumb, up and around the standing line with four passes. Ensure your thumb stays in one place.
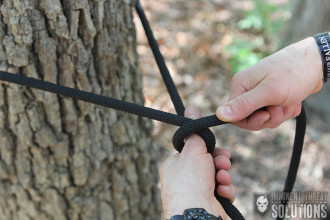
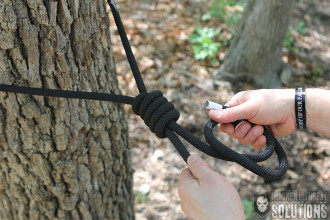
- With the excess working end, feed it into the void created as you remove your thumb.
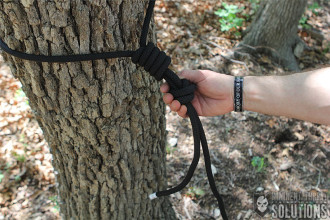
- Grasp the barrel knot in your left hand and pull the working end with your right as you tighten the knot against the object you’re tying off to.
- Once secure, tie a safety knot with the remaining length of your working end. Ensure this is close to the start of the barrel knot as well.
- The safety knot can be an overhand knot, but a Fisherman’s Knot is preferred and is what’s shown in the photo.
- For more on a Fisherman’s Knot, refer to our KOTW article on the Double Fisherman’s Knot. A single Fisherman’s is just one side tied.
View the gallery below and follow along with the steps above!


Discussion