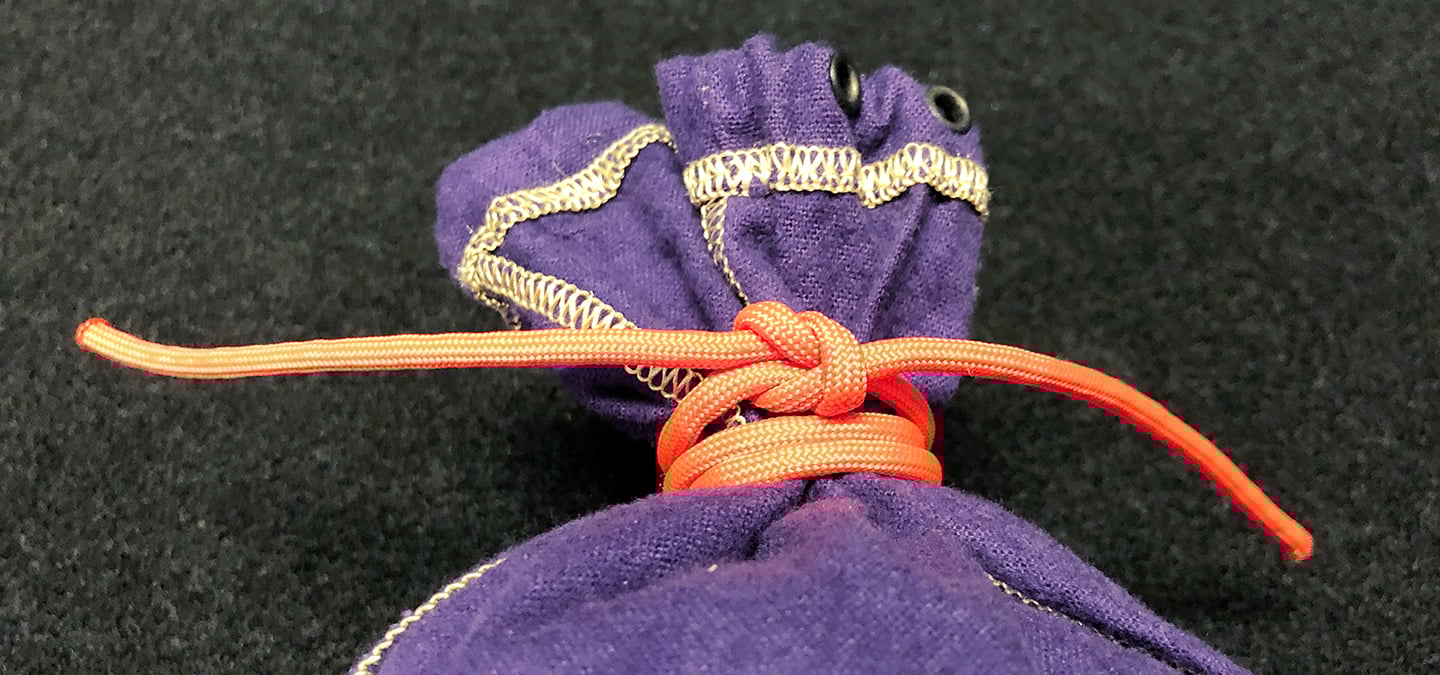
Equipment you need for wherever your adventures in life take you.
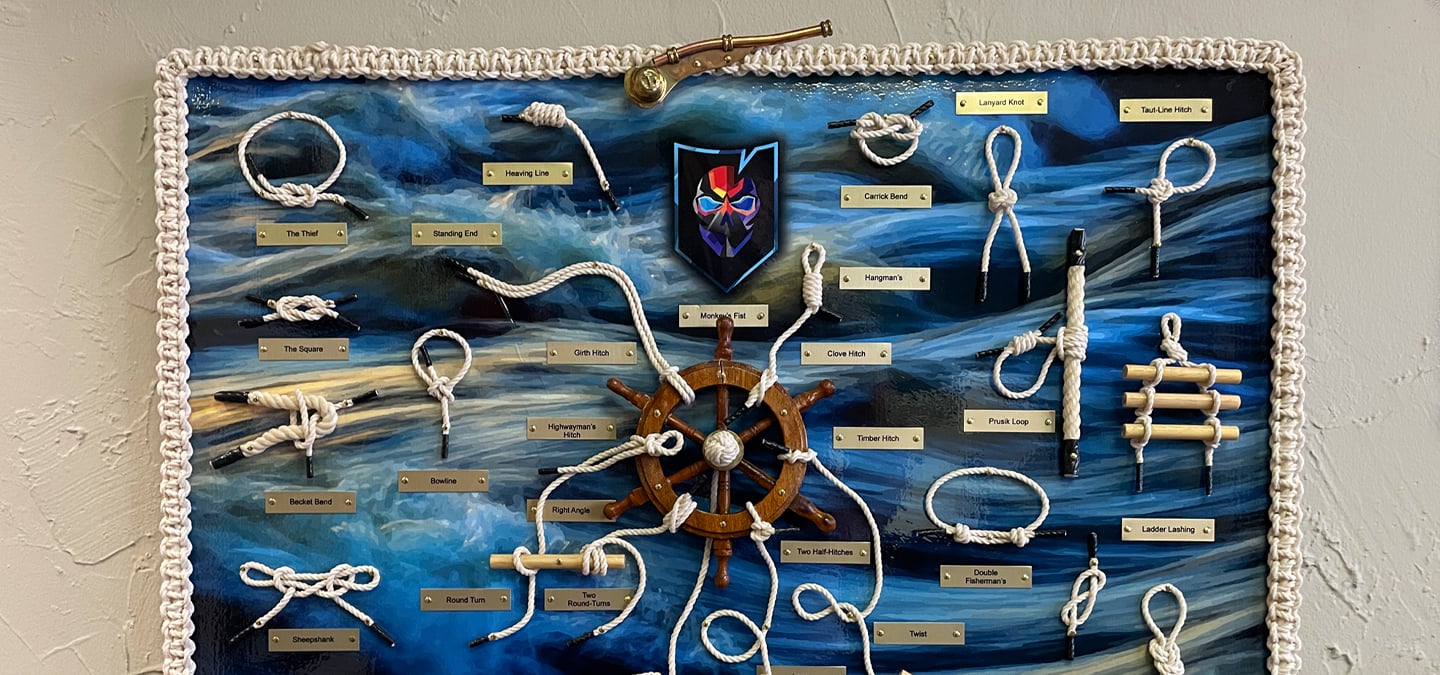
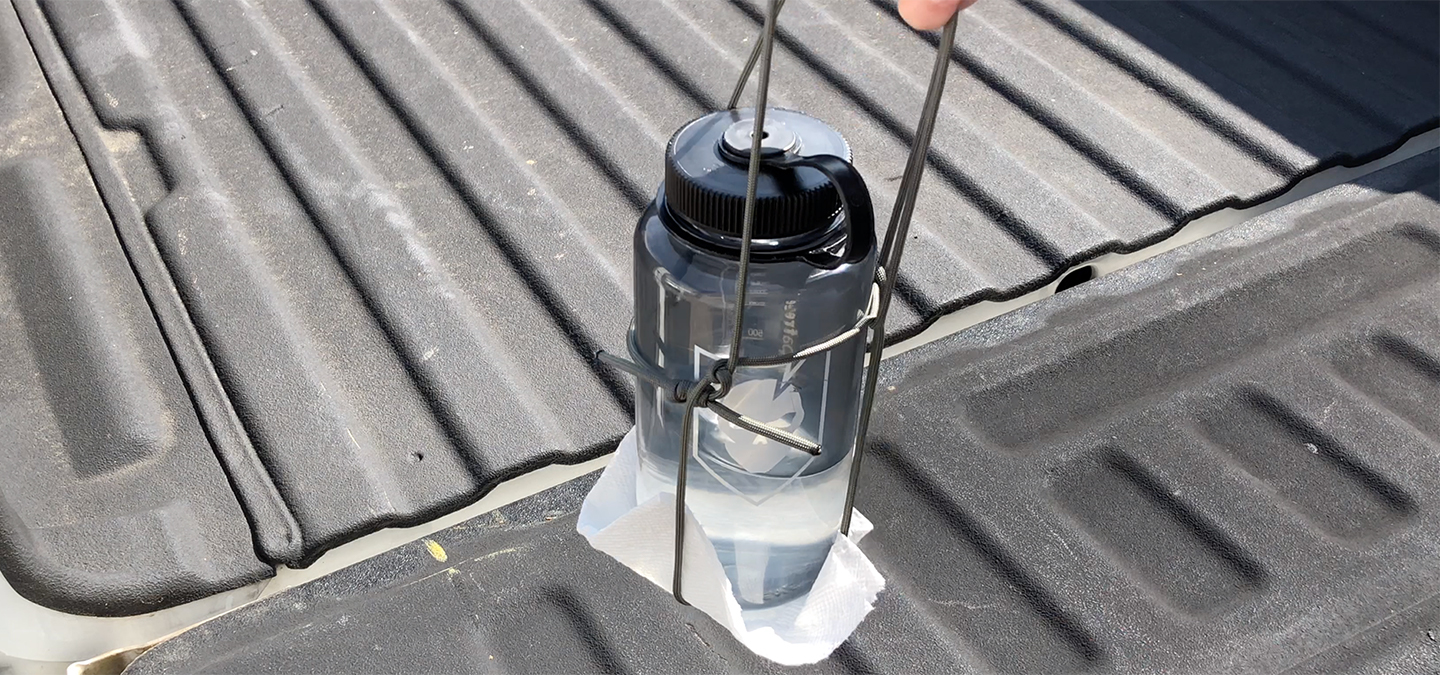
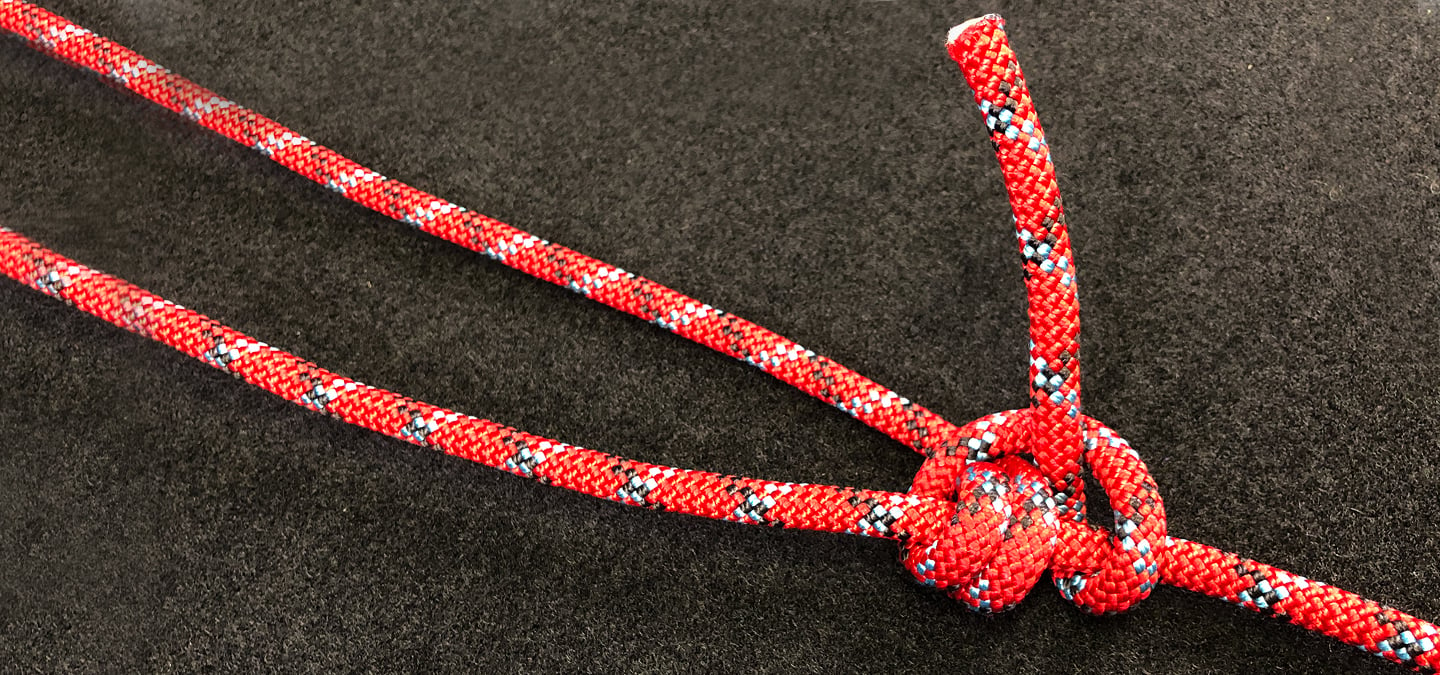
Skills we advocate to get you through anything life throws at you.
Shop the ITS Store for exclusive merchandise, equipment and hard to find tactical gear.