


DIY AR-15 Build: Introduction, Parts and Tools Required
DIY AR-15 Build: Introduction, Parts and Tools Required
- DIY AR-15 Build: Introduction, Parts and Tools Required
- DIY AR-15 Build: Magazine Catch Installation
- DIY AR-15 Build: Bolt Catch Installation
- DIY AR-15 Build: Pivot Pin Installation
- DIY AR-15 Build: Trigger Group Installation
- DIY AR-15 Build: Safety Selector and Pistol Grip Installation
- DIY AR-15 Build: Trigger Guard Installation
- DIY AR-15 Build: Buttstock Installation
Today marks the start of a new series on ITS Tactical where we’ll be walking you through the COMPLETE assembly of a Direct Gas Impingement AR-15. There’s an awesome offer involved with this build too, so be sure to read on below to find out what’s in store!
We’ll be starting this journey with an introduction to the series where we’ll go over the laws surrounding owning and building your own AR, as well as the parts we’ll be using and the tools required. Up front you should know that building your own AR-15 isn’t as hard as you think and there’s not better way to learn about the AR platform than to build one from the ground up!
Rather than go over an assembly of a standard AR, we’ve included what we feel to be some of the best and cost effective hard-working aftermarket parts to consider when building your own AR. This series is also a supplement to our articles on How to Keep Your AR Running. We decided to undertake this new build series so we’d have details to refer to when we discuss in the common wear parts and replacement schedules.
Special Offer
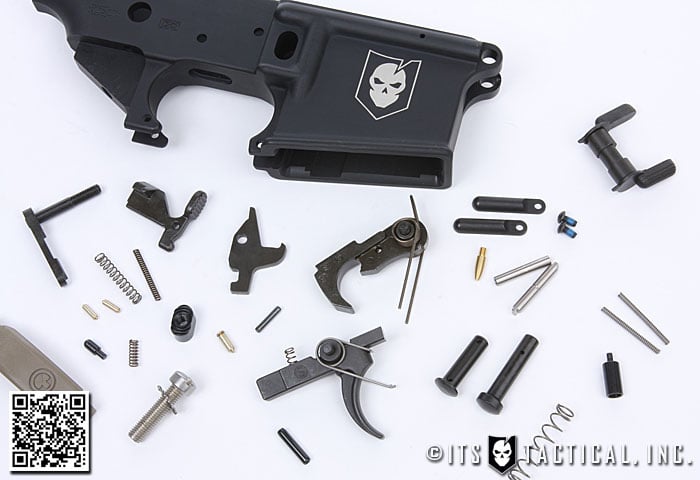
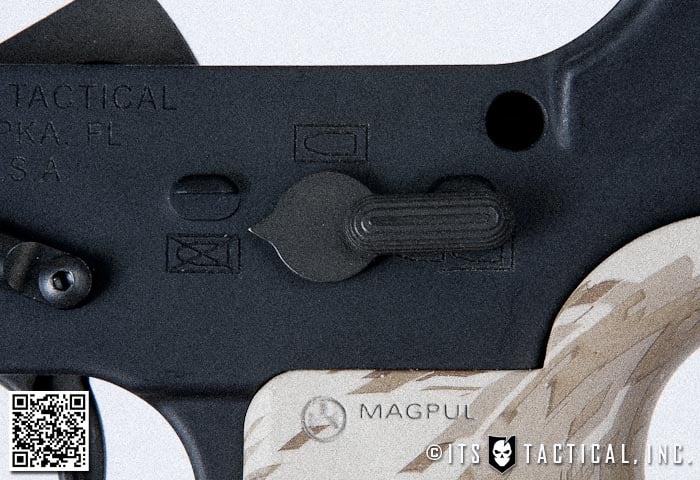
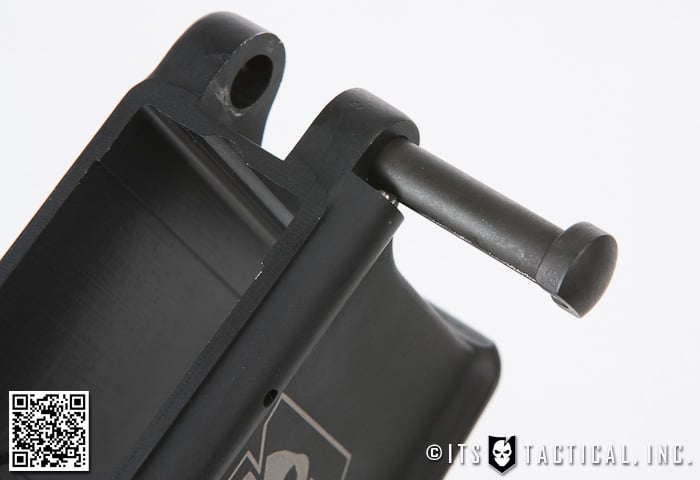
Before we get into the build and laws, we’d like to mention a special offer for ITS Tactical Plank Owners and Crew Leaders ONLY. We’ve partnered with Spike’s Tactical to put together a special run of stripped lowers with the same ITS Tactical Logo Laser Engraving seen in this photo.
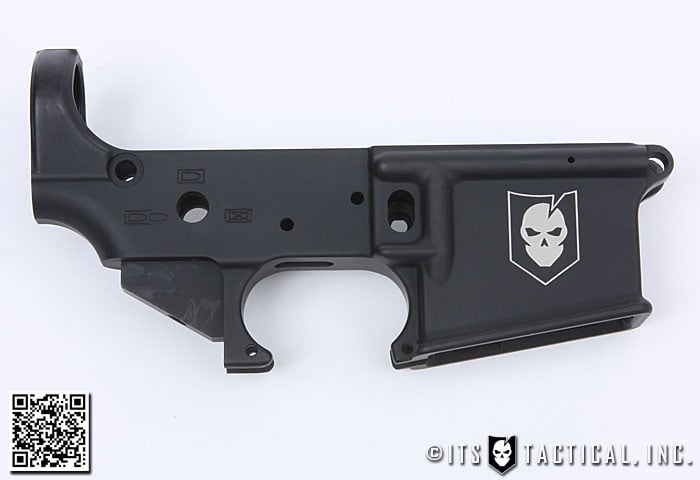
The stripped lowers will run $99.00 plus a $5.00 engraving fee. Spike’s will be handling the payment and we’re not making any profit on these, we’re doing it as a thank you to our supporting members! As this is a members only purchase, please click here for all the details on how you can reserve your ITS Tactical engraved lower!
These are very much a limited edition and won’t be available for long!
AR-15 Laws and Restrictions
The very first and most important thing we’re going to mention is to always KNOW YOUR LOCAL STATE LAW! While we’ll go into some specifics regarding laws and restrictions, you should always defer to your state law. Federal law has NO RESTRICTIONS preventing you from owning an AR-15!
We’d suggest familiarizing yourself with the past Federal Assault Weapons Ban and what life used to be like back in late 1994 thru 2004 and how the government stepped in with restrictions on so called “assault weapons.” While there have been attempts to revive these restrictions, nothing has even reached the House floor.
There are however, quite a few state restrictions on owning an AR-15 in California as well as other state restrictions on things like stocks and flash hiders/suppressors. It’s depressing to even talk about them and perhaps we’ll address those at some point, but for the sake of brevity, just move out of California.
Under federal law, the Lower Receiver is the only serialized part on the AR-15 and the only part that is considered a firearm. This means that the ATF requires the buyer has a Federal Firearms License or uses a licensed FFL dealer to conduct the transfer of the Lower Receiver from manufacturer/distributor to buyer.
Form 4473 will need to be filled out and most FFLs will take care of this transfer for you by charging a fee, commonly refered to as a “transfer fee.” This can range from $25 to $75 depending on the dealer. It never hurts to call around to your local dealers and find out if they deal with FFL transfers and what they charge for transfer fees. Just always use a reputable dealer!
An exception to this is if you’re buying a lower or firearm from a private individual who isn’t a licensed dealer, in this case you DO NOT have to fill out a Form 4473.
Short Barreled Rifles
Now that you understand the federal laws surrounding the lower, you’re probably wondering about barrel length and aftermarket parts. The National Firearms Act classifies any AR-15 having a barrel length under 16″ or an overall length under 26″ (with any collapsible stock extended) as an SBR (short barreled rifle) and listed as an NFA firearm.
So basically you have to have a minimum 16″ barrel or a minimum overall length of 26″ with a collapsible stock extended. You can however have a 14.5″ barrel with a permanently attached flash hider/compensator that brings the 14.5″ barrel up to the minimum length of 16″. That’s what we’ll be doing in this series.
As the lower is the only serialized part, you can technically purchase any size barrel, complete upper or any part for that matter without any worry about federal law. Pay attention to this next part though, because as soon as you assemble the firearm using those parts you’re subject to federal restrictions under the National Firearms Act.
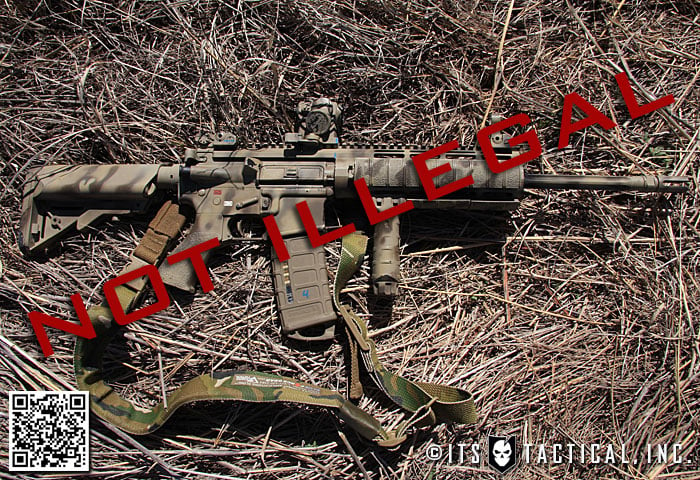
We’re not going to get into the intricacies of owning an SBR in this article and will save that for a future article, but it’s definitely not illegal by any means. You just have to fill out a Form 1 to register a dedicated lower as your SBR and write the BATFE a check for $200 to buy a tax stamp. There’s of course a little more than that to it and since the lower is what’s registered as an SBR, you could have multiple uppers/barrels of different lengths that you swap out on that lower and still be in NFA compliance.
It’s your responsibility to know your state laws on ownership, not ours or the dealer/distributor selling you the parts, so do your homework!
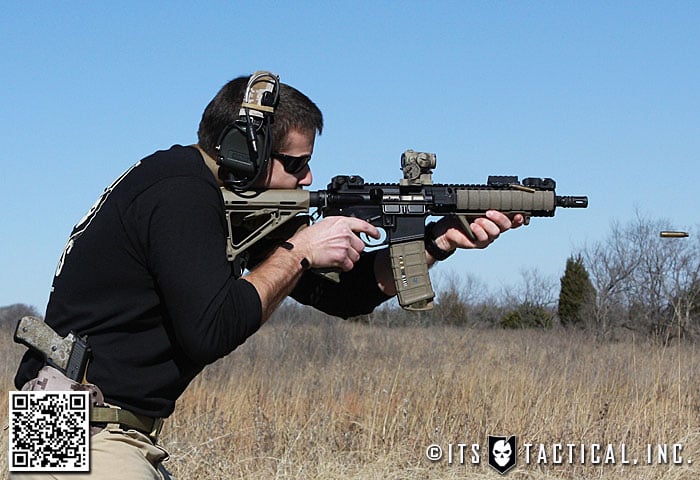
What We’re Building!
We’re assembling a 14.5″ Direct Gas Impingement Hybrid AR-15. It’s a hybrid as it uses parts from various manufacturers and represents what we feel to be some of the most reliable and well made parts available on the market today.
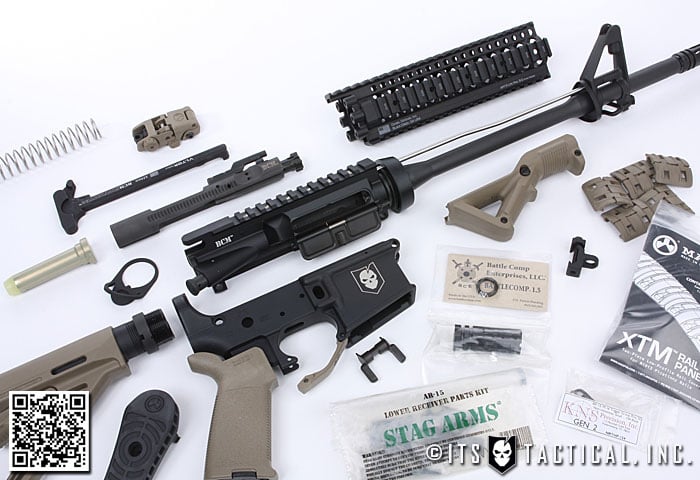
AR-15 Parts
Lower Receiver
- Spike’s Tactical ST-15 Stripped Lower (Members click here for the ITS Logo Engraved Lower!)
- Stag Arms Lower Parts Kit
- Stag Arms Ambi Safety Selector
- KNS Non-Rotating Pin Set
- IKICKHIPPIES SLAP Plate (Sling Plate)
- BCM Receiver Extension Nut (Castle Nut)
- BCM Milspec Receiver Extension (Buffer Tube)
- Carbine Action Spring
- H Carbine Buffer
- Magpul MOE Stock (Mil-Spec Model)
- Magpul MOE Pistol Grip
- Magpul MOE Trigger Guard
Upper Receiver
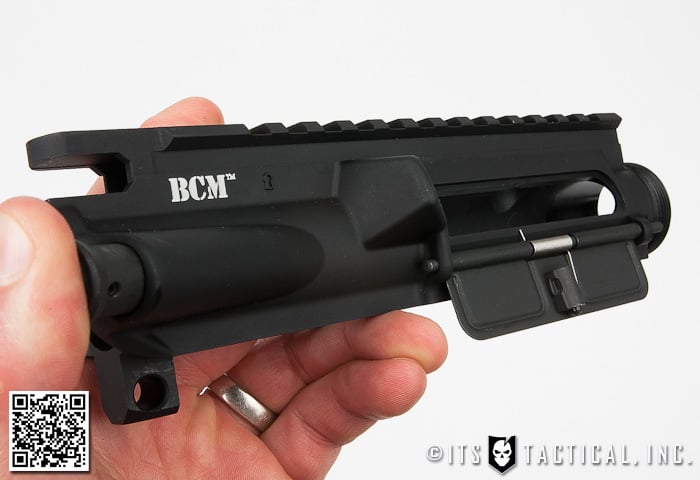
- Bravo Company USA Upper Receiver
- Bravo Company 14.5 Mid Length Barrel
- Alternatively you can purchase the BCM Upper Receiver Group we’ll be building pre-assembled here
- Bravo Company USA Bolt Carrier Group (MPI)
- BCMGunfighter Charging Handle Mod 4
- Daniel Defense 9″ LITE Rail
- Battle Comp 1.5 Compensator
- Magpul XT Rail Panels
- Magpul AFG
- Magpul MBUS – Rear
- Midwest Industries MCTAR-TS
CRC Hydrographics
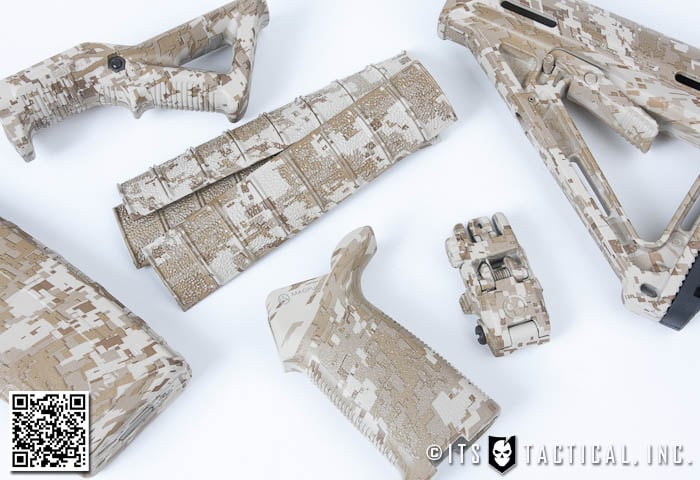
We were interested in getting all our Magpul accessories coated while assembling this build, as we’ve had an interest in the durability of water transfer imaging and how it holds up compared to Krylon. We reached out to CRC Hydrographics and are very fortunate we chose them for our needs, as they’ve just released an additional service they call “Grip-Tec.”
Grip-Tec ads an additional flat protective coating on top of the water transfer, which is nicely rubberized! It’s hard to show photos or video of the Grip-Tec at work, but from what we can say about our feedback so far is awesome! It really seems like a fantastic addition to their dipped patterns. Some intial feedback they’ve gotten so far is that it works well both combined with gloves and without.
It’s also important to note that the Grip-Tec is for use on firearm contact points such as stocks, grips, rail covers and handguards, etc. CRC notes that it’s also been popular on bolt action rifle stocks. We’re thoroughly impressed with the quality of the water transfer imaging and are looking forward to getting this build completed and putting it to the test.
Gunsmith Tools
It’s entirely possible to put together a complete AR-15 with not much more than a set of punches, but why wouldn’t you want to have the right tools for the job? We’re going to suggest a few tools that will make your life easier when assembling your AR and save you the aggravation of things like bent roll pins.
The reason this is so important, particularly with the lower assembly, is that the first purchase you’ll need to make after the Lower Receiver is a Lower Parts Kit. The LPK will come with just enough parts to assemble your lower. If you bend a roll pin or lose a part, you’ll either have to find a supplier that sells that part individually, or buy another LPK. Since we’re talking about LPKs, we’ll mention that we’re going to be using a Stag Arms Lower Parts Kit that comes with one extra Takedown Pin Detent. If you don’t know why that’s awesome, you will when we get to the assembly of the Takedown Pins.
As we’ll be starting with the assembly of a stripped Lower Receiver, we’re going to go over the tools that we’ll be using for the lower only. The tools for the Upper Receiver assembly will be discussed in the first article of the start of that assembly. These tools discussed are also not necessarily the minimum you can “get by” with. Our hope is that you approach wanting to learn how to assemble ARs as a way to learn about them, maintain them and keep them running yourself. With that, it’s important to have good tools at your disposal.
Workbench, Vise and Block
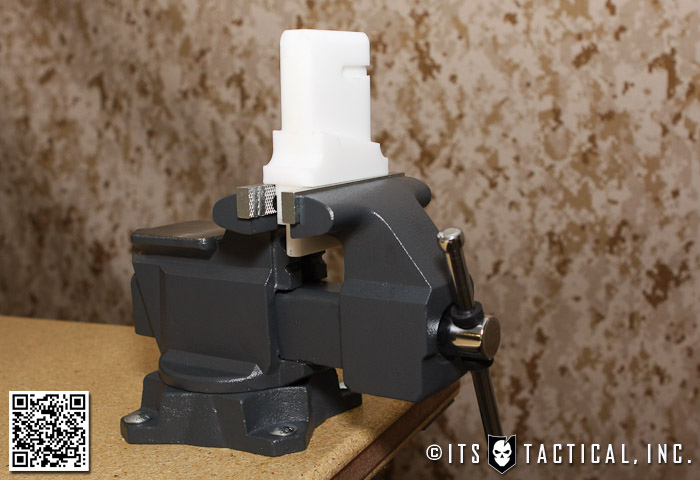
The first thing you’re going to need is a good surface to work on. There’s lots of small parts to keep track of in a Lower Parts Kit and a large stable surface is highly recommended. At the same time you’re also going to need a sturdy vise to work from. The reason to have a vise is to securely hold an AR-15 Vise Block that’s used to place the magazine well of your lower on to work on it.
Punches
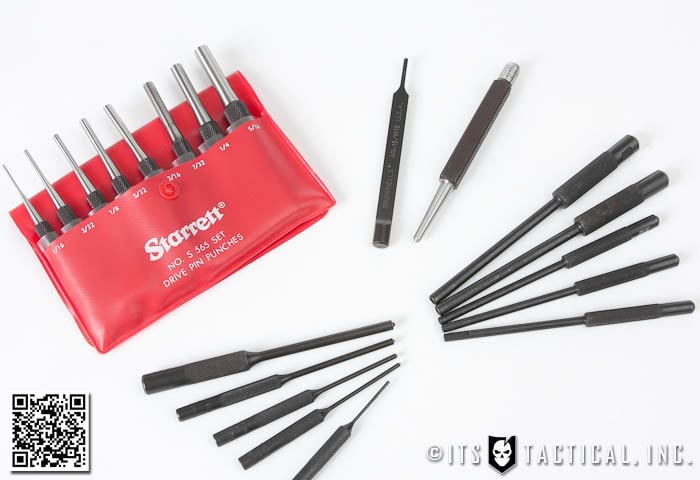
While it’s perfectly acceptable to invest in a set of good steel Drive Pin Punches like this set from Starrett. While these are some of the best punches you can get, they have their limitations when it comes to working on the AR platform. AR-15s are assembled with many Roll Pins than can easily bend or cause your punch to jump off if you don’t strike them perfectly with a standard punch.
What we recommend is what you’ll be seeing us use, which is a set of Roll Pin Punches and Roll Pin Holders from Brownells. These are superior to standard punches, as the Roll Pin Holders do exactly what they sound like. They feature a hollowed out tip that holds the first 1/3 of a roll pin in an aligned position while you’re starting to tap it in. Once the roll pin has been properly started, you can then come back with the Roll Pin Punches to finish the job.
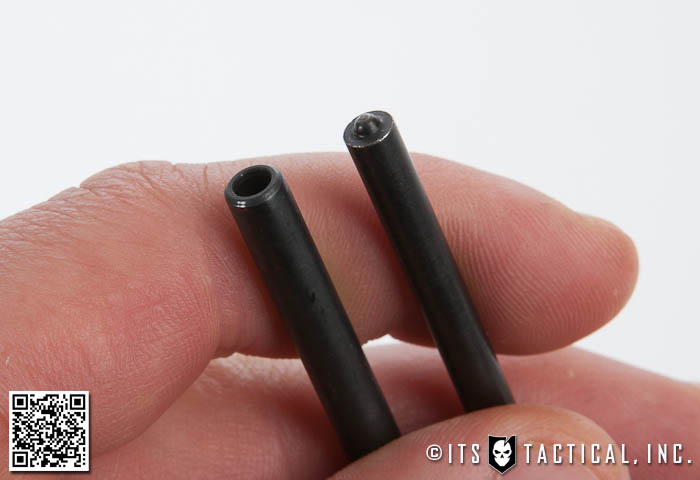
The benefit of the dedicated Roll Pin Punches is the nipple on the face of each of these that automatically centers the punch and prevents the roll pin from collapsing. This can be especially important if you have to remove a roll pin for any reason, as damage will require replacement of the roll pin. Plus you can damage the surrounding metal.
Another tool we’d highly, highly, recommend is the Bolt Catch Pin Punch which is contoured to ride over the raised portion of the magazine well and drive the Bolt Catch Roll Pin straight and without damaging the surrounding metal.
One last tool is optional depending on how secure you’ll want your Castle Nut that holds on your Receiver Extension Tube (Buffer Tube). We’re jumping a bit ahead, but to properly “stake” the Castle Nut to prevent it from rotating you can either rely on the proper torque, use Blue Loctite (non-permanent) or stake it with a center punch. We’d recommend the Starrett 264E Center Punch or any well made center punch. You don’t need a spring loaded center punch unless you’re buying one to keep in your car in case you accidentally drive into a lake.
Wrenches and Hammers
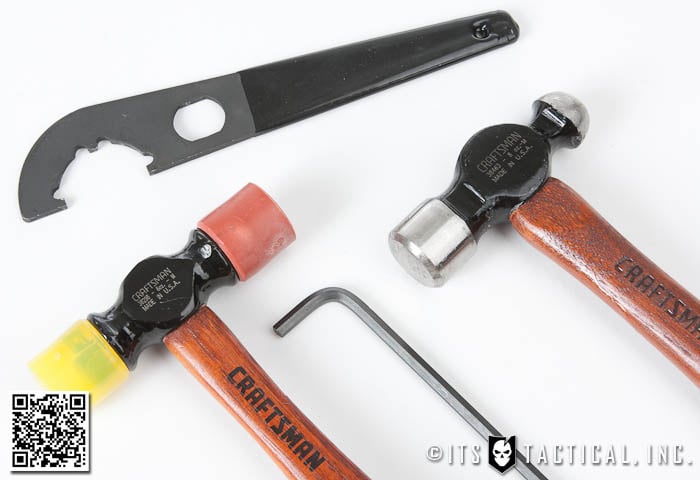
Since we just left off with the Castle Nut, you’re going to absolutely need a Stock Wrench to tighten the Castle Nut. We like the one we’ve linked to here, as it grips the Castle Nut in three places and has a cutout for inserting a torque wrench if you want to torque the Castle Nut to it’s proper spec of 40 in. lbs. If you do that, you’ll of course need the proper torque wrench too. As mentioned previously there’s other options though, rather than buying an expensive torque wrench. Totally your call though.
You’ll also need a lightweight Ball Peen Hammer (4 oz.) and a Nylon/Brass Hammer or a hammer that won’t mar metal. A set of Hex Wrenches would also be a good investment if you don’t already have a set. We’ll be using a 3/16″ Hex Wrench for the assembly of the Pivot Pin, but we show that to demonstrate how much of a pain it is to install the detent and assemble it so you’ll see why we suggest that you purchase the Brownells Pivot Pin Detent Installation Tool. It’s worth the price to prevent the headaches that come with your detent shooting across the room and crawling around on your hands and knees to find it.
Other Tools and Options
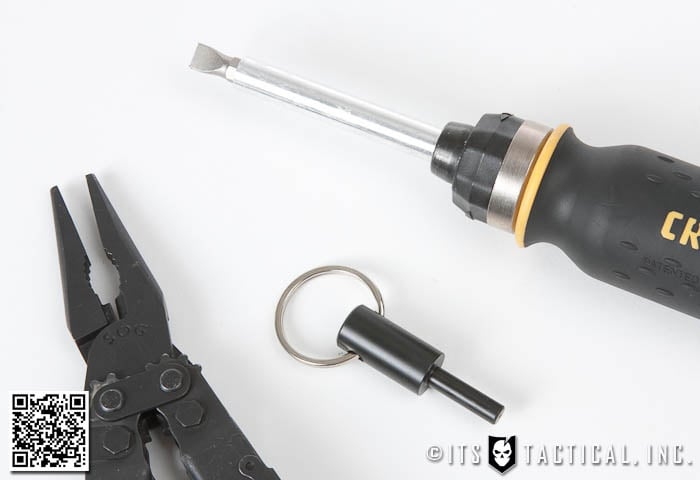
If you elect to not purchase the Pivot Pin Detent Install Tool, you need a Multi-Tool or pair of needle nose pliers to hold the detent while you work your magic to get it installed. You’ll also need at least a 3″ long large flat head screwdriver to install the Pistol Grip Screw. Additionally a small diameter non-marring punch or something similar like a Takedown Tool is needed to depress the Magazine Release Button far enough in to properly install the Magazine Catch.
Again, keep in mind that these are just the tools needed for the Lower Receiver, some are needed again when working with the Upper Receiver, but those tools will be gone over later in the series when we complete the Lower Receiver assembly.
Notes
Now that you know what parts we’ll be building our AR-15 with and what tools we’ll use to assemble it, stay tuned for our next article where we’ll start the build with assembling the Lower Receiver. Specifically the next article will deal with installing the Magazine Catch.
Give us some feedback on this series and let us know your thoughts, have you built an AR-15 before? Are you looking forward to our step-by-step series with detailed video and photos?
Discussion