


Off-Road Staple: Using a Hi-Lift Jack and the Associated Hazards
Off-Road Staple: Using a Hi-Lift Jack and the Associated Hazards
- Off-Road Staple: Selecting and Mounting a Hi-Lift Jack On Your Rig
- Off-Road Staple: Using a Hi-Lift Jack and the Associated Hazards
- Off-Road Staple: Unconventional Methods of Using a Hi-Lift Jack
Editor’s Note: In this second article of a three part series, contributor Derek Gill covers how to safely use a Hi-Lift jack and explains some of the hazards behind these tools. He also offers a look at different points to lift on a vehicle with a Hi-Lift.
Now that you have your farm jack mounted properly, you’ll do well to actually know how the jack works before you have to YouTube it in front of your friends. I’m not explaining where to use the jack yet, I’m only discussing the basic function of the the runners and how they operate when the lever is actuated.
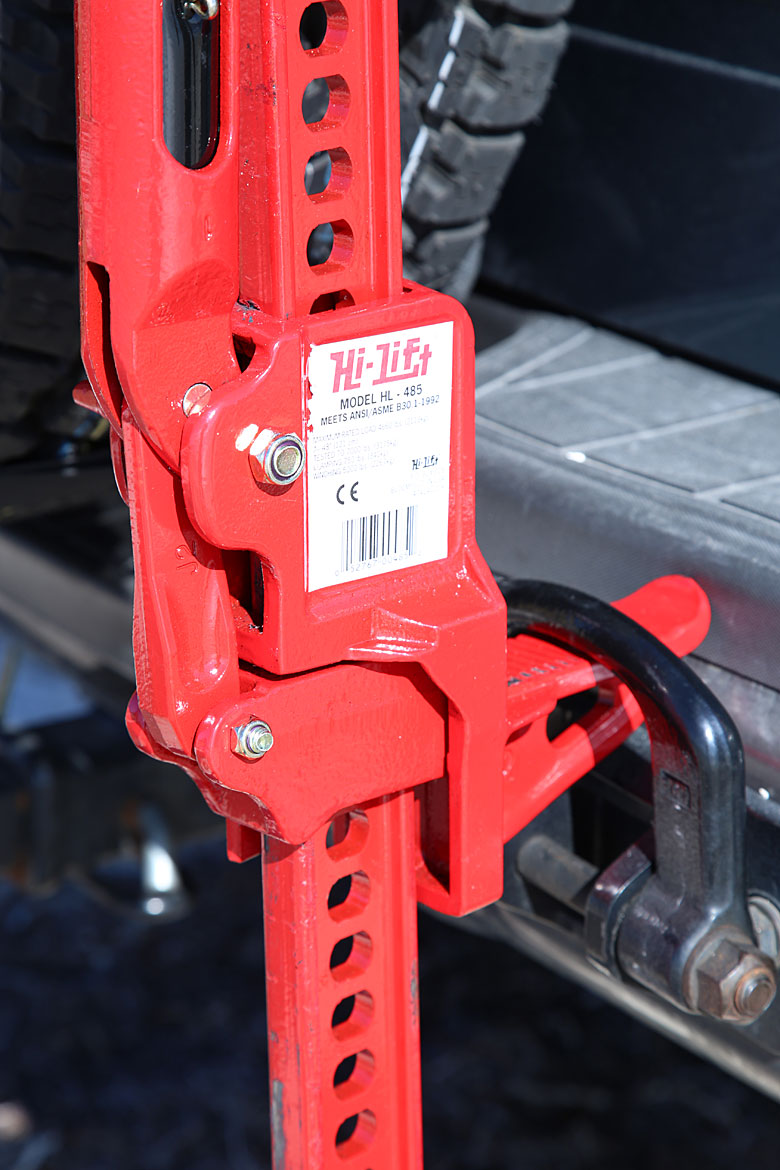
Basically, this thing is a massively strong iron rod with a bunch of holes in it. The lifting device works on simple leverage. There are two “runners,” with the small runner being nestled inside the large runner. Each runner has a climbing pin and a spring. As the handle is leveraged downward, the large runner climbs to the next pin hole. This creates a gap in the two pins that must be overcome. As the handle is returned to the vertical position, the small runner disengages and climbs to the next pin hole. Once again, the lever forces the large runner to climb one hole higher as the small runner remains engaged.
The direction of travel is determined by the position of the lever on the outside of the large runner and the climbing direction is quite easy to figure out. With the jack in the vertical position, flipping the lever up makes the jack climb up. With the lever returned to the down position, the runners climb down. This whole process is a combination of simple machines, pure brawn and manliness. For this reason, you’ll want to keep your body and facial features away from the jack handle.
If you slip at any point in the jacking process, you’ll likely remove several of your teeth and maybe break some face bones. Don’t do that. It can be quite difficult as this jack requires a considerable amount of strength and energy from the user, but be smart about using your whole body to lift a vehicle. An important piece of information to remember is that once the load is fully relieved in the down-jacking process, the entire assembly will simply fall to the ground. That’s a bad place to leave your foot.
All of this over-dramatized hysteria isn’t just ITS or myself covering our butts after teaching you to use a farm jack. This is serious business. Let’s say you’ve put your vehicle in the air and finished whatever questionable task you’ve found for using the new farm jack. (I know, I make excuses to use my new toys too.)
Now you must begin the process of jacking the vehicle down safely. For some reason, be it intentional or otherwise, the jack handle loses the grip of your hands and shoots on up to the vertical position. This handle can bounce back to the leveraged position and begin to jack itself down. Actually, I can’t think of a downside here other than just losing control of the jack for a bit. The majority of jacks I’ve tried this with simply don’t function that way, as the handles aren’t heavy enough to create the necessary momentum. Being that this whole process requires a considerable amount of force from the user, the handle and unstable nature of the jack create exceptional and uncommon hazards. So keep your hands on the handle and pay close attention to changing conditions.
When and Where Can I Use My Farm Jack?
You don’t ever need permission to use your Hi-Lift jack, this is America. However, I’m going to share some helpful information so that you can choose the Hi-Lift as your primary piece of equipment. To be clear, I’m not going to talk about all of those boring farm uses. No one here is interested in pulling stumps out of the ground or making a homemade log splitter, regardless of how cool those things are. Lets talk about how, when and where to use this bad boy.
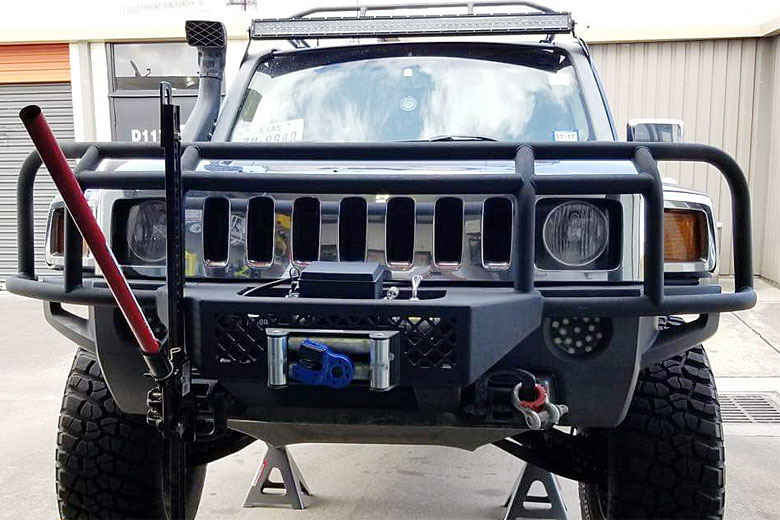
Lifting From the Bumpers or Sliders
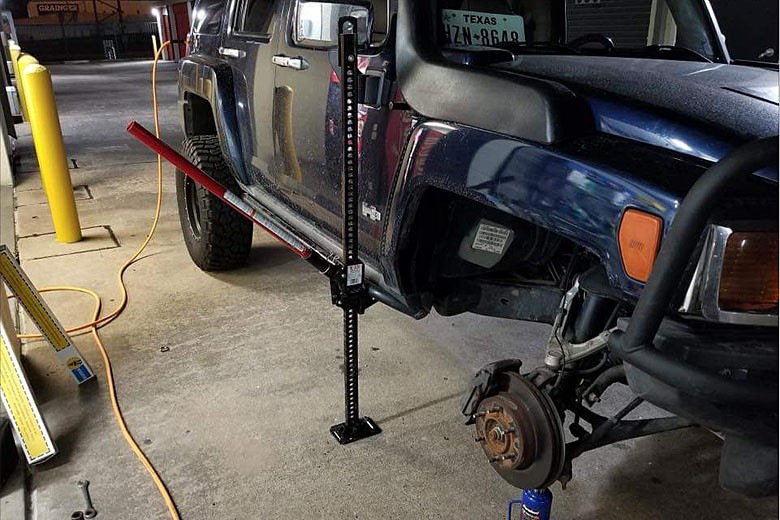
This is really simple. Any upgraded part of your vehicle can be used as a jack point. I’m not talking about those side steps that came with the luxury package either. I mean big steel bumpers and hardcore rock sliders. The sliders can be used basically like a normal jack point that you’d use on the frame. The only asterisk here is that you need to be very mindful of how the vehicle may shift. Rock sliders are normally very slick and can allow your jack to slide out on the high side of your lift. This can bury the iron track into the sheet metal of the vehicle or destroy other valuable parts of the car. Typically, the higher end manufacturers recommend that you don’t lift from the sides at all unless you’re using a bumper or wheel lift mate.
Always be mindful when using the jack. There often won’t be any warning before the foot of the jack shoots out from under the truck like a greased pig. Try to keep loads centered. This means that any time you’re lifting from bumpers or sliders, you’re likely lifting two tires. There are some sliders and bumpers that have specific notches or place holders exactly for this thing, but that’s normally a custom addition. If your vehicle isn’t equipped with this type of feature, it’s advisable to lift from a more stable point on the vehicle.
Lifting From the Wheel
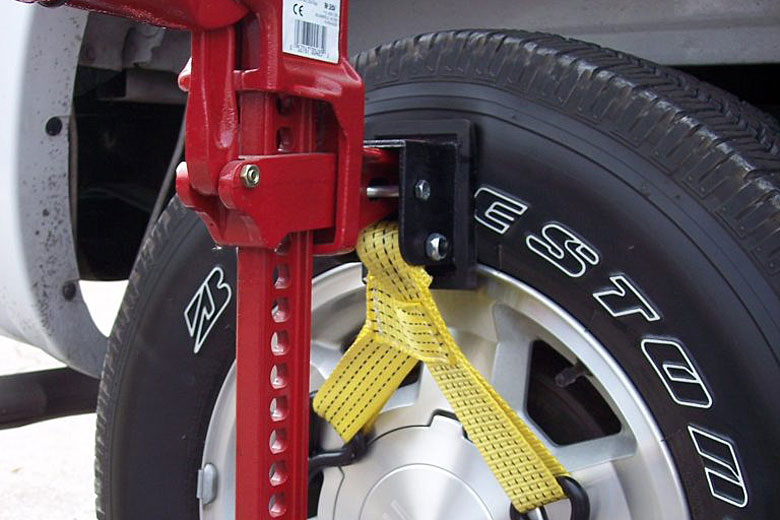
There’s a Hi-Lift Jack Adapter Kit that’s quite popular for this. Basically, this kit uses a small metal box, D-rings and two thick nylon straps with large hooks on the ends to lift from the rim. The metal box is secured to the foot of the jack and then pressed against the top of the tire. The hooks feed into the gaps in the rim and allow for a secure lift from the wheel and tire assembly.
This method of lifting has some limitations in my mind. I don’t think it’s a bad system, but it would be impractical for something like changing a tire. However, there are many reasons to lift from a tire. If your rig were stuck in an unforgiving position, lifting the wheel to stack up rocks as an aid might be a good solution. These situations aren’t uncommon in hardcore four wheeling. Perhaps you’ve broken a steering or suspension component and the best way to work on it is by lifting that wheel and tire off the ground. Or maybe you just want to put something underneath your tire. All in all, it’s a good piece of kit and has made it to my “acquire” list.
Lifting from the D-Ring or Hitch Receiver
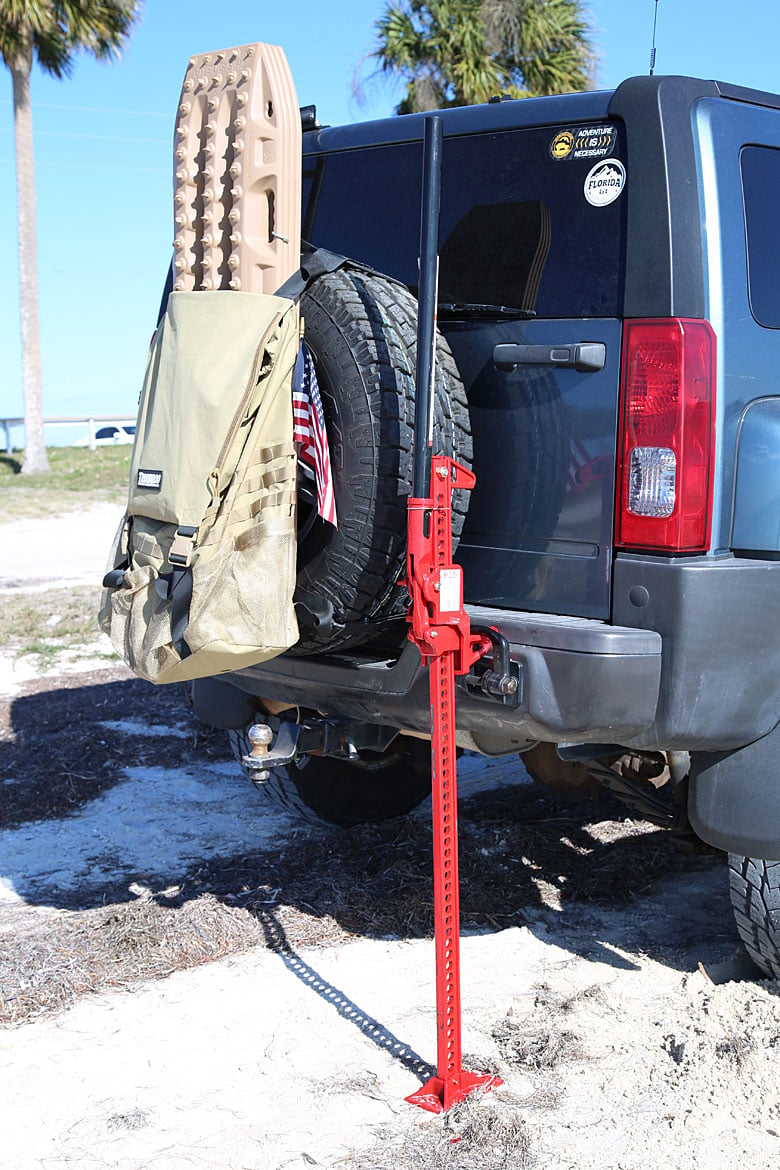
My H3 has factory D-Rings installed and they’re perfectly suited for pulling, winching, snatching and even lifting. If you have hardcore D-rings or bow shackles fitted to your vehicle, these can also provide a lift point. Simply slide the foot inside the D-ring and begin the lift.
There’s a kit for this kind of lift as well. Lifting in this manner with just the foot is sketchy, because it forces the jack into an awkward position while the lift is underway. The previously mentioned kit aims to minimize the shear forces and promises to keep the jack vertical while a series of chains and hooks work on your shackles.
If this isn’t an option for you, try removing your trailer hitch and cramming that foot inside there. I know what you’re thinking, Jeep and Hummer owners, “What about my spare tire?” Is that a spare tire back there, or is it a base plate for your jack? Ok if you’ve got alloy wheels, I don’t recommend using the spare for a base plate in heavy mud, but steel wheels work very well. It seems like a bit of extra work, but if you’re stuck and using a Hi-Lift Jack, you’re basically pulling out all the stops. You’re going to want to take your spare off to use the hitch receiver and if you’re feeling brave, you can use the spare as a base for the jack.
Editor-in-Chief’s Note: Derek Gill has been a Plank Owner here at ITS from the beginning and has an extensive background in healthcare, pharmaceutical research and technical diving. He’s been certified in SCUBA since 2000 and diving technical/CCR since 2010. He speaks several languages including Russian and Spanish as well as several computer languages. These combined skills have opened the door to more creative ventures in Network Security and Physical Security consulting. Derek is a veteran of the US Navy and a former Navy Corpsman who worked alongside the US Marine Corps. His military nickname, “Witch Doctor,” has stuck with him ever since and it can now be found across many internet forums where he takes pride in trolling sensational zealots from multiple industries.

Discussion