Night vision devices, or NODs (Night Optical/Observation Devices), were once considered too costly for consumer use. Recently, they’ve not only become more powerful and popular, but less expensive due to so many different manufacturers cranking out devices in the last few decades. They’re also no longer restricted to those with a governmental budget (or sociopathic serial murderers in the early 1990s) and you too can probably afford a night vision optic.
However, is night vision something that you need? If you do, what type of device should you be considering? In this article, we’ll try to provide some basic information about the history of the devices, how the technology works and hopefully give you some helpful data to help you make an informed decision if you decide night vision is something you need or even just can’t live without.
A Brief History of Night Vision Technology
Over the centuries, warfare has driven a wide assortment of technological innovations, from the development of projectile weapons, to aviation, to ground and sea transportation. Nations have poured enormous amounts of resources into solving fundamentally tactical problems and these resources have resulted in advancements that not only solve those problems, but also have widespread benefits outside the realm of war.
One such advancement over the past century is night vision technology, initially developed to allow the military to function in the dark of night, giving those who held the technology a distinct advantage over those who didn’t.
Gen 0
Built upon the inventions of the photocathode and the cathode ray tube, German corporation Allgemeine Elektricitäts-Gesellschaft (AEG) began developing a technological solution to provide night vision for Nazi troops in 1935. By the end of World War II, the Germans had successfully developed and deployed systems for their Panther tanks, as well as a man-portable night vision system called “Vampir,” which was used in conjunction with the Sturmgewehr 44 rifle platform.
Both the United States and the Soviet Union developed similar solutions in parallel, all referred to as “Generation 0” devices. The US solution resulted in the M1 and M3 “Sniperscope” systems, both deployed during World War II. Both of these devices required field of view illumination with infrared light and the reflection was then collected with a photocathode, amplified and returned to the viewer.
These early solutions were physically large and cumbersome and resulted in minimal advantage to the user. In addition to the size of the devices themselves, they also required large, heavy power supplies that had to be carried into battle. Not only that, but the range of such solutions was fairly short.
Gen 1

During the Vietnam War, the next generation (Gen 1) of night vision devices came into being as improvements were made to the Gen 0 technologies. Engineers figured out how use available ambient light and amplify it by a factor of 1,000, rather than requiring infrared illumination.
This resulted in the development of the the AN/PVS-5 “Starlight Scope” and PNV-57A tanker goggles.The Starlight Scope, ringing in at about six thousand dollars a piece, saw a fair amount of use among Marine snipers throughout the war, providing an edge by allowing them to see the night movements of the Vietcong and North Vietnamese Army.
Gen 2
Gen 2 night vision technology saw a 20x increase in the light amplification ability of the devices, as well as improvements to image resolution and reliability. Over the last couple of decades, we’ve seen the development of Gen 3 devices, with reduced power consumption and increased light amplification between 30,000x and 50,000x.
Gen 3 devices introduced the use of Gallium Arsenide in the photocathode, as well as the addition of an ion barrier coating the multi-channel plate, increasing the lifespan of the device.
Gen 3, Gen 3+ and Beyond
Most recently, Gen 3 devices have seen improvements addressing rapidly fluctuating ambient light and have reduced the thickness of the previously mentioned ion barrier. These devices are generally referred to as Gen 3+ devices, as defined by military sources. Currently, there’s no “Gen 4” night vision, as the military definition for Gen 4 has yet to be released.
That doesn’t mean that new innovations aren’t happening, though. Some manufacturers are implementing and integrating infrared technologies with the existing night vision technologies, creating hybrid enhanced vision equipment that can not only see in low to no-light situations, but can also see the heat signature of anything in the field of view.
Another area seeing some major innovation is in technology, or “digital” night vision, wherein the signal from the photocathode is converted to digital information and can be enhanced, altered or otherwise processed. That information can be supplemented with other sources of data, allowing the sharing of targeting information, friendly troop positions or any other piece of information available to the system as a whole.
Despite these advances, the cutting edge of the technology often remains prohibitively expensive. It’s usually reserved for customers with serious money, like the Department of Defense or federal agencies. However, improvements to the technology, as well as methods of production, means that less “bleeding edge” night vision drops in price over time.
These days, it’s entirely possible for the “average civilian” to pick up perfectly adequate night vision devices for personal use at prices between one to five thousand dollars, depending on just how much they’re willing to spend. In this article, we’ll go over some of the more popular consumer-grade options available today, in order to help you decide what you’ll need. First, let’s cover some basics on how current night vision technology works.
How Night Vision Works
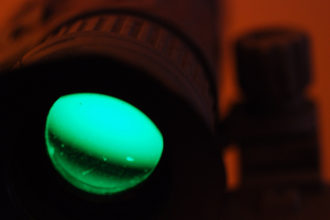
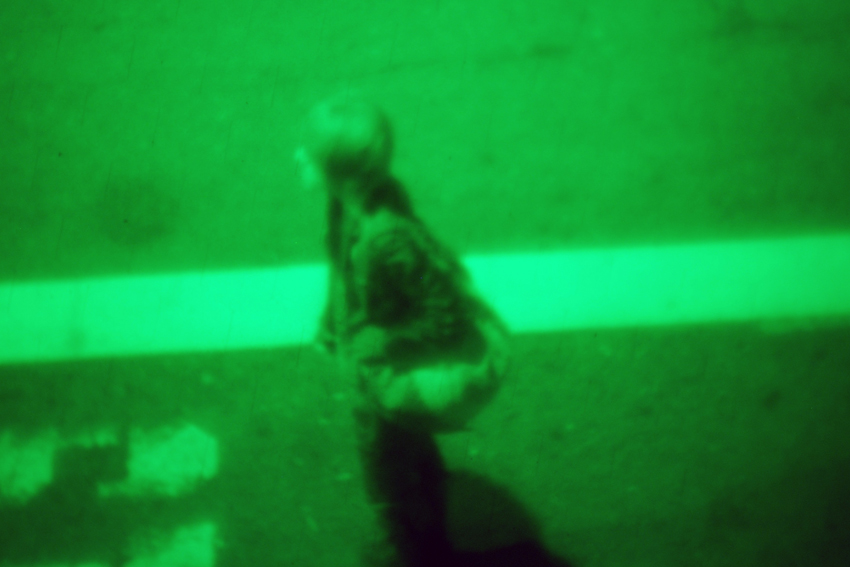
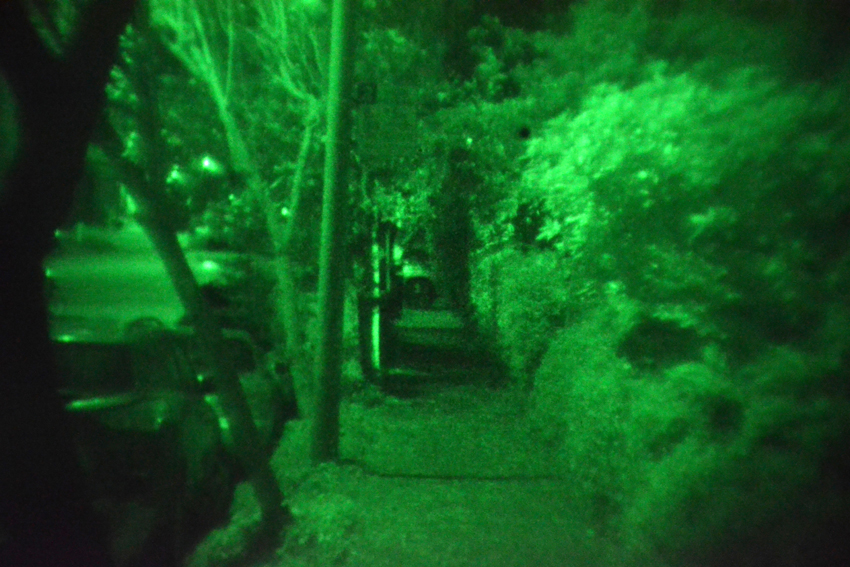
 The basic theory behind night vision devices is that any available ambient light enters the device and hits a surface that senses that light, called a “photocathode,” which then converts that light to electrons.
Those electrons are then amplified by a “photomultiplier.” The output from the photomultiplier goes to a phosphor screen, which operates in a manner similar to the way cathode ray televisions used to work, displaying an intensified image of the light that originally entered the photocathode.
True to the axiom, “the difference between theory and practice is, in theory, there is no difference,” the reality of how night vision devices work is a bit more complicated. The actual practice of these devices also requires the presence of various optic elements, allowing for the resolution of various focal issues and image alignment issues, voltage regulation control for the photomultiplier, power supply elements and in Gen 3/3+ devices, gating elements, to adjust for rapidly changing ambient light.
Gating is key for situations where there may be a sudden abundance of light, followed by a previously lower level of light, as one might expect when an explosion happens in the field of view. It’s not as crucial to understand how these elements all work together, but it helps to at least have an overall understanding of the complexity of the system.
Available Devices: What Do You Need?
With the sundry advancements in night vision technology made over the past couple of decades, one enormous benefit to the average consumer is the price of ownership has dropped significantly. What once may have been a $20,000 device can be produced at a fraction of that cost and as a result, the price to the consumer has dropped proportionately. There’s a long list of available devices out there and if you’re interested in owning night vision equipment, here are two things you need to determine:
- What are your needs? What do you intend to use night vision for? Hunting? Hiking? Tactical purposes? Knowing the answer to this can help you determine what type of device is the best for your personal use.
- What’s your price range? Totally useful night vision devices can run anywhere between $500 to $20,000. You’ll want to determine your budget by deciding what you’re comfortable spending and then try to stick to that budget as best you can. As always, the “buy once, cry once” saying is a good one to follow; keep in mind that the more you spend on the “latest and greatest” equipment keeps you closer to the bleeding edge than going cheap will. Spending on quality pays off most of the time, both in giving you more for your money feature-wise and also in the durability of what you buy. Devices made for military applications tend to cost more, because they’ve done more engineering to ensure that device will operate under harsh conditions.
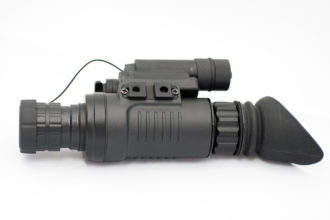
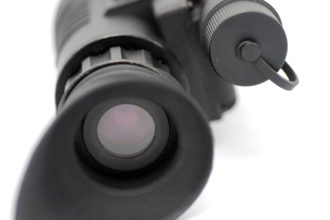
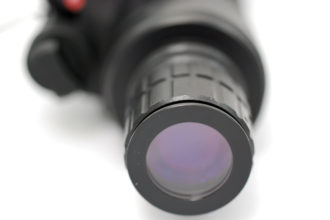
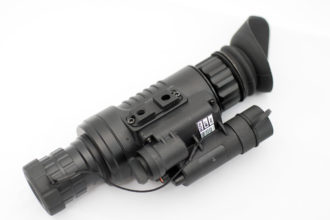
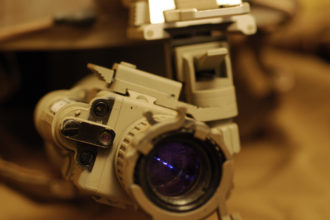
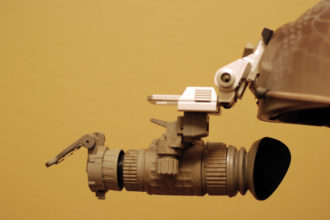
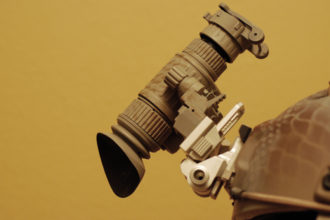
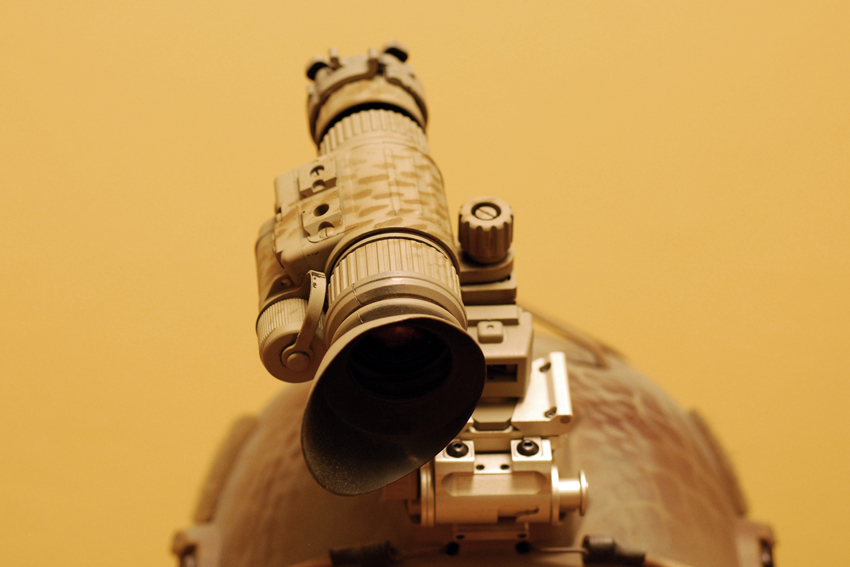
Single-Tube Monocular Devices

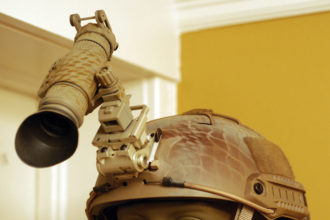
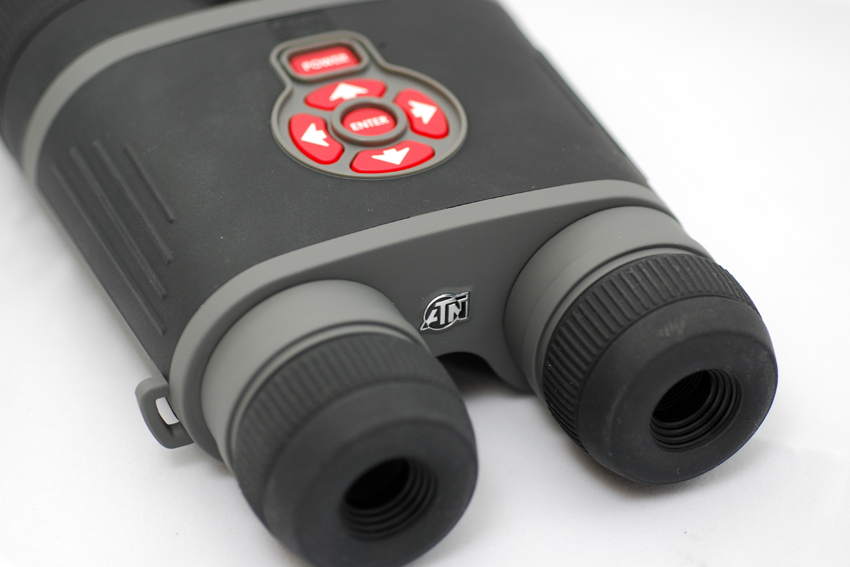
Probably the most common night vision device is what’s generally referred to as the “PVS-14.” Different manufacturers have different specific names and product lines for these, but the basic functionality is common among them. A single-tube monocular is defined as having a single photocathode and photomultiplier tube, with ambient light entering a single objective lens (the front lens), being amplified, then exiting through a single ocular lens (the eyepiece lens). ATN, a major night vision equipment manufacturer, makes a wide range of PVS-14 style devices. I personally own an NVM-14/3A from ATN and have for a number of years.
The PVS-14 can be used by manually holding it up to your eye to see in the dark, or can be attached to a “skull crusher,” which is a minimalist design that functions primarily to just support the night vision device. Most modern helmet systems can also be utilized for night vision devices with a proper mounting solutions. There are a wide variety of helmets and skull crushers available, as well as attachment hardware. Personally, mine is mounted on an Ops-Core helmet using the built-in NVG mount, along with a Wilcox Industries L4-G24(T) mount, which attaches to the night vision device and allows both quick detach/attach to the helmet, as well as the ability to fold the night vision device out of the way if not needed.
I’ve written about this particular setup before, in this article about helmets at ITS Tactical. While the Wilcox mount is a little pricier than some other options, you’re paying for quality engineering and the security of knowing the mount is going to be able handle being dropped, battered and beaten while still functioning afterwards. There are some additional add-on accessories you can (and maybe should) add to your night optic, but we’ll cover some of those with a little more depth later in this article.
Another vendor is TNVC (Tactical Night Vision Company), who offer their own monocular equipment in a variety of different form factors and even a couple of color choices for the more popular devices (namely “Flat Dark Earth” and Multicam). TNVC’s offerings lean towards mainly being Gen 3/3+ devices, so they’re obviously going to cost a little more than Gen 2 devices. Yet another manufacturer, Armasight, also offers a wide assortment of single-tube monocular devices. For the most part, their offerings are either Gen 2 devices or digital devices. We’ll get to what “digital” means in the context of night vision a little later on in the article.
When looking at the various options at the various prices, make sure you check the equipment provided lists closely; what may seem a more expensive option may actually be cost effective if the manufacturer provides specific additional mounts, accessories, or other equipment you’d otherwise need to buy separately. This will apply to every type of device we discuss, but I’m only saying it once, so hopefully you’re reading this paragraph.
One key feature of the entire PVS-14/monocular familly of devices is that you can usually find mounts that allow you to attach the device behind or in front of a “night vision compatible” rifle optic, via the picatinny rail. If you live in California, of course, you are disallowed from doing this, at least with a night vision device that also features an IR illuminator (and yes, the PVS-14 has an IR illuminator element). Depending on where you live, you may want to check your local laws before you go mounting your night vision monocular device on your rail.
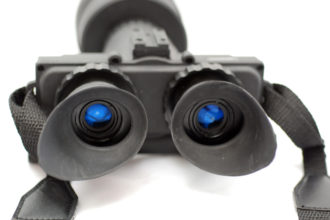
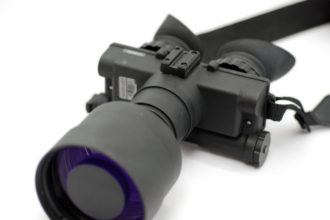
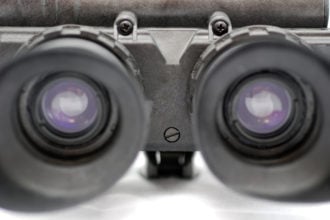
Single-tube Goggles and Single-Tube Binocular Devices

Some other types of night vision devices are the single-tube goggles or otherwise known as single-tube binocular devices. The premise is the same with these as with the monocular devices, with one distinct difference; rather than emitting the amplified light through one eyepiece, it emits it through two. There are obvious benefits to this in a helmet-mounted implementation; seeing something with both eyes is easier for the brain to handle than seeing something with one eye. In monocular use, you’ll likely find the eye that’s using the monocular suffers more fatigue than the other eye.
Basic movement is easier with goggle use; walking around, driving, even playing as simple a game as “toss the beach ball back and forth” is easier with goggles than it is with a monocular device. To illustrate this point, try walking around in your back yard or on the street where you live, while keeping one eye covered entirely with your hand. It’s not impossible by any means, but it takes some getting used to.
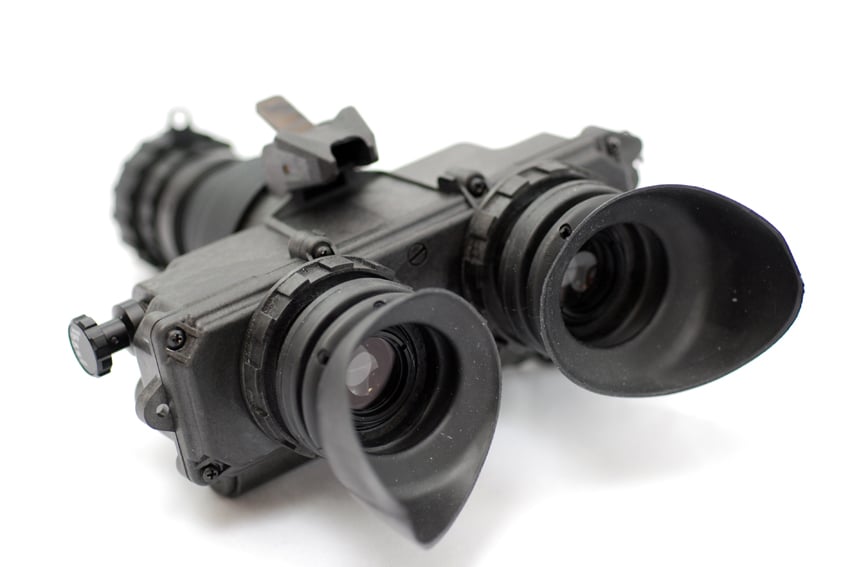
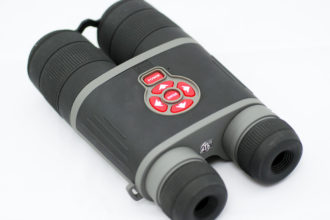
In this category of devices, there are a few options that not only offer night vision delivered to two eyepieces, but also deliver differing amounts of optical magnification, allowing you to see at greater distances. These are referred to as “binocular” devices, due to the magnification properties they have, much like traditional binoculars with which you are already familiar.
This can be highly useful both in tactical and hunting situations, where you may need to identify a target that you aren’t able to see clearly in a 1:1 optic. However, it may be less useful in other situations. This is another reason why it’s important to figure out why you want night vision in the first place, before you go about deciding which type of night vision is right for you.
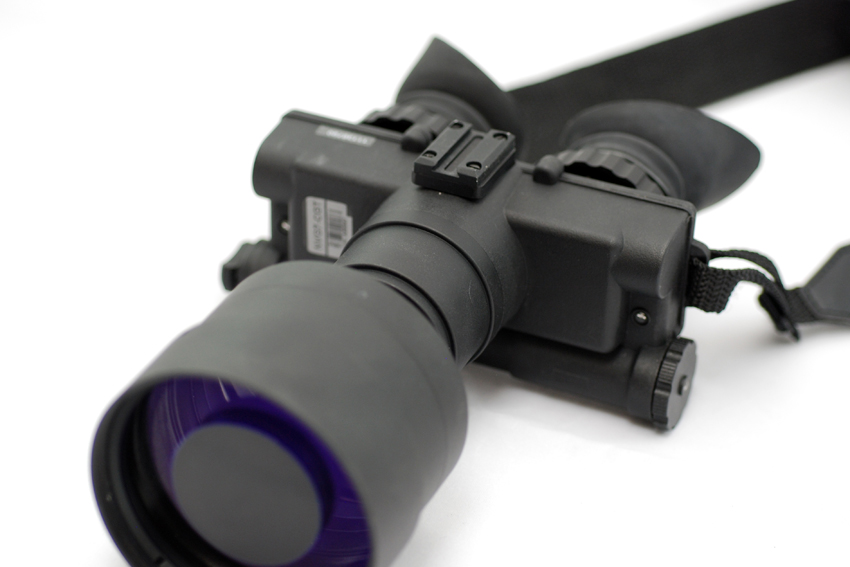
As with the monocular devices, ATN, TNVC, Armasight and others offer multiple options for consumer purchase. Specific considerations should be additional hardware you’ll need to mount the device on a helmet, skull-crusher or other hands-free options. If you intend to use your night vision equipment to drive, you’ll want to consider exactly how much head room you have in the vehicle you’ll be using it with, when the optic is in the “up position.”
The shorter the optic, the less space it will take up when folded upward, rather than down and facing forward. Binocular options tend to be longer than regular night vision optics and may be problematic when used inside an area with lower headroom, but chances are good you wouldn’t be looking for an 8x view while you’re driving in the dark in the first place.
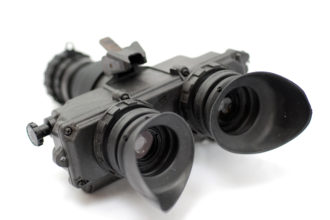
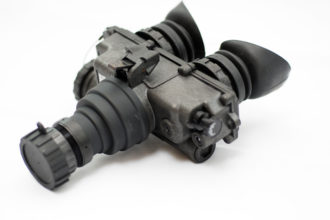
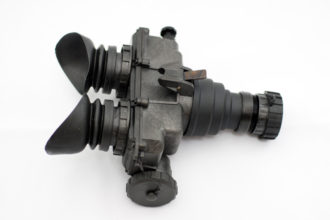
Dual-tube Devices and Quad-tube Devices
The prices start to go up with dual-tube devices, as the costliest element of a night vision optic device is the photomultiplier tube. Since “two-can” goggles have two, as opposed to a single tube, the price can be as much as double the price of a monocular device. For simplicity’s sake, we’re going to include goggle systems with more than two tubes in this category, though solutions like the L3 GPNVG 18 (Ground Panoramic Night Vision Goggle), with its four photocathode/photomultiplier tubes that feed into two eye pieces to provide a wide field of view, are going to be significantly more expensive than two-tube options and are more expensive than single-tube options.
If money is no object, these may be exactly what you want, but that’s a decision you’ll have to make yourself. I know I’d love to have a GPNVG 18, but in reality, I don’t need it and can’t really afford it.

Another option for dual-tube devices is the “roll your own” option, meaning that you get two monocular devices and mount them together, side by side, in order to basically have the same stereoscopic effect of the manufactured dual-tube devices. An obvious advantage of this solution is that they can also be unmounted and reused as single-tube systems at will. Not to mention the “two is one, one is none” axiom.
If one breaks down, you’ve still got a secondary, ready to roll. Two things to consider with the “roll your own” option are the mounting hardware you’ll need for it and differences in the tubes. The general rule when doing this is that you want both optics to have the same photomultiplier type, from the same manufacturer and ideally, from the same batch; though definitely the same generation of device.
Editor-in-Chief’s Note: There’s also an important issue when mounting two different monoculars together and that’s ensuring that the tubes are collimated, or aligned. A great analogy that was brought up in the comments from a recent ITS YouTube video, was to think of it like watching one screen running 24 frames a second and the other running 48 frames a second. You’d get a headache quickly from your brain trying to process information differently from each eye.
For the most part, the various manufacturers of night vision devices get their photomultiplier tubes from the same couple of companies; ITT or Level 3. Each company offers a variety of gradations of their tubes with different properties to the various night vision manufacturers, who then assemble the finished night vision devices to their own specifications. This is usually based either on military specifications (devices made to “mil spec” have an “AN” in the front of their model name), or consumer specifications.
As a result, different tubes can have different levels of light output. Your brain will be much happier if it doesn’t have to try to “harmonize” the difference your two eyes are seeing and the best way to make that happen is to match the two tubes you’re using as closely as possible (see above on collimating tubes.)
If what you think you need is a dual tube solution, the usual suspects offer a buffet of purchasable options; ATN, TNVC, Optics Planet, Armasight and others will be happy to provide you with the tools you want or need.
Digital Night Vision Devices
One rather exciting development in the field of night vision technology is what is referred to as “digital” night vision. Basically, what separates “digital” night vision devices from more traditional night vision devices is the lack of a photomultiplier tube. In digital night vision devices, the functionality is as follows:
Photocathode > CPU [software image processing] > Viewable Image
Rather than using a photomultiplier tube, digital solutions digitize the image of the light available and then multiply it in software, before pushing it back out to a viewable image in the ocular lens. As processing speeds have improved, so has the speed at which digital night vision can provide a usable image and best of all, this has resulted in serious price drops for the technology. Where a traditional set of night vision binoculars might cost a few thousand dollars, a digital version might cost five or six hundred dollars, as no photomultiplier tubes were needed to build it.
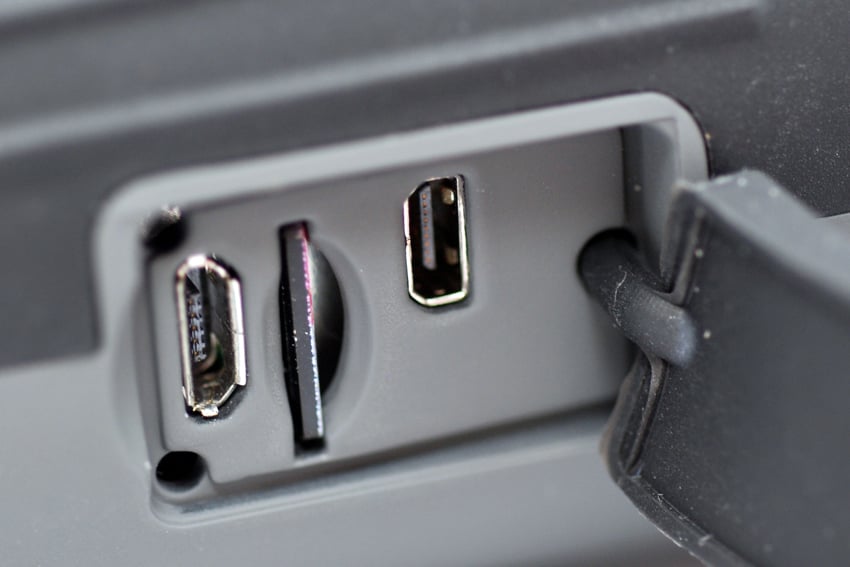
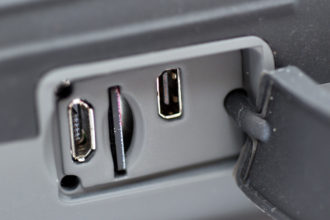
Also, as the data coming in and going out is digital, it’s a couple of easy extra steps for manufacturers to add the ability to record that data to an SD card in “high definition” glory. They can also tether it to GPS or WiFi technology, so you can record your night time hog hunt, the data on where exactly it happened and then transmit that to your cell phone to post photos to whatever social media site you desire while you’re still out in the field (provided you’ve got cell coverage.)
A little known fact about most modern GoPro cameras and even the cameras included in most “smart phones” is that they are perfectly capable of capturing and processing infrared light, but are generally not set up to do that at the board or machine code level. It’s entirely possible (though it may require some serious work, precise soldering and no doubt will void your warranty) to modify such cameras to capture and use IR light, but the digital processing would require entirely different techniques.

If you manage to remove the filter that keeps IR data out of your daytime photos, they’re not going to look right to you, because the software these devices use to present the data is geared towards normal visible-spectrum light. That said, it’s probably not worth messing with, unless you find such a process to be an irresistible technical challenge. This fact becomes more pertinent to this discussion because it means you can expect a lot of innovation in the sub-field of digital night vision, since the hardware requirements to construct such devices relies on commodity electronics and as those prices drop, so shall the entry cost to night vision ownership.
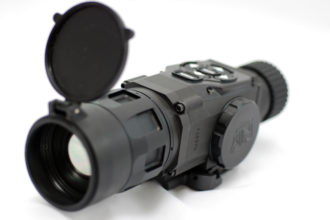
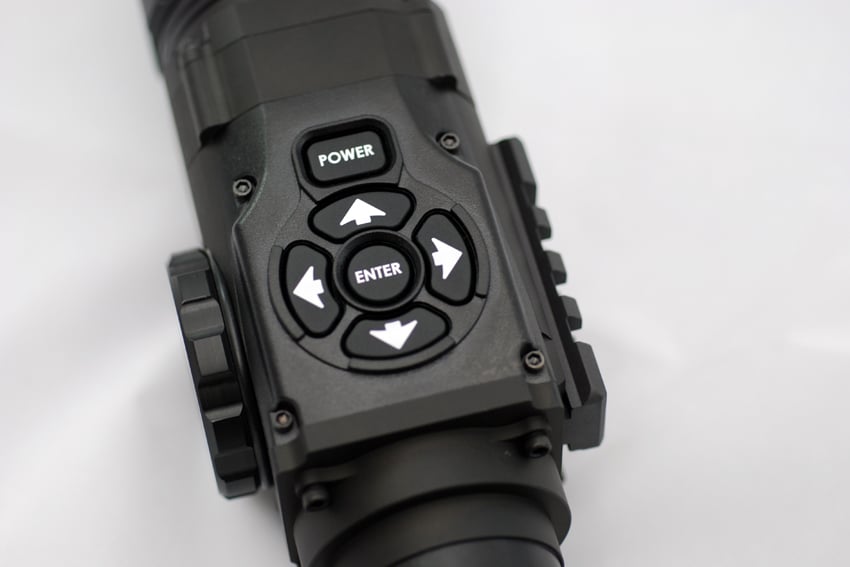
Weapon-mounted Night Vision Devices
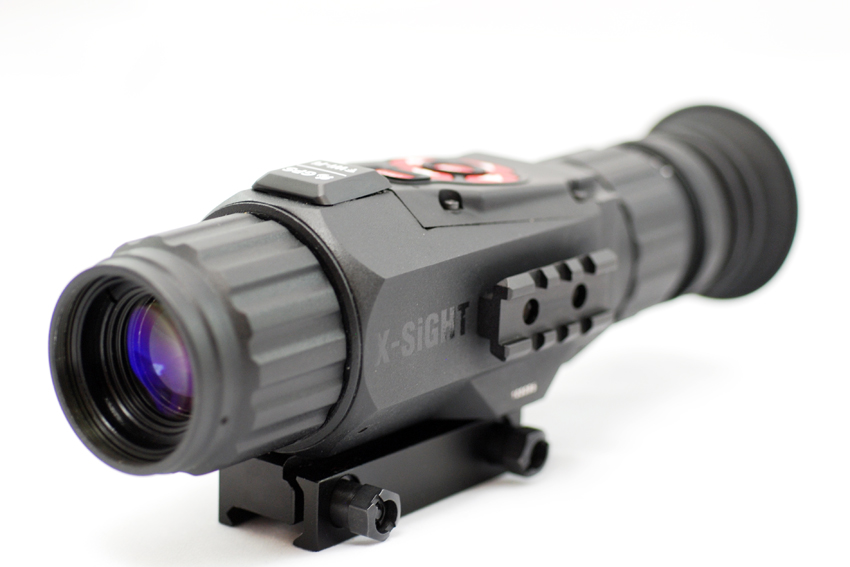
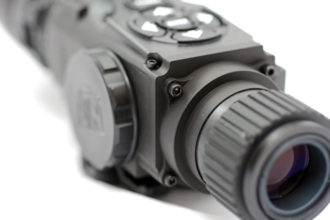
As discussed earlier, the most prevalent weapons-mounted night vision devices these days tend to be monocular devices with weapon-specific mounts. However, there are also night vision scopes dedicated to weapon-mounted duty. If your primary or sole purpose for using night vision is to be able to shoot at night, for hunting or other purposes, these options might be your best bet.
Night vision scopes are available in a large variety of flavors, both traditional (photomultiplier type) and digital, with a wide variety in price range. You can buy scopes that use Generation 1 technology (usually at sub-500 dollar price tags), Gen 2 or Gen 2+ scopes for about two to three thousand dollars, or digital night vision scopes coming in between 600 – 3000 dollars. Gen 3 or Gen 3+ scopes can be had in the price range of three to six thousand.
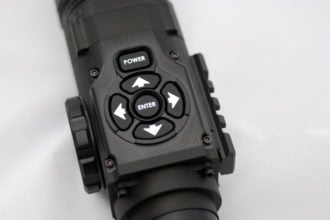
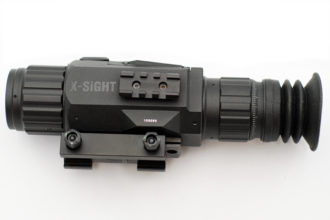
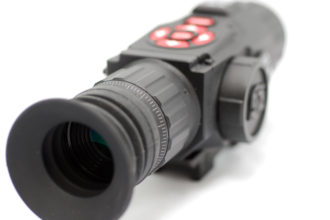
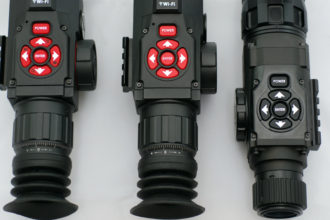
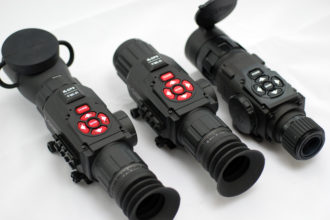
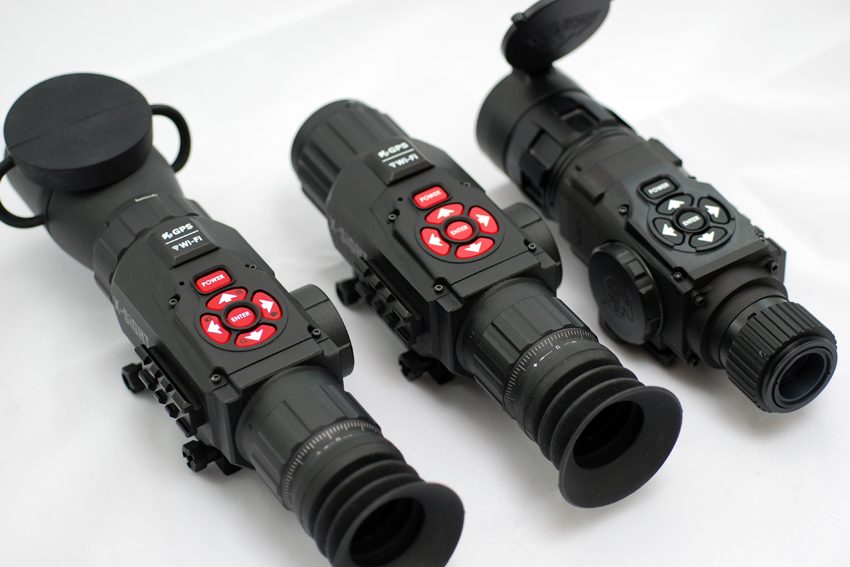
With night vision scopes, your money might be smarter spent on digital night vision optics. ATN’s “X-Sight” devices are solid options in this category, while TNVC offers some fine traditional technology options from Gen 2+ to Gen 3+, as well. Armasight offers the largest variety of technological options, from Gen 1 – Gen 3+ and digital options too.

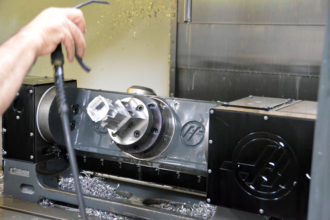
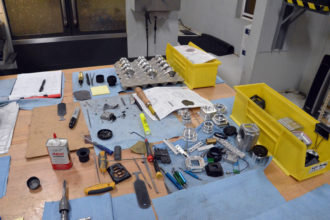
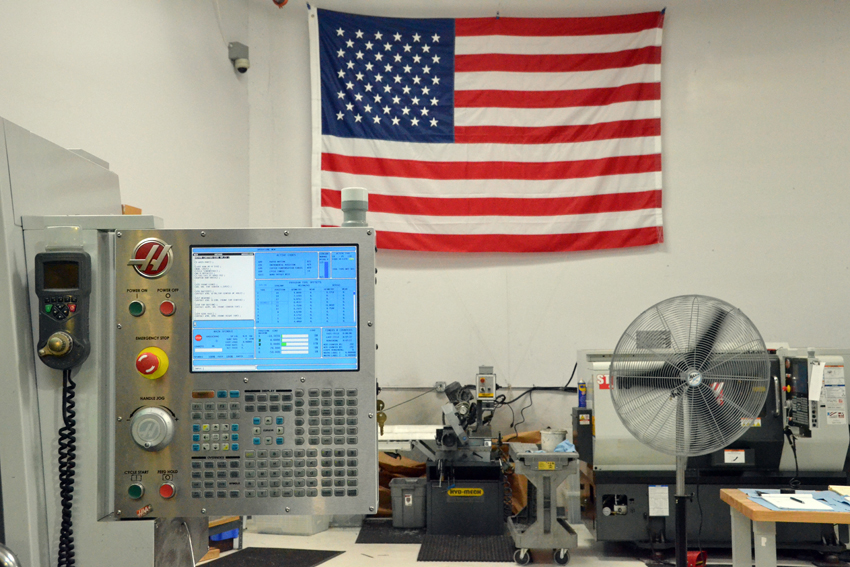
I was able to visit ATN’s headquarters in South San Francisco in preparation for writing this article and got to check out their X-Sight series scopes in their testing vault and the results were impressive. They were kind enough to give me a tour of their facility, where I got to see the CNC machining area they build in, the assembly areas for their night vision devices and the assembly areas they build their thermal devices as well. Night vision and thermal imaging are rapidly changing fields, with innovations coming at a quick pace and this bodes well for future consumers of these technologies, both in the options available for purchase, as well as consistently reduced costs of manufacturing which lead to reduced purchase cost.
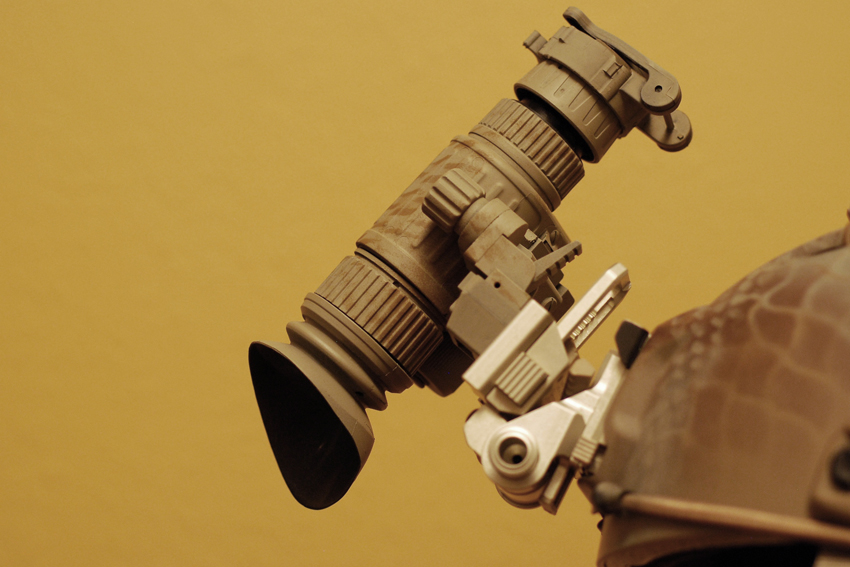
Hybrid “Enhanced Night Vision” Devices (Thermal + Night Vision)
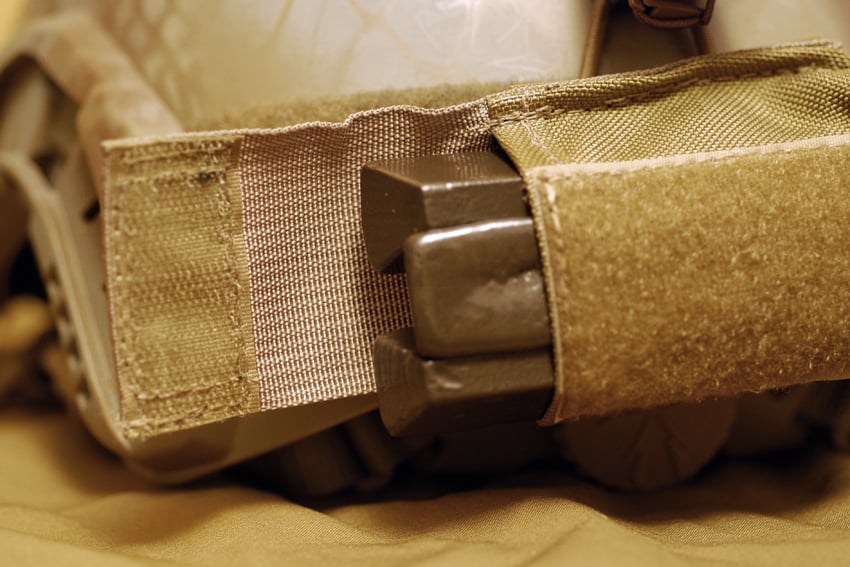
Photo Credit: Tactical Night Vision Company
Without going down the entirely separate rabbit hole of thermal imaging technology, it’s important to point out the hybrid technology optics that currently exist that combine standard night vision with thermal imaging, resulting in a display of not only low-light environments, but also the heat signatures of objects in those environments. For hunting and tactical purposes, the advantages should be obvious; when you can see a field of flora clearly in the dark and immediately spot the much warmer mammal you’re looking for within that field, acquiring that mammal as a target is easier and quicker.
Thermal imaging equipment tends to be a fair bit pricier than standard night vision equipment, but again, if you’ve got the means, you may want to consider it. Given that these are already seeing military use, there are already “mil-spec” options available, like the AN/PSQ-20, as well as consumer-spec options like the AN/PAS-29A COTI (clip on thermal imager seen TNVC photo above), Odin 32DW, ThOR-336, or the Prometheus Pro.
Accessories

For any of the helmet-mountable solutions and many of the weapons-mounted solutions, there exists an entire world of accessories. We’re going to focus on the accessories available for the helmet-mounted goggle solutions and try to give you an idea of the ones you’ll probably find useful to own, depending on how you use your device.
Mounting Hardware
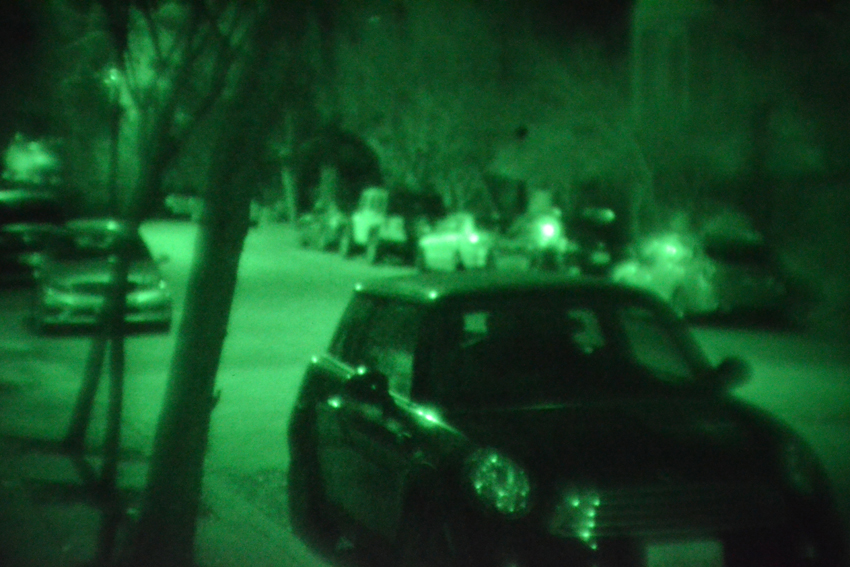
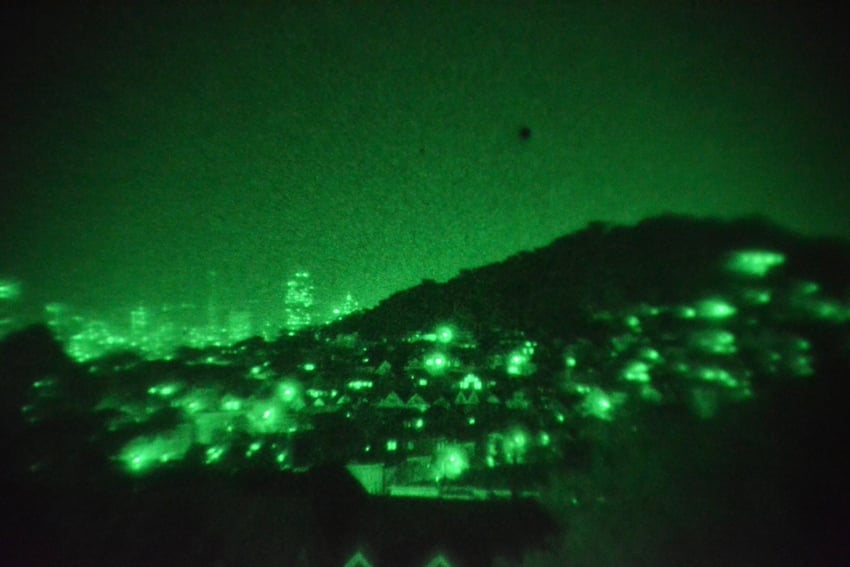
As discussed earlier in the Single-Tube Monocular section, there’s an assortment of mounting solutions tasked with mounting a night vision optic on a helmet or “skull crusher.” Most modern military-oriented helmets either come with a molded-in NVG mount (often times the “VAS shroud”), or can have one added later like on the ACH or MICH helmets. There are also solutions for putting a mounting bracket on a MICH or ACH helmet which don’t require drilling to install a shroud. Brackets and mounts are also available to attach your night vision optic to a DSLR camera, like the one used to take the photographs in this article. Additionally, there are even mounts to attach your optic to a smartphone.
One thing I’ll highly suggest is a mounting bracket for your helmet and if not included in your optic kit, a J-arm to attach to that bracket. I have a strong fondness for the Wilcox bracket described above and even though it may seem costly, you’ll find most other solutions are near that cost to begin with. When you get the adapter and get to see first-hand just how well engineered and precisely machined it is, the cost will make sense. Plus, if it saves you from dropping your $3000 night vision device on the ground, it’ll more than pay for itself.

Though I should add here that the PVS-14 series devices are built to take some serious punishment; during my tour of ATN’s HQ, I got to see them testing just such a device. They were dialing up the force on a testing machine to simulate drops from various heights and abusing the hell out of that device just to make sure it could take the beating.
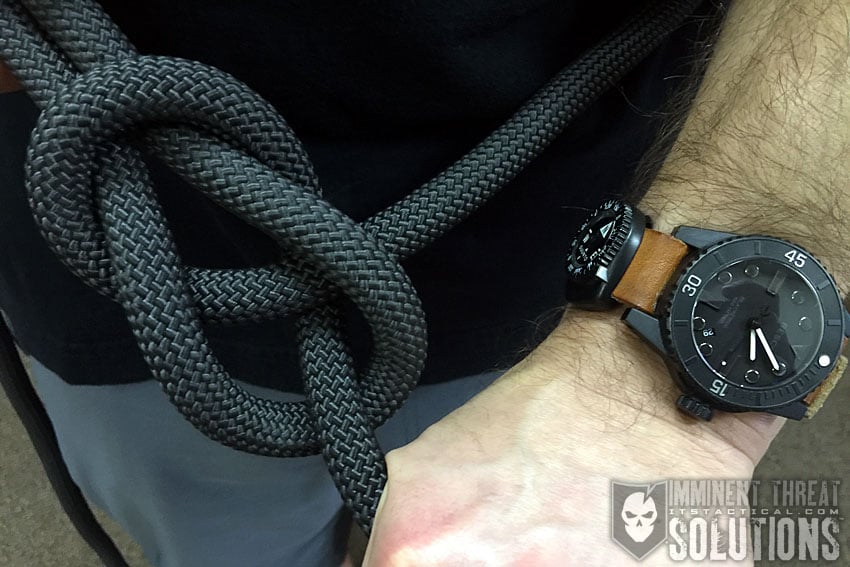
Still, just because something can take the abuse doesn’t necessarily mean you should keep abusing it, which is why in addition to buying a quality mount for the device, I’d also suggest taking some paracord or shock cord and tethering the device to the helmet with half a foot of give or so. This provides an additional safety net in the event you fall, or somehow manage to mangle the NVG mount and it also means that so long as you still have your helmet on, you’re not going to have to scramble around looking for that optic in the dark. There are also solid retractable lanyard options from Wilcox you might want to look at as well that will keep you from having to have a length of dummy cord dangling around, or even this TNVC Exclusive Wilcox Lanyard device.
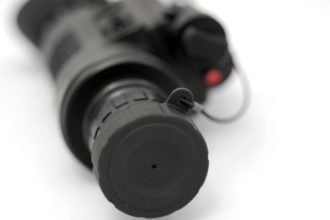
Lens Hardware
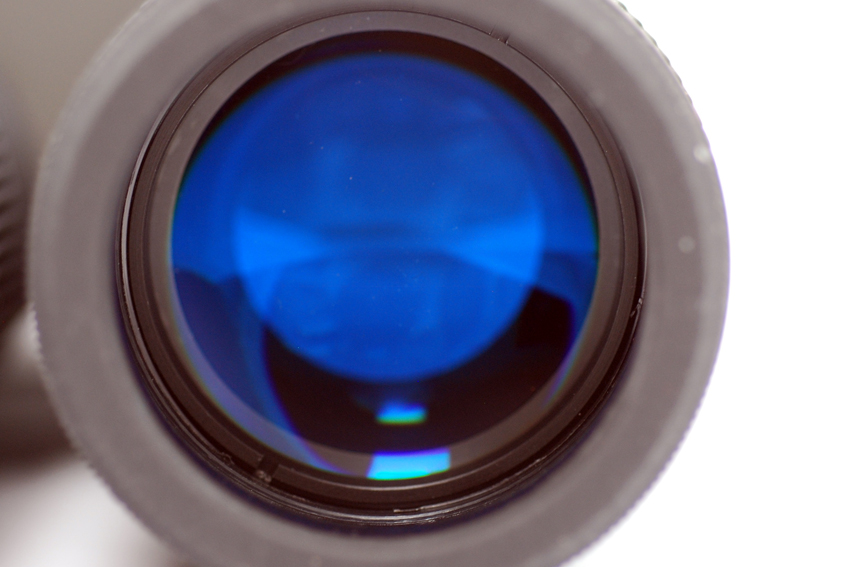
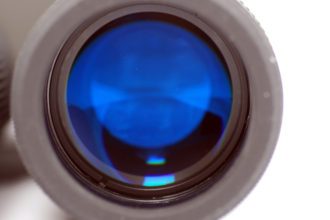
Another thing to give serious consideration is a “sacrificial lens” for your optic. This is basically a safety lens, placed on the front of your optic, which serves to absorb impacts which might otherwise shatter your objective lens, which would mean you no longer have a functioning night vision optic. These lenses can be combined with focus-assisting functionality or can provide light filtering duties, but whether you get one with extra abilities or not, putting some sort of protective lens on the front of the optic is a pretty sound idea.
Batteries and Counterweights
When NVGs are mounted on the front of a helmet, you’ll find after wearing the helmet for a while that you’ll have a tendency to lean forward, as the extra weight draws your head down. Because of this effect, many users install some sort of counter-balance on the rear of the helmet. There are many options available, from simple nylon pouches with small lead weights inside them, to similar pouches filled with replacement batteries for the NVG device (though a given volume of batteries will weigh less than that same volume with lead weights).
There are also battery packs which can provide power directly to the NVG, which can be mounted as a counterbalance. These are probably geared more towards the individuals who use night vision for 6-8 hours at a time, multiple days a week, since most PVS-14 units will get between 8-10 hours of battery life before needing to be changed. I discussed counterweights in my article at ITS about helmets as well, but shop around. There are plenty of options available and counterweights don’t have to be expensive at all. If you need them, I do suggest obtaining a “professional” solution, as opposed to doing something crazy like duct taping something heavy to the back of your helmet. Duct tape is pretty awesome stuff, but when it fails, you could get hurt; and it will fail.
Lights and Lasers
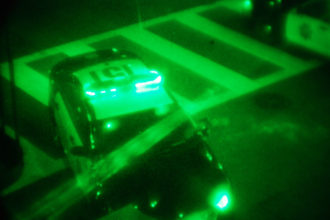
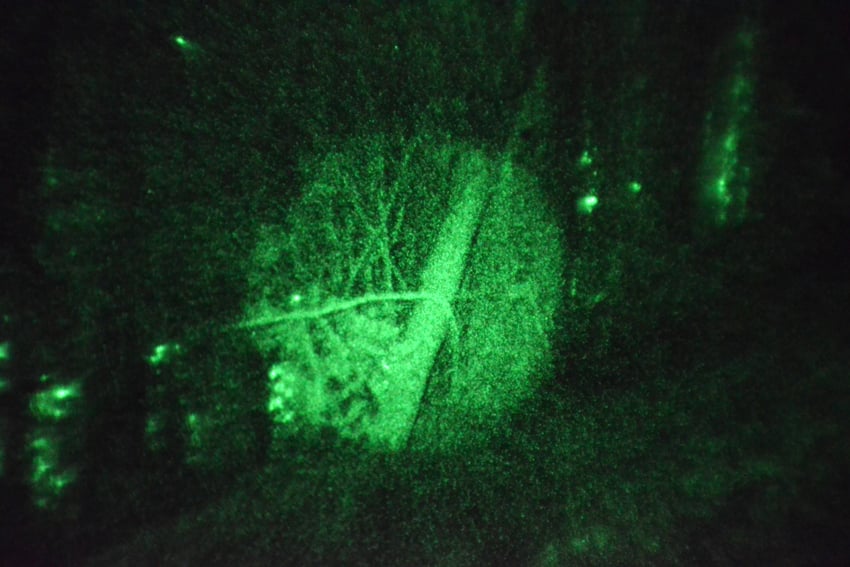
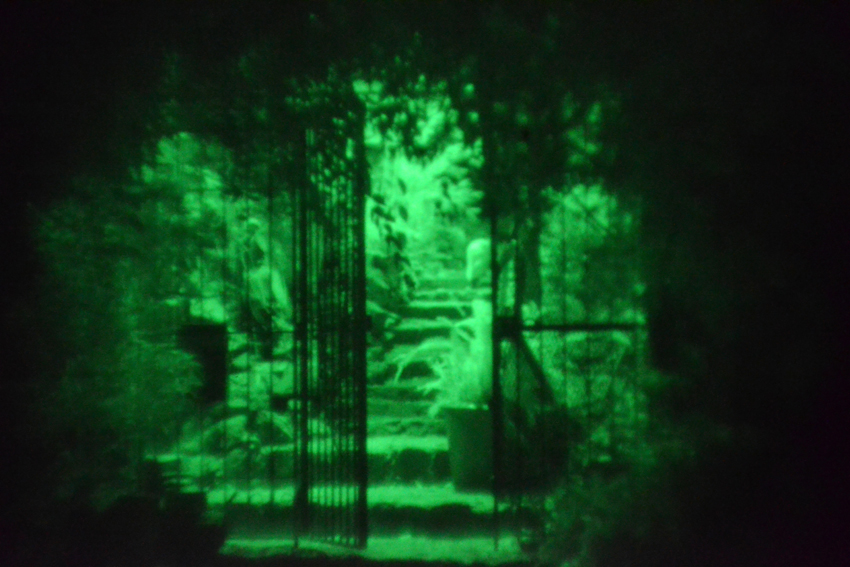
Other accessories to consider are IR illumination devices or if you’re using night vision to shoot, IR lasers. I own and used in some of the photographs, a TNVC Torch PRO, which casts IR light for quite some distance, enabling the wearer of the night vision optic to see more details where the illuminator is pointed. SureFire also makes a number of IR lights, all of which can be weapon-mounted or handheld, depending on the light and your intended use scenario. If you’re using your NVGs for hiking or shooting with a group of NVG-equipped people, you may want to consider IR strobes, to help keep track of each other.
There are also laser aiming devices available to civilians, like the Steiner DBAL A3, which functions just like any other weapon-mounted laser aiming device, except the light beam it produces can only be seen by wearers of night vision optics. This is not only beneficial for night vision tactical situations, but also for hunting; it allows you to point aim at a target, rather than brining the weapon up to your face to look through a weapon mounted night vision scope. A laser aiming device also won’t let the target know you’re point-aiming at it. Sure, some snakes, vampire bats and insects can sense IR light, but how often do you go snake, vampire bat or insect hunting, anyway?
General Purchase Considerations

The sheer number of available night vision devices can seem overwhelming, but there are some general concepts which might help the potential buyer decide what they need and how to best address that need. First, it’s a good idea to buy as close to “state of the art” as you can afford. Night vision technology is still evolving and will continue to do so; each generation of the technology has seen major improvements over the previous generation. With Gen 3 being the current “state of the art,” if you can afford it, I would highly suggest you buy at least a Gen 3 device, if not a “Gen 3+” device.
Use the analogy of buying a new computer; the more up-to-date computer you buy today, the less outdated it will be in five years. Yes, it’ll still be outdated, but it will retain the ability to perform the tasks it performs now. The more ability it has, the less likely you are to be disappointed in a few years and therefore the less likely you are to want to spend additional money replacing it with what becomes the “latest and greatest.” Once again, “buy once, cry once.”
As stated earlier, think seriously about why you want to buy a night vision device. Ask yourself what you’d like to use it for and if that answer contains more than one purpose, try to find the best device to address all of those purposes. In some cases, you may just want to use it for watching wildlife at night or general surveillance from your home, so maybe all you really want is a pair of night vision binoculars. If you want to be able to move around in the dark, without holding the night vision device up with your hands or using night vision rifle scope, a PVS-14 may be your best bet.
One final thing to consider is when you want this ability to see in the dark. To be honest, it may even be best to wait a couple of years if you can, it’s likely that the introduction of digital technology to replace the more expensive photomultiplier will result not only in better technology being available, but also in lower prices for that better tech.
Editor-in-Chief’s Note: Matthew Sharp is a Plank Owner and Life Member at ITS and goes by the username “viator.” He lives in The People’s Republic of Northern California and enjoys long range shooting, carrying heavy objects great distances and fuzzy little puppies.