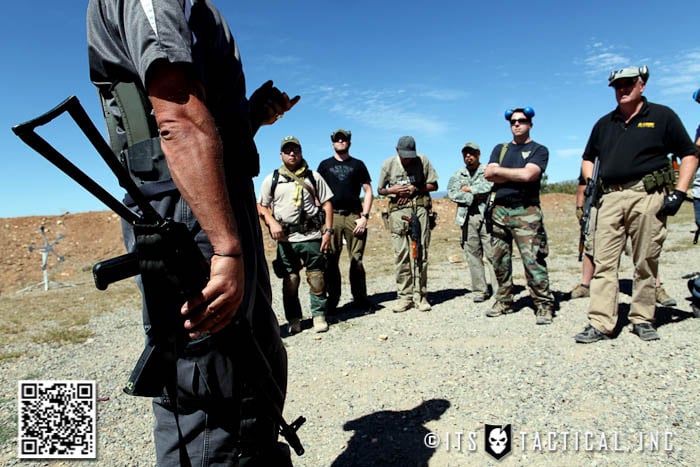
I recently had the opportunity to join fellow industry professionals, SOF from all branches of service and operators from various government agencies in Montrose, CO for a 4-day Haley Strategic Disruptive Industries course.
Consisting of skill-sets and sustainment tools designed to put individuals through think-on-your-feet exercises that harness both tactical problem solving and modern weapons manipulation, HSP’s DI is a unique blending of both the end users and companies that support them.
DI was designed to help these groups better understand each other’s needs by operating in joint scenarios from the perspective of the modern warfighter. It’s a cohesion I’ve never witnessed or thought possible in this industry.
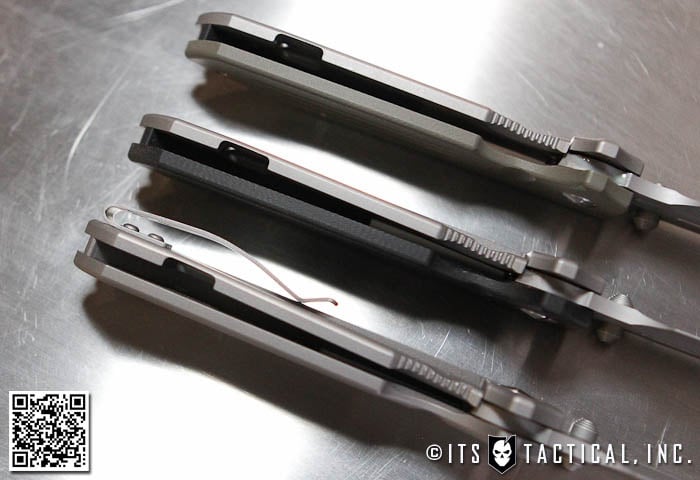
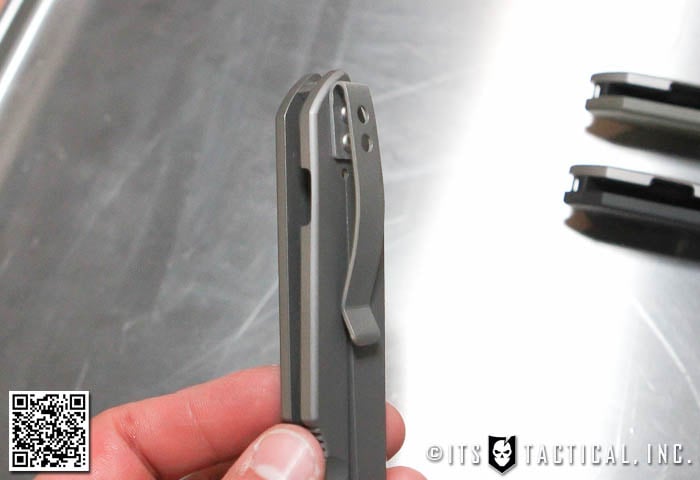
Disruptive Industries
One of the reasons I continue to value the industry partnership ITS has with HSP is their ability to continue to break down the dogmas of this industry that only serve to hinder it. What I mean by that, is that the term “industry partner” is lost on many companies, who would rather build walls around their businesses than reach out to others and come together for the common good.
I’m not trying to sound like some self-righteous do-gooder, but through interaction and the sharing of knowledge we can all work together to do what we hopefully set out to do when we entered this industry; which is supporting our end user the best we can. There’s no denying that pooling resources and coming together can not only help facilitate this, but it can build internal relationships between companies that can carry us even further.
Not only was HSP able to put multiple companies next to each other to build these relationships, but add in the operators and end users that their products were designed for. It was great to see the dynamic that all these different people had on each other and how positive it was overall, which is rare when you throw a bunch of Type A personalities together.
This was my second time to head out to Colorado and train with HSP, with last year being the first Disruptive Environments course. While similar in purpose, this year’s Disruptive Industries brought in more end users, where as last year focused on industry professionals and a few LE guys. One of the most interesting aspects of DI was not only the culmination of industry professionals and end users, but having so many great instructors working together during a single course.
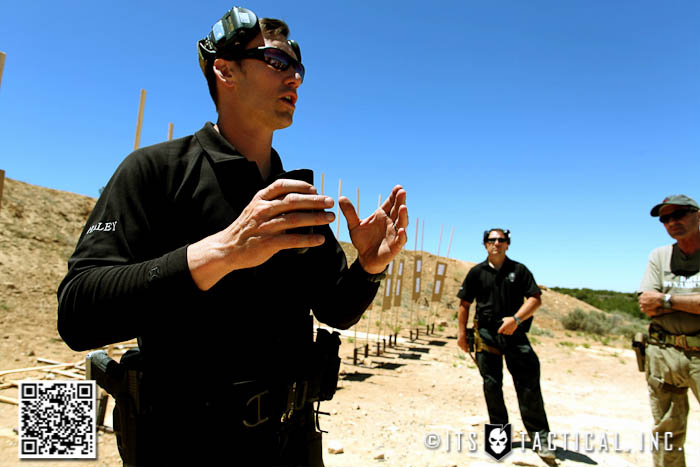
In addition to Travis Haley and HSP lead instructor Brannon LeBouef, we were fortunate to learn from Ron Avery, president and director of training for the Practical Shooting Academy; Sonny Puzikas, former Soviet Spetsnaz and current fighting rifle and Systema (Russian martial art) instructor; Kane Smith, Mobile Security Specialist and co-storywriter of Black Powder Red Earth. We also had an 18D Army Medic there to impart some TCCC knowledge and I was stoked to be able to contribute some of my knowledge on lock picking and home invasion scenarios.
Day 1 Instruction
For the first two days of training, the industry guys were split from the MIL/LE group to help ensure everyone was operating on a common ground when it came to weapons manipulation and safety. I started off with the industry group on the first day and Eric from Soldier Systems, who is also putting out an AAR soon, was with the MIL/LE group.
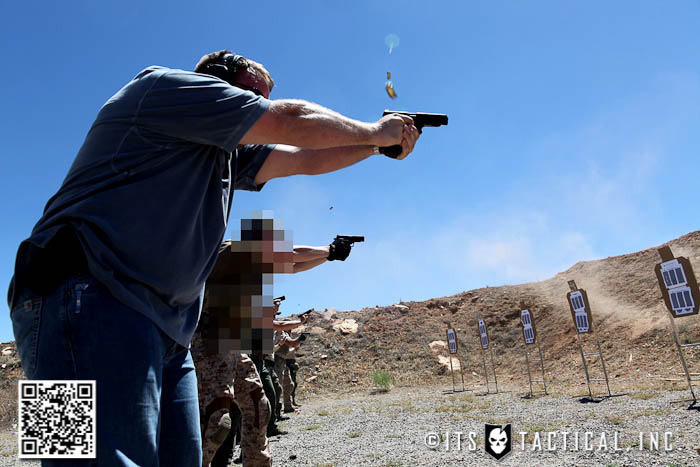
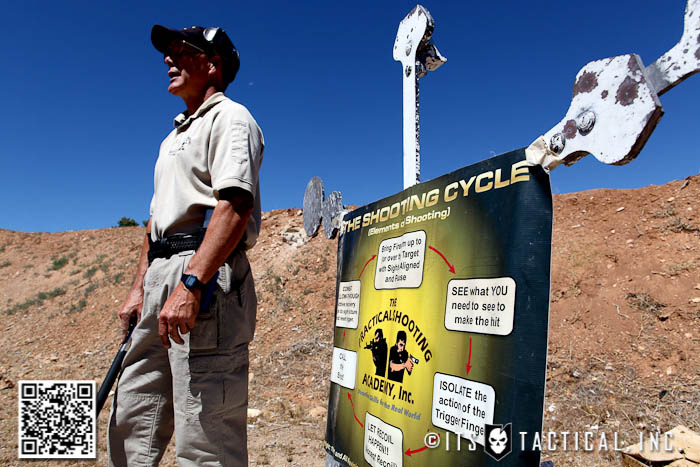
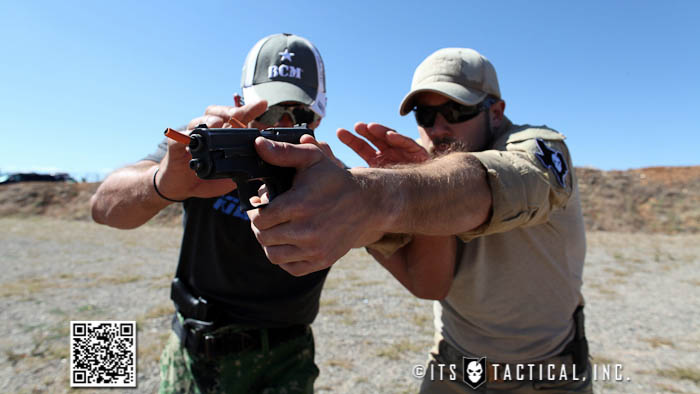
The industry group went over basic handgun manipulation and drills with Travis, while the MIL/LE group worded with Ron on handgun. Travis ran us through many of the HSP drills found on their blog, like the Combat Effective Drill and the Feel, Eyes, Finger Drill. I continue to appreciate his training methodology and I learn more and more from him each opportunity I get to train with him.
My handgun proficiency is developing, but I’ve still got some things to work on. One of these is taking the shot faster. I’m quick out of the holster but Travis continues to give me grief about being a grandpa when presenting the gun and taking the shot. It’s great to be able to have someone catch things like this and really gives me things to work on at the range and with dry fire practice.
Travis mentioned something I can do at home is grab a timer and without a gun, go through the movements of drawing and touch a wall that’s just inside of arms reach. This drill also comes with the caveat that if you progress to doing it with an unloaded firearm or a blue gun, be careful you don’t put a hole in the drywall!
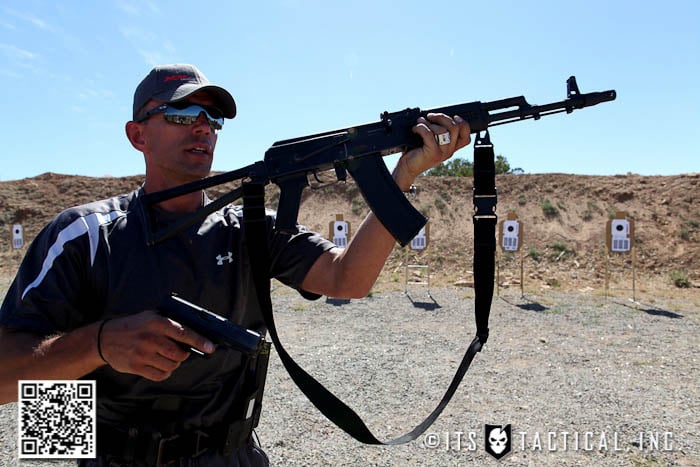
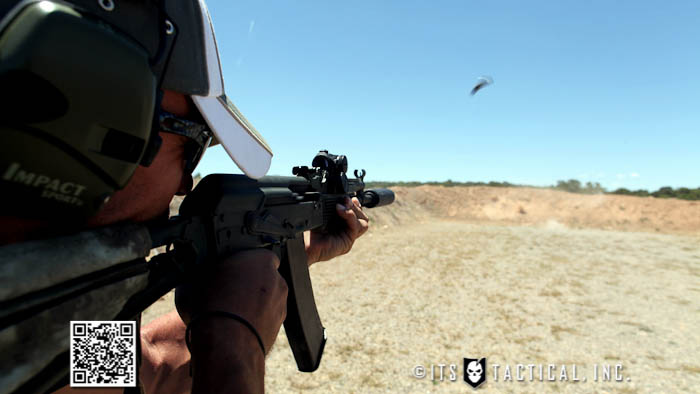
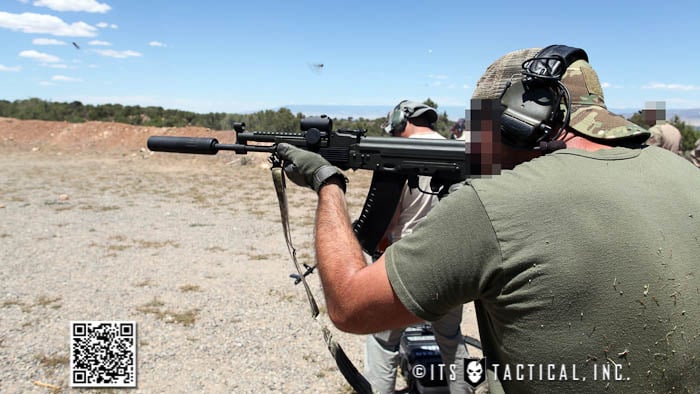
The later half of day one, Travis worked with MIL/LE guys on rifle, while we worked with Sonny on AK manipulation and transitions. Sonny’s instruction turned on a lightbulb for me and made me re-evaluate some of the most common principles of working with a rifle, such as why we use a sling.
Sonny advocates not using a sling when you feel danger present. He’ll run a standard two point sling when patrolling, but if he detects danger or knows he’ll soon be firing his weapon, the sling comes off. The reason being is body mechanics. Particularly in CQB (Close Quarters Battle), where blind corners are at each turn, someone can control you by grabbing your rifle while your still attached to it with a sling.
If someone wants to take your rifle from you, you can let them have it (if your not slung up) and then simply transition. They’re not going to expect you to let go easily and by the time they have it, you’re already up with your pistol and can easily get it back from them. Of course I can’t explain it in the thick Russian accent and dry humor that Sonny can, but hopefully you understand the premise.
Transitions were from a unique perspective too, where we’d present the handgun while leaving the rifle shouldered. As the handgun comes up, the rifle gets slung behind the back. The idea being that the standard visual of you dropping the rifle gives your adversary the information that you’re transitioning. You hear the click, but they don’t. They’re still seeing a rifle pointed at them until your handgun is up and ready to engage. This was also practiced shooting right handed and wrong handed.

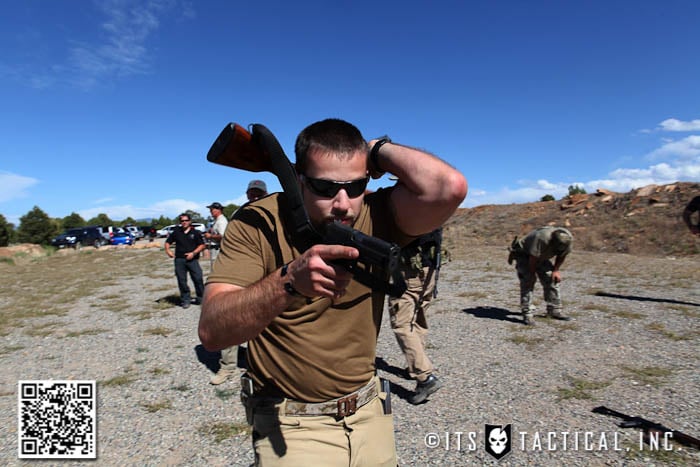
In a common transition, the rifle is dropped in front of you on a sling, while you go for your handgun. This doesn’t set you up to move freely and you’ve now got a heavy rifle in front of you throwing off your center of gravity. Putting the rifle behind you while transitioning allows you to move dynamically better than it does hanging in front of you.
There were a few critics of these techniques, particularly from the MIL/LE side once I joined them on day two, but Sonny mentioned what most great trainers do, it’s “a” way not “the” way. I appreciated the out of the box thinking Sonny brought to the course and it certainly opened my eyes to techniques I’d never considered.
As a side note, Ron was also able to drive home an important point about handguns not being referred to as a secondary. They’re just as capable of being a primary and we should respect them as such. I know that I wouldn’t doubt the capability of a handgun that Ron was behind.
The end of day one featured an industry dinner later that evening, where we all had a time to decompress and talk to everyone. I really loved this aspect of the course and felt it was a great way to get to know those I didn’t and catch up with those that I did. We were able to talk shop with other industry guys and get to know the end users better and what their requirements were.
Day 2 Instruction
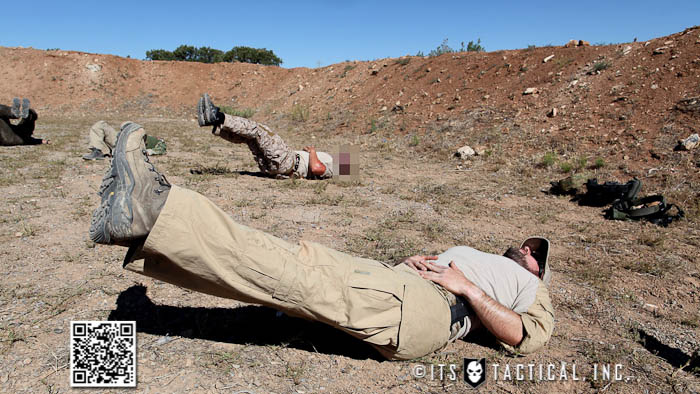
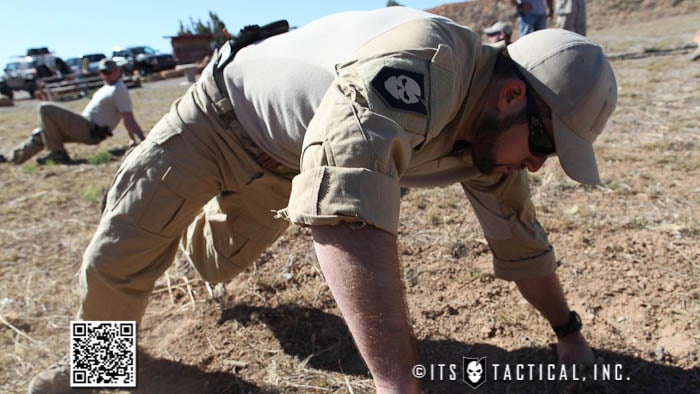
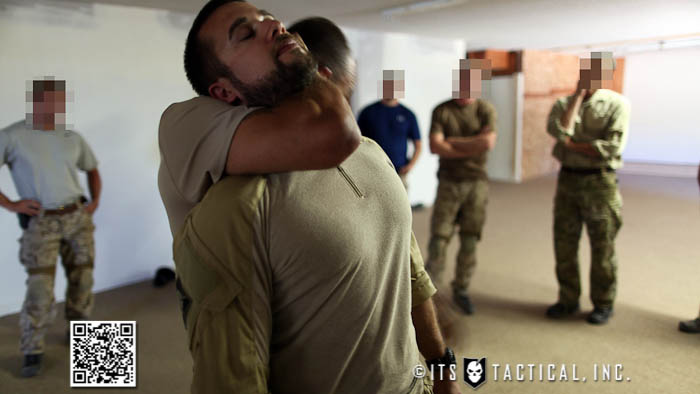
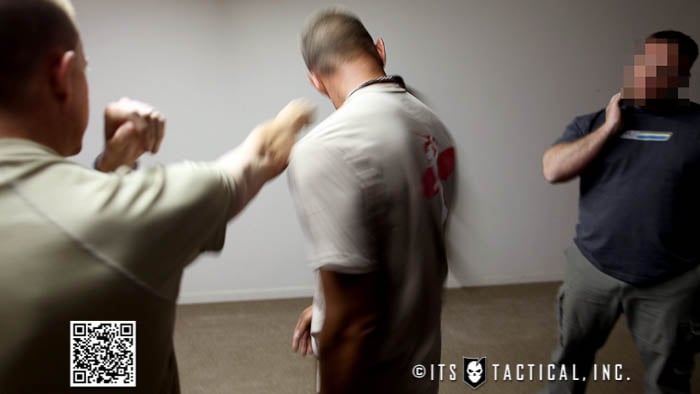
For day two I joined up with the MIL/LE guys for hand-to-hand instruction with Sonny, while Travis worked with the industry guys on carbine. Before we could begin hand-to-hand with Sonny, we had to warm up.


Since we didn’t have any Vodka to help facilitate that, Sonny took us through a couple of his techniques for warming up. We started with planks on our knuckles for three minutes that turned into five, followed by pushups, stretching and buddy exercises; many of which I’d never seen before.

With our blood pumping and painting the ground with sweat, we moved into take-away drills using some of the movements we’d just practiced in our warm-up. It was great to see the way those movements came together and were applied to weapons. The important principles with these drills were heavily Systema based and letting your opponents energy move through to your advantage, rather than add your own resistance and further complicate matters.
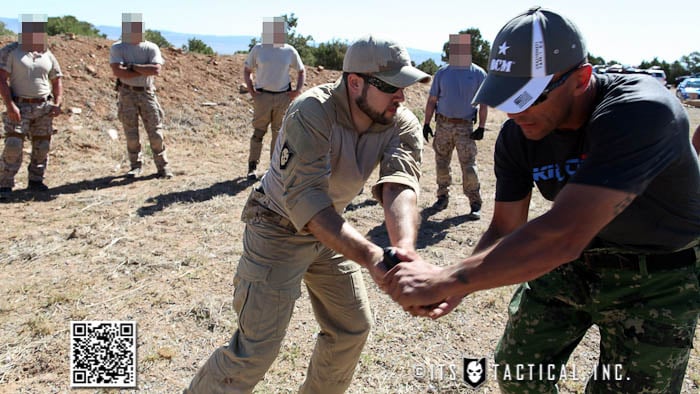
I’ve had great experiences with Systema while living out in San Diego during my time in the Navy. I was fortunate to train with some great people like James Williams of the Dojo of the Four Winds, through where I met my friend Nate Morrison as well.
After lunch we were treated to a ComBloc weapons orientation by Jim Fuller and Billy Cho of Rifle Dynamics, where they went over the history of the AK platform as well as the operation of these weapons. We had a chance to get hands-on and really get a feel for the nuances of each style, such as the AK-47, AK-74, AKM, PKM, Krinks of different lengths and many others.
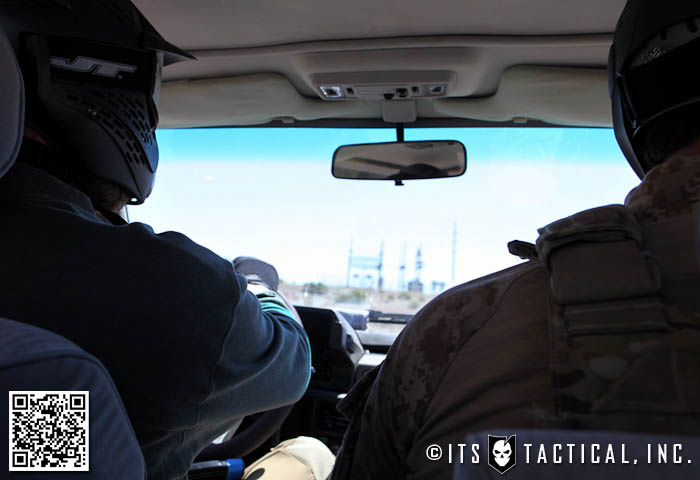
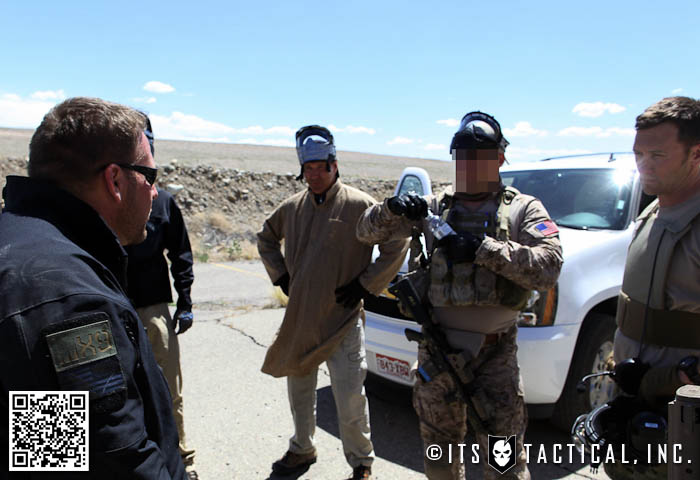
The day concluded at the range with an introduction to vehicle operations by Kane Smith. Kane went into the details of how dangers are presented overseas when it comes to vehicles moving throughout checkpoints and traveling with assets in vehicles; including proper search techniques and deconfliction.
Vehicle load out was discussed, such as what equipment to carry and how to stay discreet when necessary. A few important considerations were how quickly you could get your kit on when trying to stay discreet and also how quickly you could exit the vehicle with what you need if the situation deteriorates.

The evening industry dinner was prefaced by an extensive TCCC medical brief, which not only went over the principles of TCCC and their use in the battlefield as well as here at home, but also covered mass casualties. It was incredibly informative and I learned a lot, particularly in regards to mass casualties and the pros and cons of common triage methods.
Day 3 Instruction
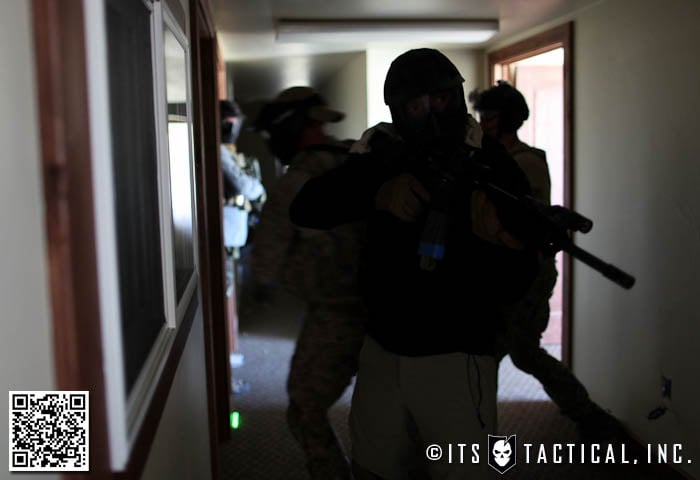
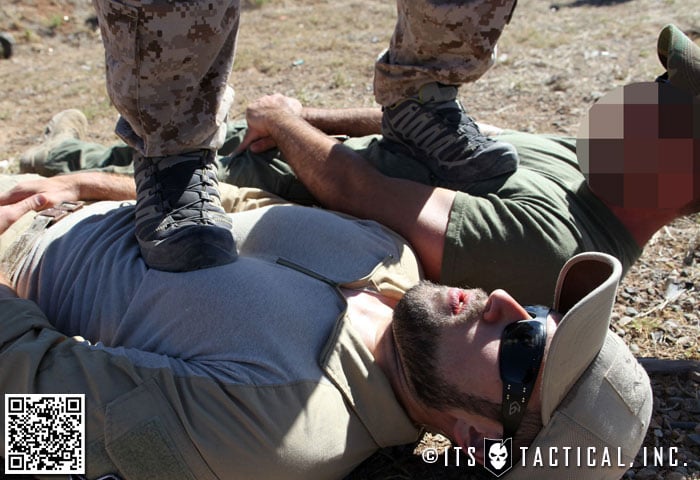
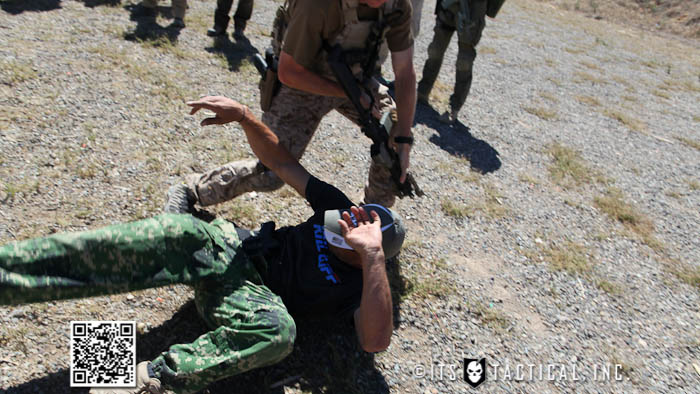
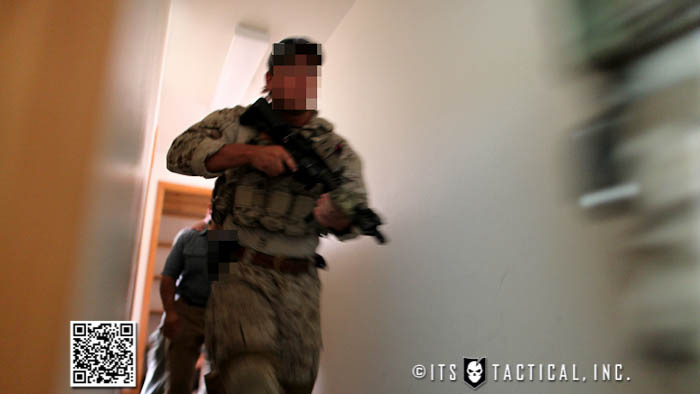
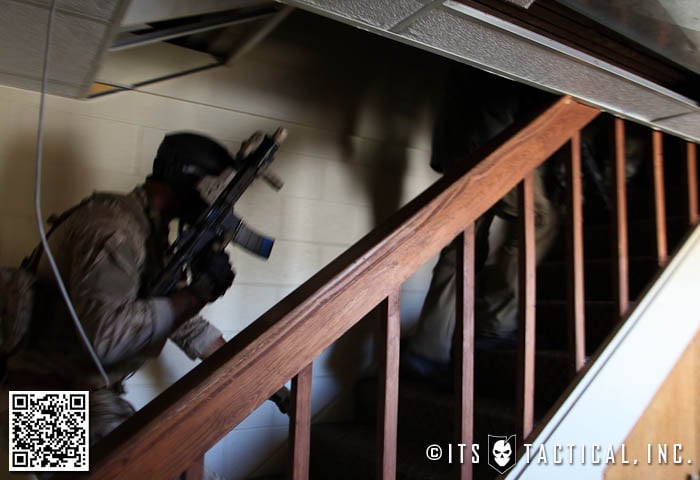
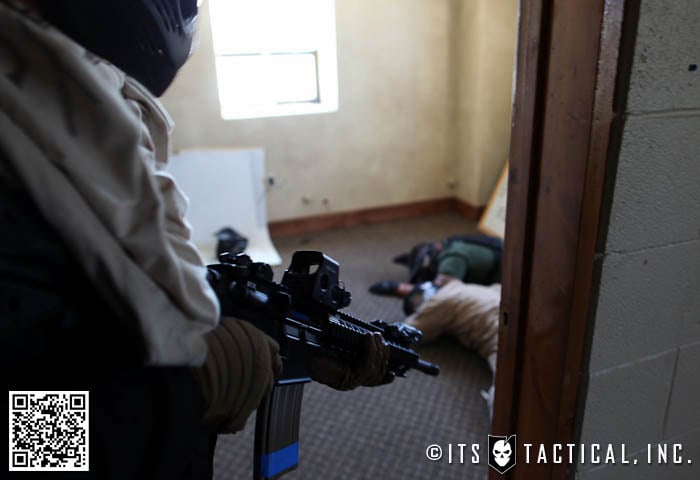
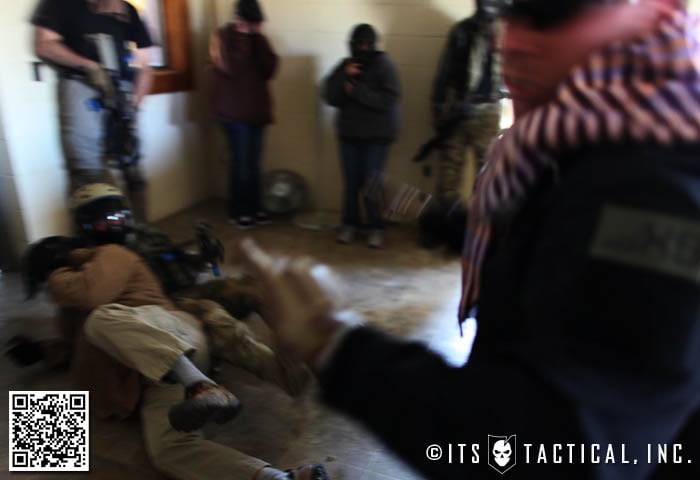
I started day three with the MIL/LE guys learning more hand-to-hand with Sonny in an two-story abandoned building that was perfect for CQB practice. It had many rooms, hallways and staircases to move through and opened up the day to all kinds of scenarios. Our hand-to-hand was specifically geared around countering common aggressive fighting techniques from would-be opponents in close quarters. These included punches, kicks and chokes.
The industry guys worked on CQB movements through one side of the house for most of the morning, while the MIL/LE guys went into troubleshooter exercises on the other side of the house running through real-world scenarios that Kane and Travis had encountered overseas.
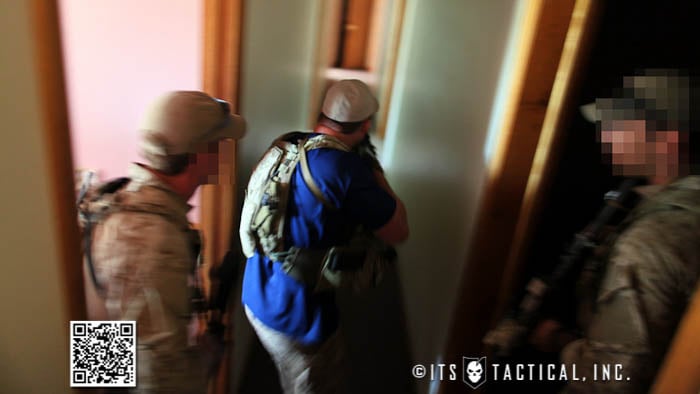

I’m purposely leaving out details here to protect the integrity of the scenarios for future use, but they really helped to sharpen my knowledge of CQB and working alongside those that are extremely proficient with it. It’s always been my experience that working with someone better than you increases your skill-set faster than normal.
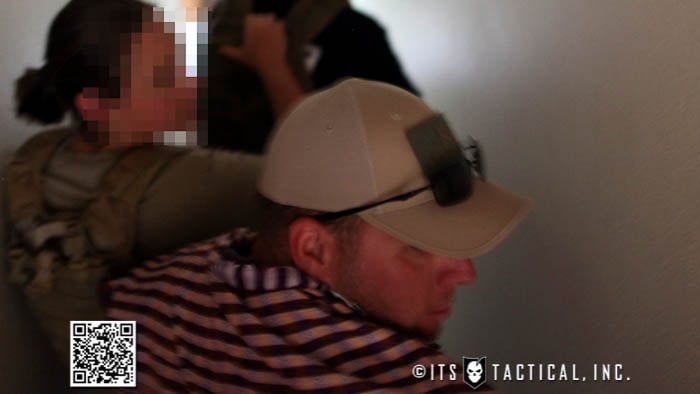
After the troubleshooter exercises, I shared my knowledge of lock picking, entry and illegal restraint escape with the MIL/LE guys. This included pin and tumbler locks, shimming padlocks, escaping handcuffs and defeating zip ties. After the industry guys wrapped up their CQB movements, I ran them through these techniques as well.

This information was passed in the same way that we present it here on ITS Tactical. There’s a nefarious undertone to anything having to deal with lock picking or escaping illegal restraint, as if this information shouldn’t be shared. This is the very thing that will help you to protect yourself and your family better when choosing locks for your home and help you defend against illegal restraint during a home invasion.
After the day had come to a close, the active duty MIL/LE guys went into a closed session back at HSP HQ and I hung out with some guys that were interested in learning more about the techniques I’d shared with picking locks. What I truly love is the look on peoples faces when the realize how easy it is to defeat a cheap pin and tumbler deadbolt and that it’s the same kind they have on their front door. Time to upgrade!
Day 4 Instruction
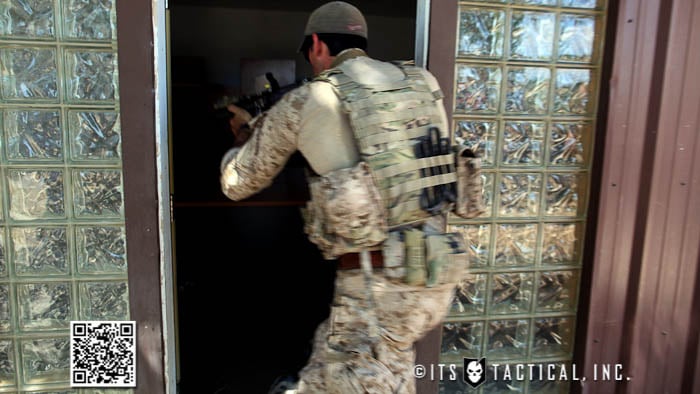
The last three days of training culminated in elaborate troubleshooter team exercises that put industry guys right alongside operators in a new abandoned building, ripe with unexplored territory. The massive industrial building was about as disruptive of an environment as one might encounter, with machinery and offices presenting obstacles to negotiate along the way.
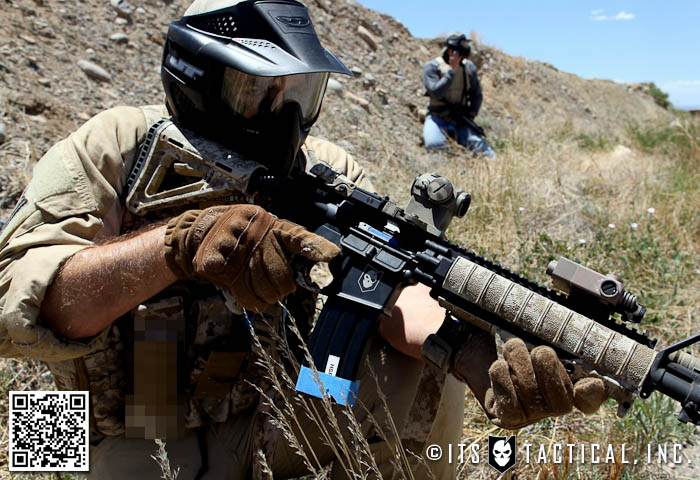
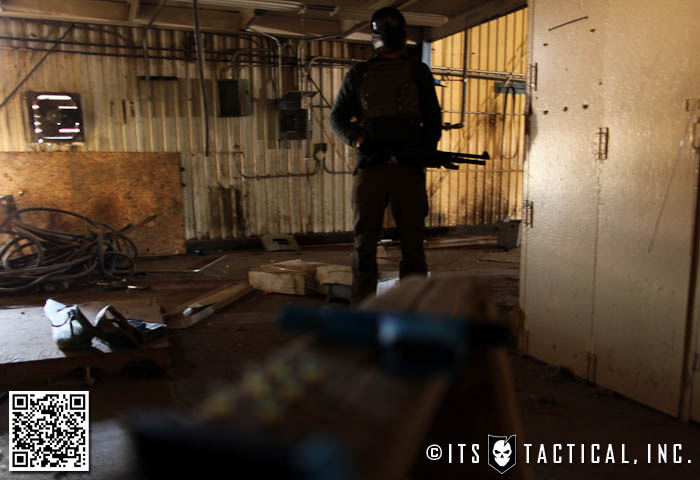
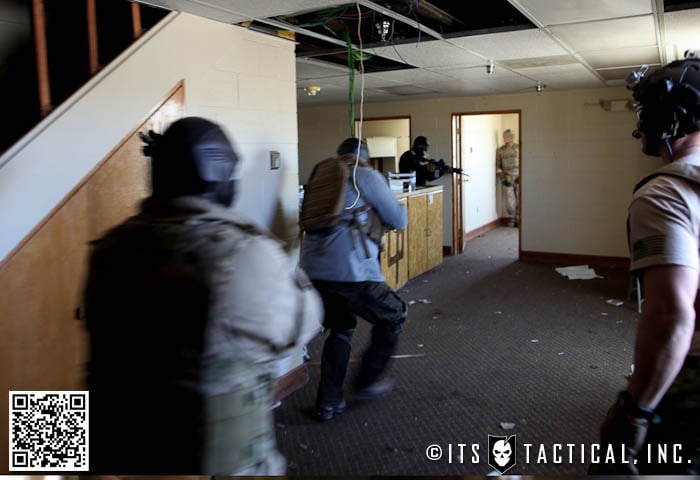
Troubleshooter team exercises were designed to see how we worked as a team and the different ways that the teams handled the scenarios. It was a great way to further work alongside different skill levels and capabilities. Each of the courses of instruction throughout the week were utilized, requiring us to call up different aspects of each, while reacting to the disruptive environment and rounds coming at us.
Each scenario was different and totally unique, combining everything from assets to vehicles, in dynamic cell tactics that left everyone with a few marks. We were using 5.56 UTM man marker rounds which hurt a bit more than Simunition, but are able to run in a standard AR with nothing more than a change to a UTM bolt carrier group.
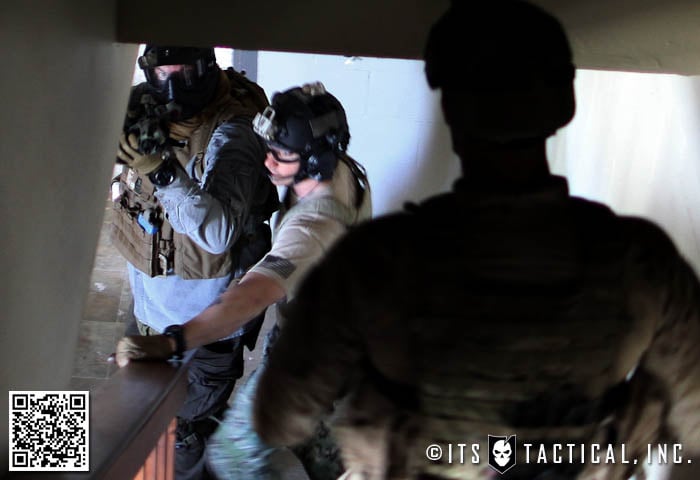
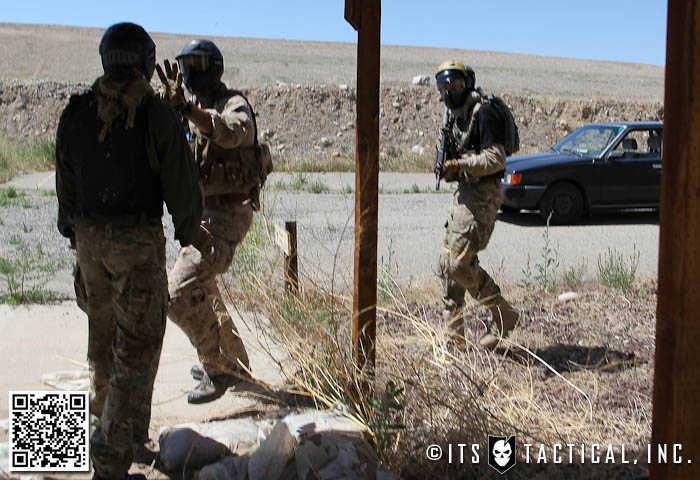
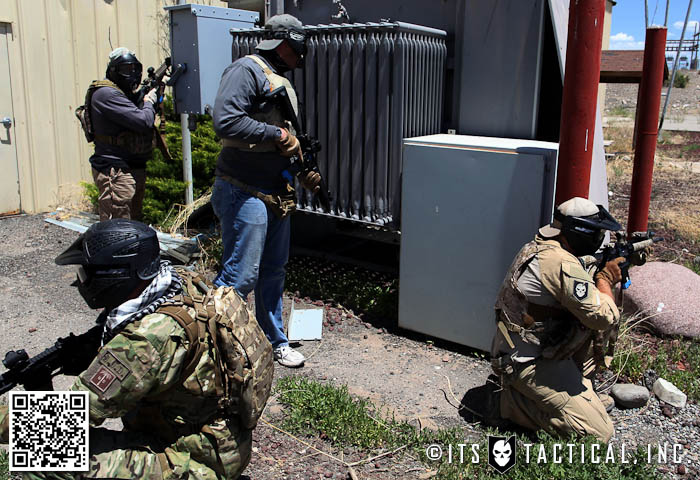
The use of role players threw a huge wrench in the gaming I’m sure we were all guilty of trying. Not expecting what we walked into with each scenario kept us on our feet and certainly made the exercises more realistic.
Wrap Up
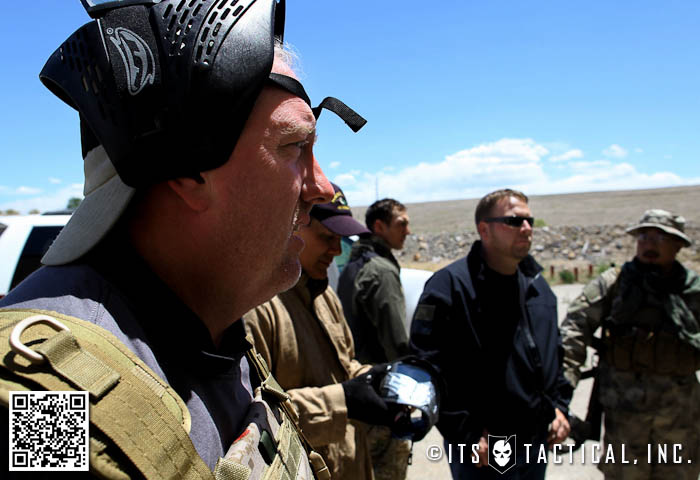
Fresh with welts and paint marks we all had our final debrief for Disruptive Industries and departed the facility to get cleaned up to meet for dinner in Ouray, CO which is not only the ice climbing capital of the U.S., but boasts some of the best off-road trails around. It made me wish I would have extended my drive by a day to be able to take my FJ Cruiser through there.

Haley Strategic is not only a company I’m proud to call an industry partner, but also my friends. Their instruction is some of the best out there and never ceases to break the mold of what the perception is of training in the industry. Their out-of-the-box thinking and real-world curriculum truly stresses the importance of staying adaptive and increasing survivability.
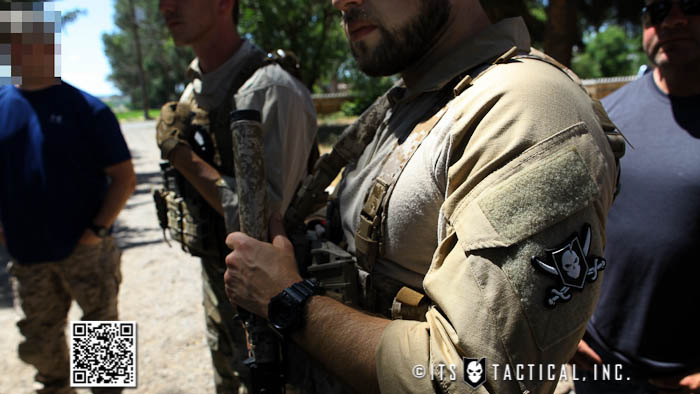
I’d like to thank all the great companies that came out to make this course all that it was, including: Impact Weapons Components, HSGI, Bravo Company MFG/USA, Inforce, Outdoor Research, Rifle Dynamics, B5 Systems, Kill Cliff, US PALM, Warrior Wound Care, SuperFLY, PNW Arms, UTM Phoenix, G-Code Holsters, UBER Group, Soldier Systems, Red Force and Practical Shooting Academy.
As far as the guys from Army SF, MARSOC, NSW, the FBI and others who’s names I won’t mention for obvious reasons, I appreciate your devotion to our country and all that you do on a daily basis to protect our freedoms. It was fantastic to work alongside each and every one of you and am grateful for all that you shared with the course.